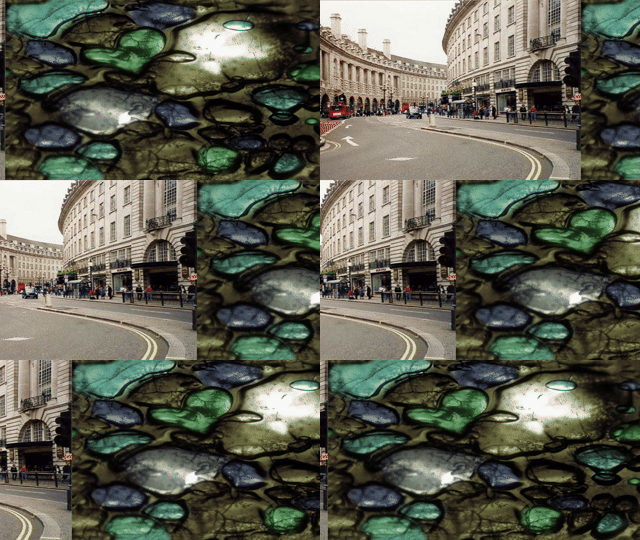
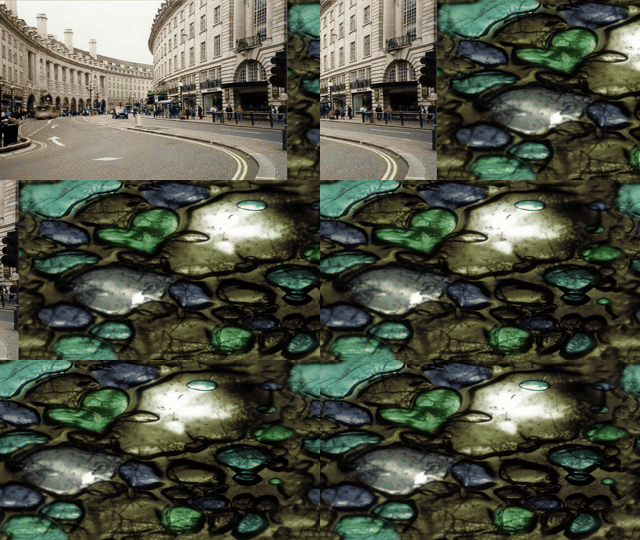
Learn how to make a push screen transition in Shadertoy using the GLSL programming language. Push a texture outside of the screen using the fractional part of a number, signum and the mix function.
Introduction
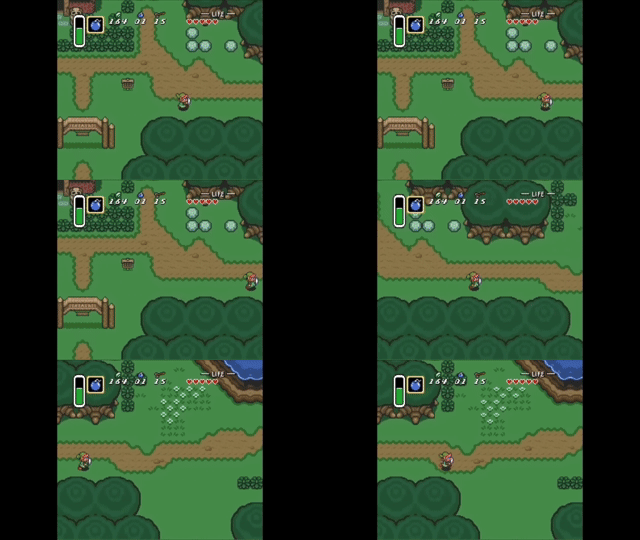
The video game ‘The Legend of Zelda: A Link to the Past’ has many nice transition effects, including this push screen transition. Notice how the main character ‘Link’ leaves the right side of the room, and arrives on the left side of a new room. The old room gets pushed out of the screen on the left, whilst the new room moves across the screen from right to left, until it fills the whole screen.

GL Transitions
For the tutorial, I will port the code from GL Transitions for the directional push transition to Shadertoy.
Constants
First define a speed constant, to control the speed of the effect.
const float SPEED = 0.25;
Next define a direction variable, to control the direction of the effect. Where:
- -1 is left.
- 0 is no movement.
- 1 is right.
// Expected values are -1, 0, or 1
const vec2 DIRECTION = vec2(-1.0, 0.0);
Texture coordinates
Calculate the normalised pixel coordinates (from 0 to 1), inside the main function.
vec2 uv = fragCoord / iResolution.xy;
Progress
Create a progress variable by multiplying the current time and speed constant together, then plugging the result into the fract function to create a looping value in the 0 to 1 range.
float progress = fract(iTime * SPEED);
Flip direction
Optionally create a variable to flip the x direction, since it looks reversed to me.
vec2 d = vec2(-DIRECTION.x, DIRECTION.y);
Translate
Translate the current UV coordinates using the progress variable and the sign of the current direction.
vec2 p = uv + progress * sign(d);
Textures
Select two textures using the channels in Shadertoy.
Get the fractional part of ‘p’ and use it to get the colours of the first and second texture.
vec2 f = fract(p);
vec4 from = texture(iChannel0, f);
vec4 to = texture(iChannel1, f);
Mix
Use the step function to figure out which texture colour to show based on the position of the offset UV coordinates.
float m = step(0.0, p.y) * step(p.y, 1.0) * step(0.0, p.x) * step(p.x, 1.0);
fragColour = mix(to, from, m);

Easing
Optionally use an easing function, such as this one. So that the animation doesn’t move at a constant speed.
float EaseOutBack(float x)
{
    const float c1 = 1.70158;
    const float c3 = c1 + 1.0;
    return 1.0 + c3 * pow(x - 1.0, 3.0) + c1 * pow(x - 1.0, 2.0);
}
Pass progress into the easing function to use it.
progress = EaseOutBack(progress);
Note it would be best to create a uniform for the progress value outside of the shader if you are not using Shadertoy. You can apply the easing outside of the shader to.

Shadertoy
Full Shadertoy code and demo available here.
Conclusion
Thank you for reading this tutorial. Let me know in the comments section if you enjoyed it, or have any questions!


One response to “Push screen transition Shadertoy tutorial”
Thanks for sharing this idea Anita
LikeLiked by 1 person