
Learn how to create a rainbow gradient in Shadertoy using the GLSL programming language. Use the YIQ colour space to create different rainbow gradients by hue shifting.
Pi
First define Pi and two Pi.
#define PI 3.14159265359
#define TWO_PI PI * 2.0
Constants
Define a constant for edge smoothing. This is the edge between different colours. Such as green and yellow. The larger the number the smoother the gradient.
// Edge smoothing
const float SMOOTHING = 4.0;

const float SMOOTHING = 256.0;
Define a constant for the start colour of the hue shift.
// Rainbow start colour
const vec3 startColour = vec3(1.0, 0.0, 0.0);
Hue shift functions
Define some hue shift matrices and functions to convert to YIQ colour space and back to the RGB colour space. The previous tutorial here explains the hue shifting code.
const mat3 YIQ_CONVERT = mat3(
    0.299, 0.596, 0.211,
    0.587, -0.274, -0.523,
    0.114, -0.322, 0.312
);

const mat3 RGB_CONVERT = mat3(
    1.0, 1.0, 1.0,
    0.956, -0.272, -1.106,
    0.621, -0.647, 1.703
);

vec3 ToYIQ(vec3 colour)
{
    return YIQ_CONVERT * colour;
}

vec3 ToRGB(vec3 colour)
{
    return RGB_CONVERT * colour;
}

vec3 HueShift(vec3 colour, float shift)
{
    vec3 yiq = ToYIQ(colour);

    mat2 rotMatrix = mat2(
        cos(shift), -sin(shift),
        sin(shift), cos(shift)
    );
    yiq.yz *= rotMatrix;

    return ToRGB(yiq);
}
Texture coordinates
Create the texture coordinates inside the main function.
// Normalised pixel coordinates (from 0 to 1)
vec2 uv = fragCoord / iResolution.xy;
Hue shift
Call the hue shift function using the start colour and multiply two Pi against the vertical texture coordinates, so the gradient is created in the vertical direction.
vec3 rgb = HueShift(startColour, uv.y * TWO_PI);
Smooth gradient
Create a smooth gradient using the smoothstep function, the smoothing constant we defined earlier and the aspect ratio.
// Calculate aspect ratio
float w = 1.0 / min(iResolution.x, iResolution.y);

float s = SMOOTHING * w;
rgb = smoothstep(-s, s, rgb);
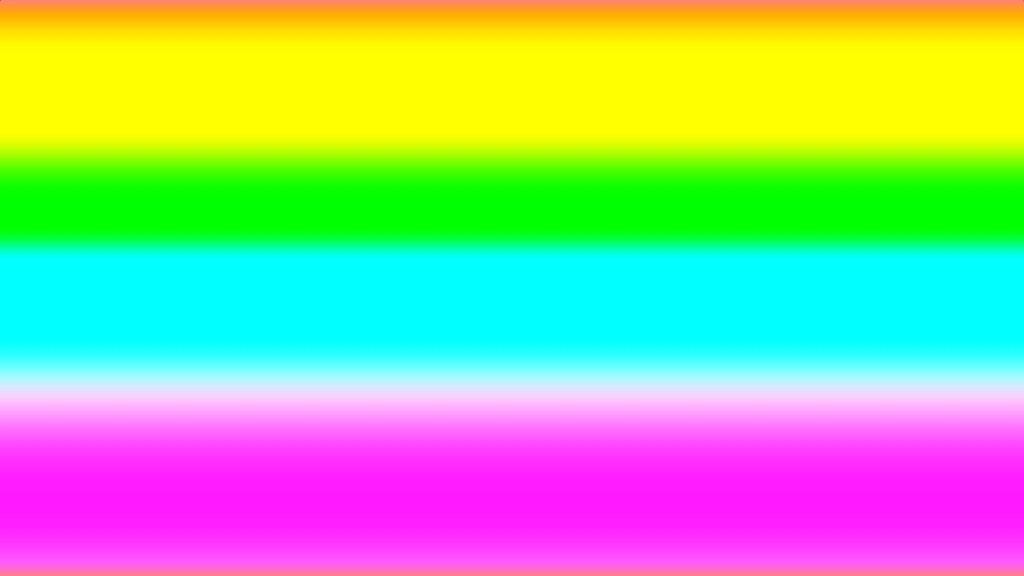
Output fragment
You can visualise the gradient by assigning the RGB value to the output fragment.
fragColour.rgb = rgb;
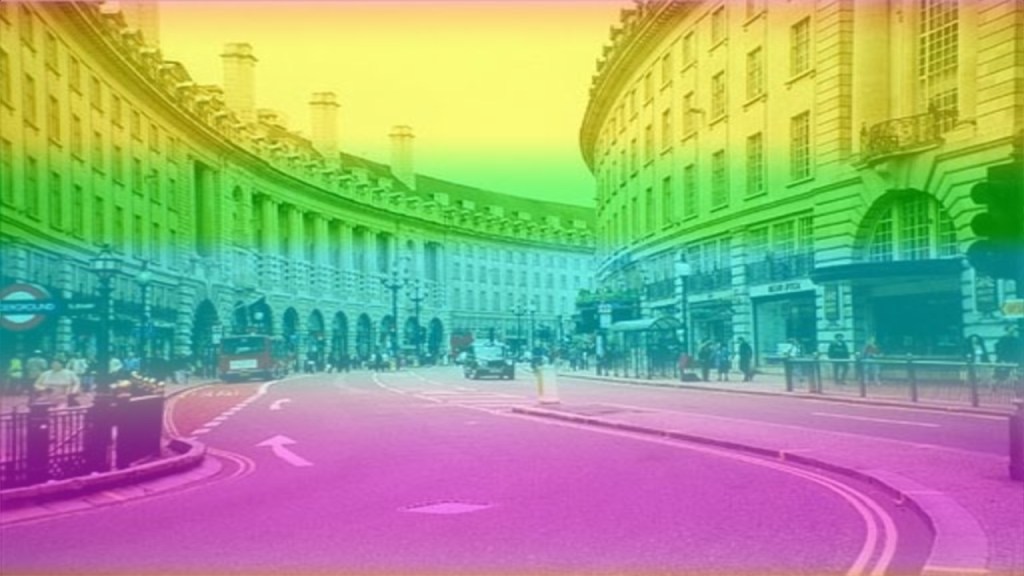
Mix
Optionally mix the hue shifted RGB value with a texture.
vec4 tex = texture(iChannel0, uv);
fragColour.rgb = mix(rgb, tex.rgb, 0.5);
Alpha
Remember to set the alpha.
fragColour.a = tex.a;
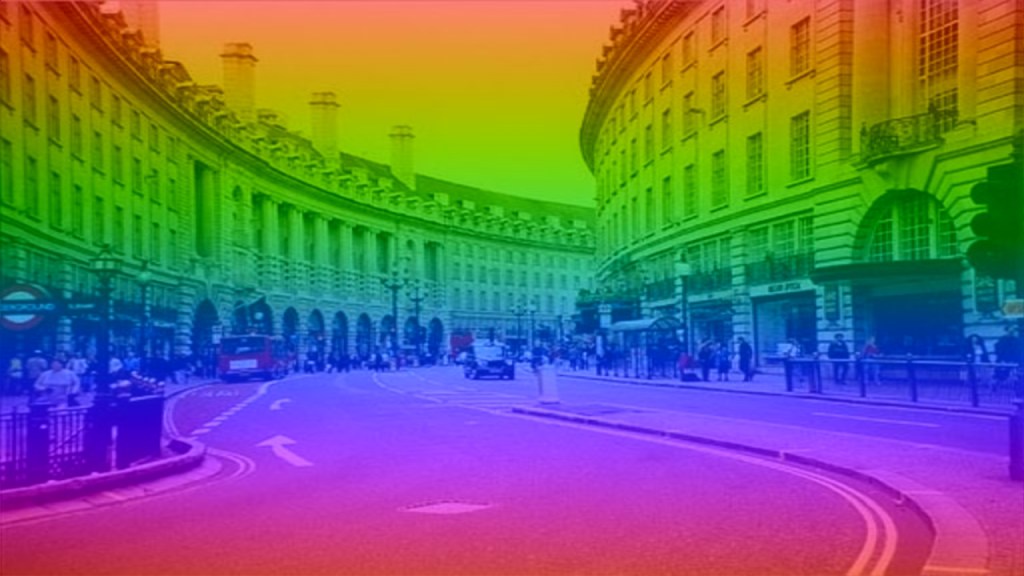
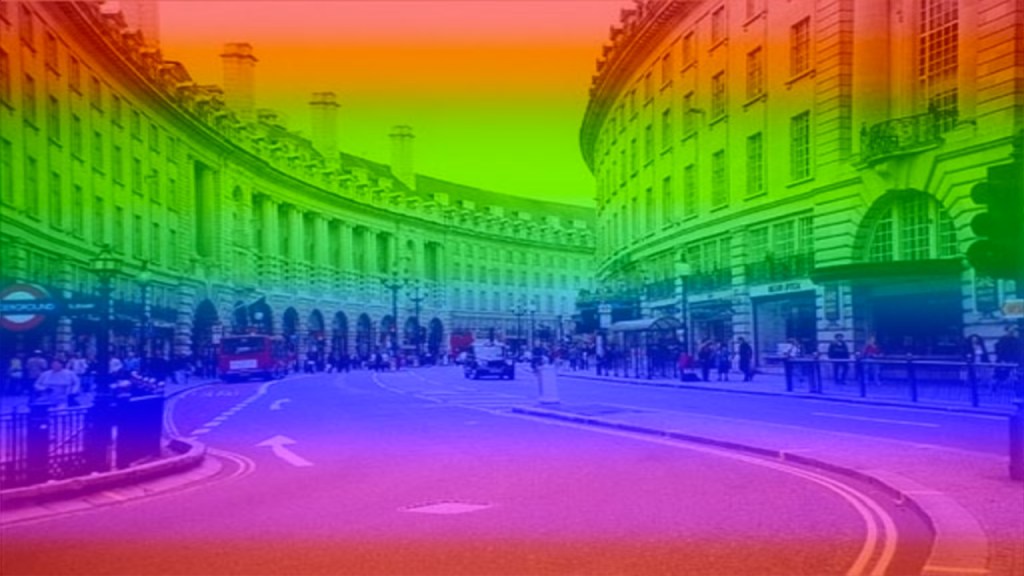
Easing function
Alternatively use an easing function or another curve instead of smoothstep to create different styles of gradients.
Defined outside of the main function:
// https://easings.net/#easeInOutCubic
float EaseInOutCubic(float x)
{
    return x < 0.5 ? 4.0 * x * x * x : 1.0 - pow(-2.0 * x + 2.0, 3.0) / 2.0;
}

vec3 EaseInOutCubic(vec3 rgb)
{
    rgb.r = EaseInOutCubic(rgb.r);
    rgb.g = EaseInOutCubic(rgb.g);
    rgb.b = EaseInOutCubic(rgb.b);
    return rgb;
}
Set inside of the main function:
rgb = EaseInOutCubic(rgb);

Other options

Shadertoy
Full Shadertoy code and demo available here.
Conclusion
Thank you for reading this tutorial. Let me know in the comments section if you enjoyed it, or have any questions!
For more gradient tutorials, check out this rotating gradient tutorial.
Or check out this four corner gradient tutorial.
