
Learn how to create a hue shift gradient shader using the GLSL programming language.
Introduction
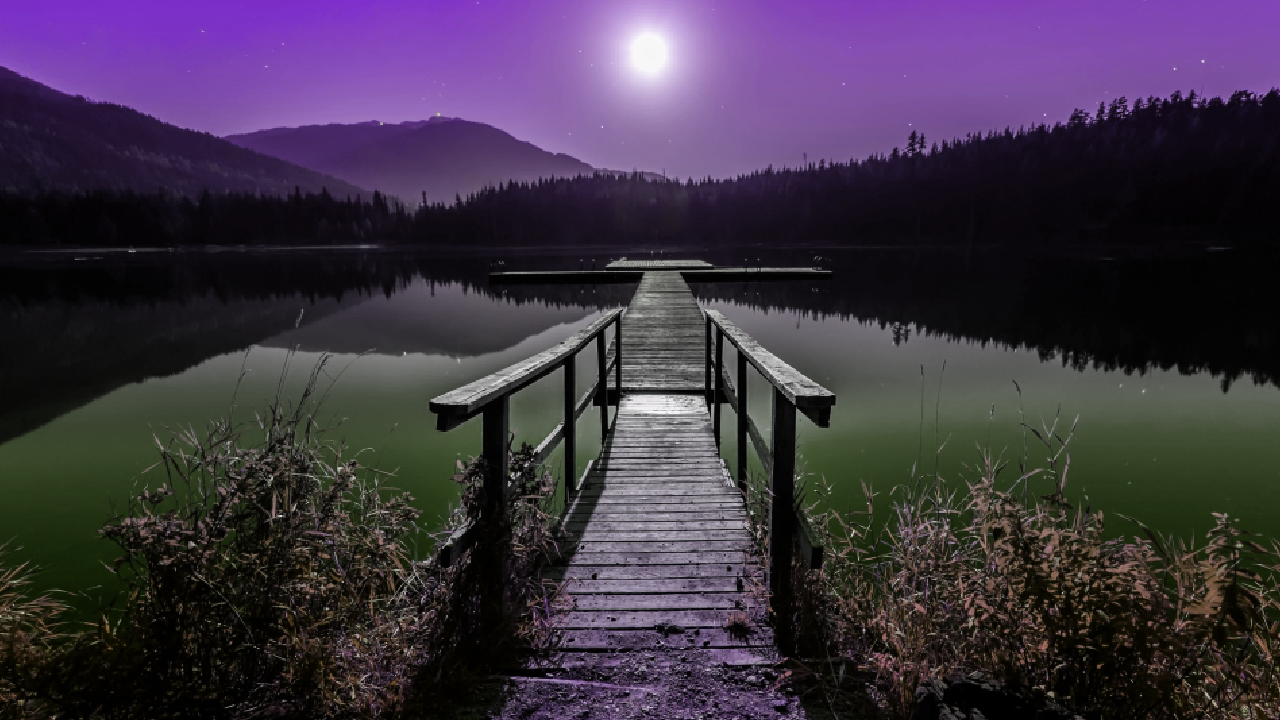
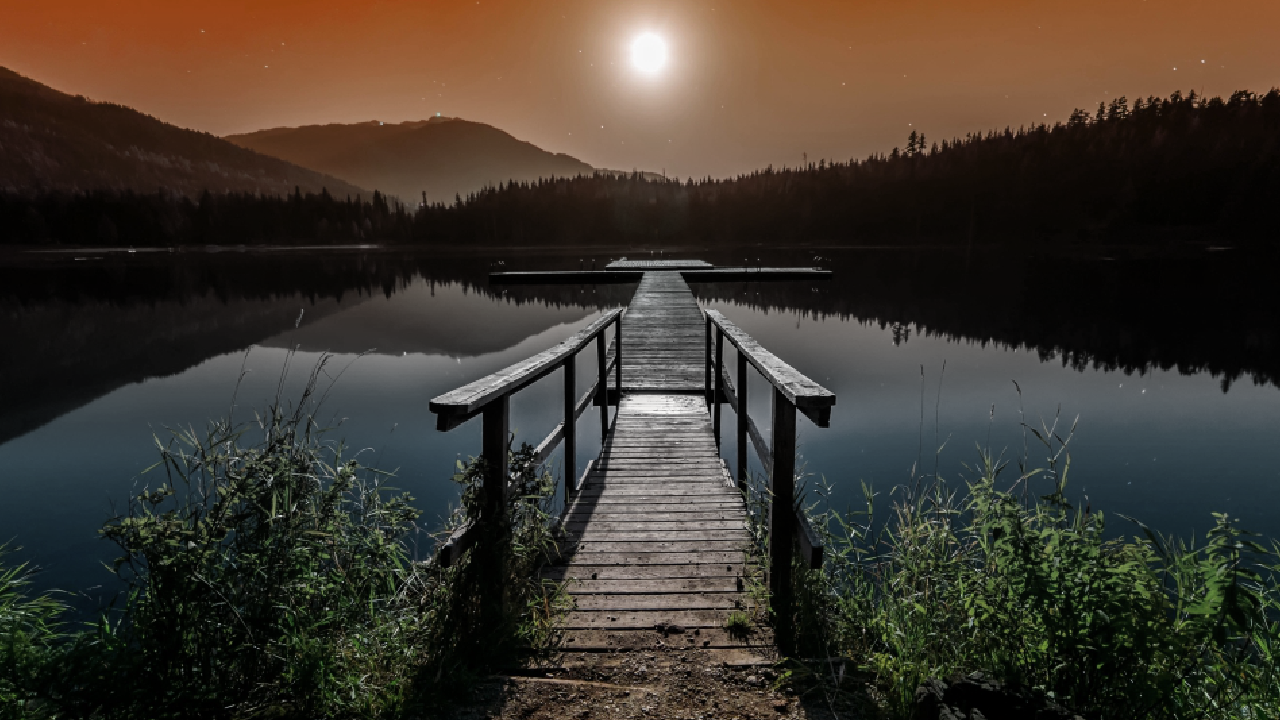
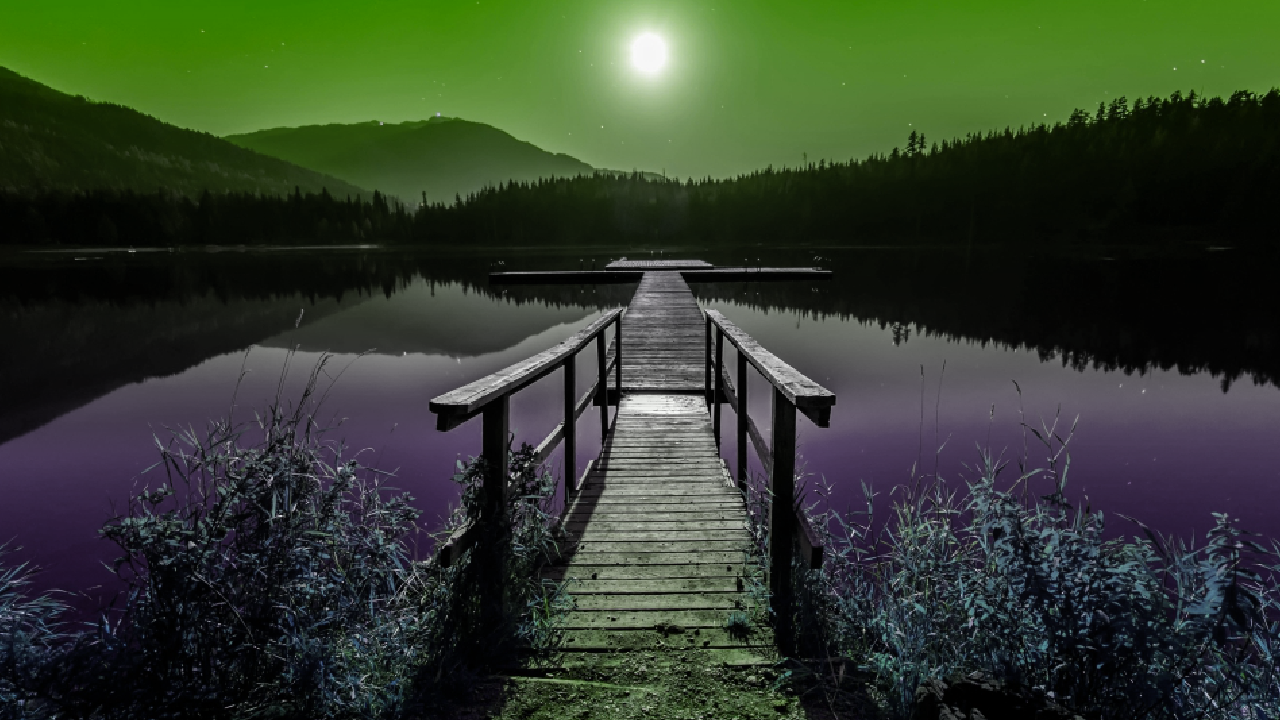
We will use the hue shift algorithm we wrote in the previous tutorial to create a gradient from the top to the bottom of the screen. We will mix together two different hue shift values. Where the second value is offset from the first value.
Offset
Create a new uniform called offset. The expected input is radians in the range of 0 to 2PI.
uniform float offset = 0.0f;
Main
Inside the main function, first get the current pixel colour.
fragColour = texture(textureUnit, texCoord);
Next we will get the first colour using the shift uniform from the previous tutorial.
vec3 col1 = HueShift(fragColour.rgb, shift);
Then we will get the second colour by adding together the shift and offset uniforms. This means the second colour can be different to the first colour depending on the value of offset.
vec3 col2 = HueShift(fragColour.rgb, shift + offset);
Finally we just need to combine the colours using mix and the texture coordinates to create a gradient.
fragColour.rgb = mix(col1, col2, texCoord.y);
Final result
Conclusion
Thank you for reading this tutorial. Let me know in the comments section if you enjoyed it, or have any questions!
