

Learn how to create a texture for a dissolve shader using the GIMP image editor. This tutorial will show you two methods.
Method 1
The first method uses GIMP’s solid noise filter, which is convenient since it has a tileable option.
1. Create a new image
Open the GIMP image editor and create a new image.
Go to:
File –> New
You can set the width and height to whatever you want. I am using 512×512.
2. Solid noise
Go to:
Filters –> Render –> Noise –> Solid Noise
Set tileable to true, and pick a seed which has dark and light areas. Increase details and slightly reduce the size.

This type of textures usually produces good results when used as a dissolve texture.

Method 2
The GIMP image editor has plenty of other filters which can create interesting dissolve textures.
1. Create a new image
Open the GIMP image editor and create a new image.
Go to:
File –> New
You can set the width and height to whatever you want. I am using 512×512.
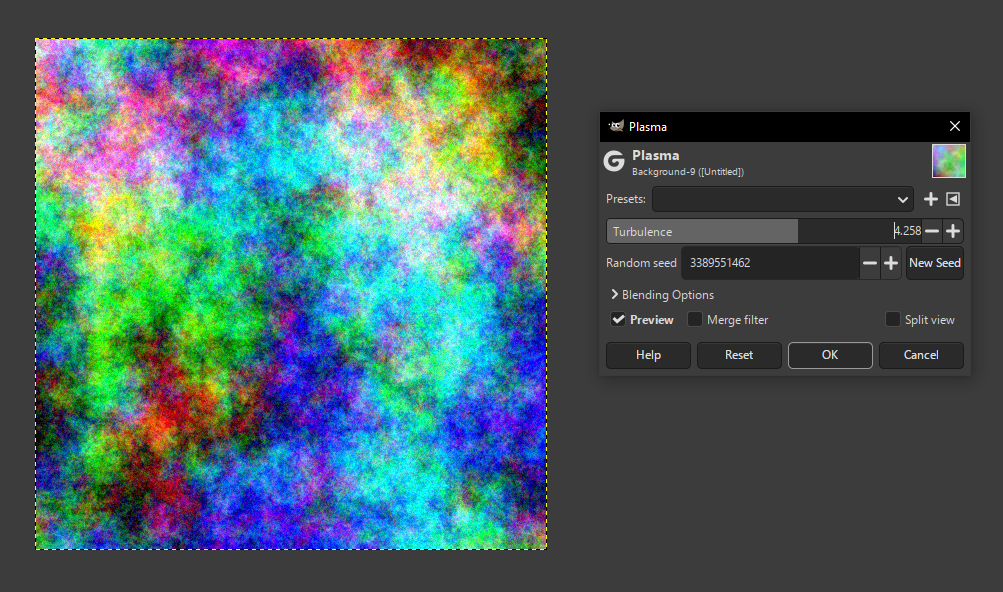
2. Plasma
Go to:
Filters –> Render –> Noise –> Plasma
You can pick any random seed, but it is best to pick something with light and dark areas.
Turn the turbulence up.
3. Desaturate
Go to:
Colors –> Desaturate –> Desaturate
Pick a mode which has good contrast. For me this was the luma mode.

4. Median blur
Go to:
Filters –> Blur –> Median Blur
Set the radius to a very low value, and play with the percentile slider.

5. Levels
Go to:
Colors –> Levels
Drag the black triangle and the white triangle around until you have an image which has black areas, white areas and greyscale colours in between. This will create a smooth gradient for the dissolve shader.

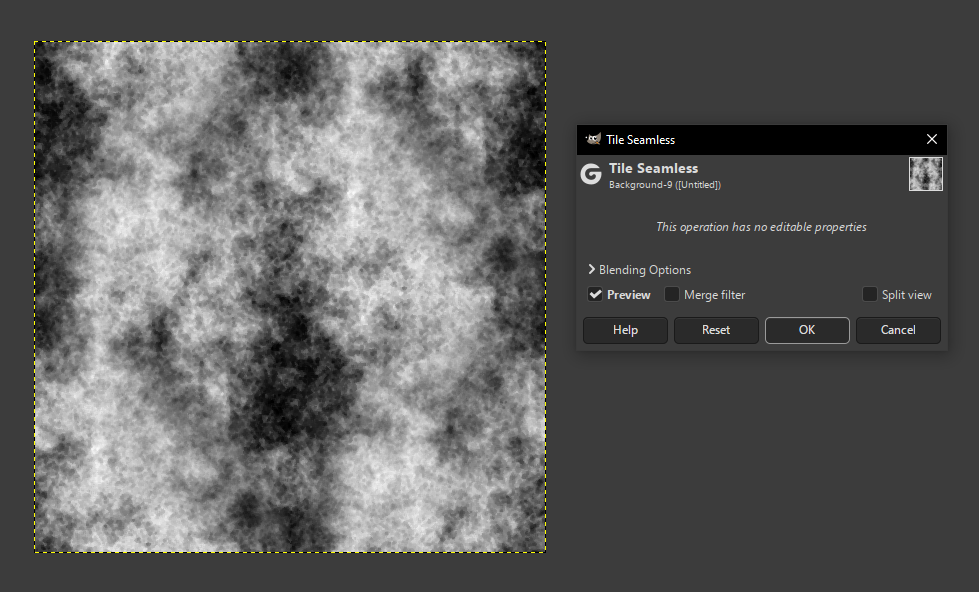
6. Tile seamless
Go to:
Filters –> Map –>Tile Seamless
This method isn’t perfect and doesn’t always get rid of the seams. You will need to test the texture in a dissolve shader to see how it looks.

Conclusion
Thank you for reading this tutorial. You have learned two useful methods for creating dissolve textures in the GIMP image editor using solid noise and plasma.
Feel free to experiment with other filters and see what you can come up with!

2 responses to “Creating Textures for a Dissolve Shader”
Cute designs! Happy Halloween 🎃
Thank you very much, Jordan! I Hope you are having a Happy Halloween! 🎃