

This pixel art tutorial will teach you four ways to create and apply dithering patterns to images in the Aseprite image editor.
Introduction
You will learn these four ways to create dithering patterns:
- Hand paint
- Pattern brush
- Gradient tool – Bayer matrix
- Opacity and blend modes
Dithering can be used to create a third colour, by creating a gradient using two alternating colours. This will trick the human eye into thinking the two colours are blended together, when they are viewed from a distance.
1. Hand Paint
As the title suggests, you can hand paint the dithering pattern using the Pencil Tool.
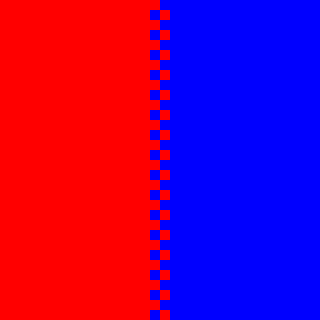
Starting with an image which is half red, and half blue.

Every alternate pixel is painted red on the blue side.

Then every alternate pixel is painted blue on the red side.
You can speed up the creation of your hand painted dithering patterns by using the Rectangular Marquee Tool and copy paste. For example you can copy move a selection of pixels. Use the Rectangular Marquee Tool to select the pixels you want to copy, then hold the ‘CTRL’ key and drag with the left mouse button to copy and move the selection.
You can also use brushes and the Paint Bucket Tool to speed up your workflow, which you will see in the next section.
Here is how the dithering pattern would look if it was repeated many times.
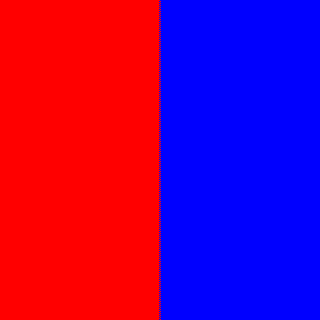
And without the dithering.

There are many kinds of dithering patterns, feel free to experiment.

You can also use gradients to blend 2 different colours together, such as the linear gradient below. Gradients look cool, but they introduce many colours into your image, and this defeats the purpose of using a limited colour palette.

2. Pattern Brush
Create a pattern using the Pencil Tool. The shortcut is ‘B’.
Select the pattern using the Rectangular Marquee Tool, you can press the ‘M’ key.

Create a brush by pressing the ‘CTRL + B’ keys together.
You can save this brush to use for later, by pressing on the ‘Brush Type’ button at the top of the program.

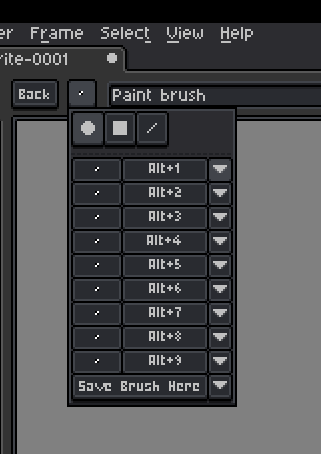
You can save the brush by clicking the ‘Save Brush Here’ button, or use the arrow drop down buttons next to the ‘Alt+1’, ‘Alt+2’, etc.

Now you can use the ‘Alt’ key plus any number key from 1 to 9 to select a brush you saved. You can also use the ‘ESC’ key to deselect a brush, and go back to the pencil tool.
Select your brush. Then switch to the Paint Bucket Tool by pressing the ‘G’ key. Then fill in the empty space. This will create a checkerboard pattern.
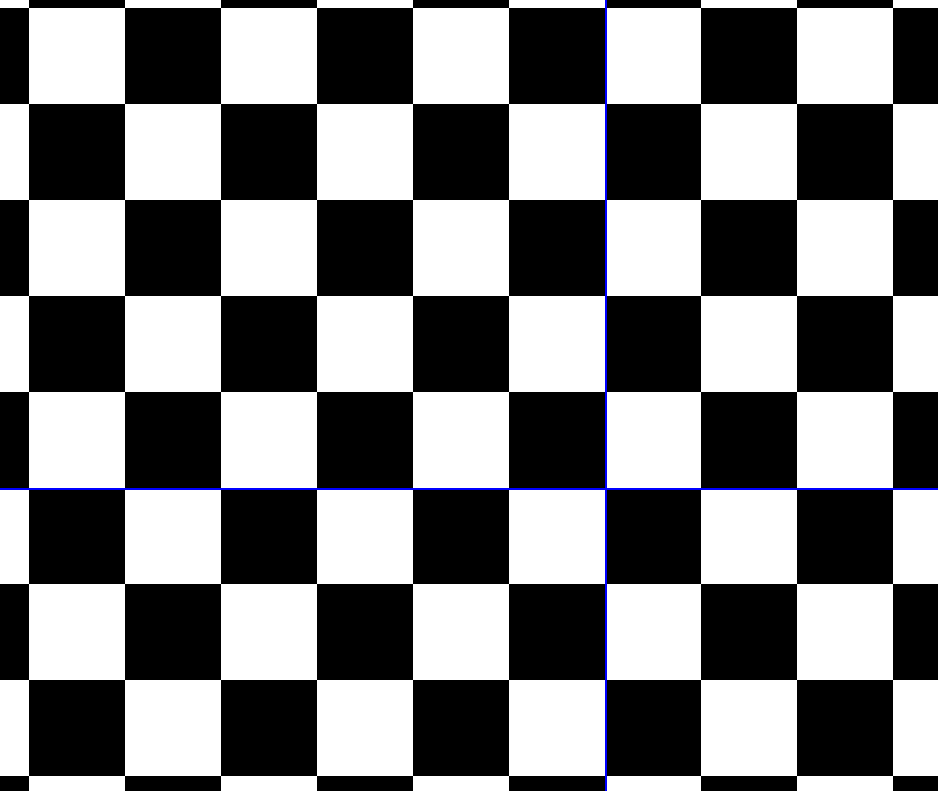
You can create many different types of repeating patterns using this method.
3. Gradient Tool
The gradient tool can be used as a fast way to fill an empty space or a solid colour with a dithering pattern.
Select the Gradient Tool by pressing ‘Shift + M’. You should see these gradient options at the top of the program.

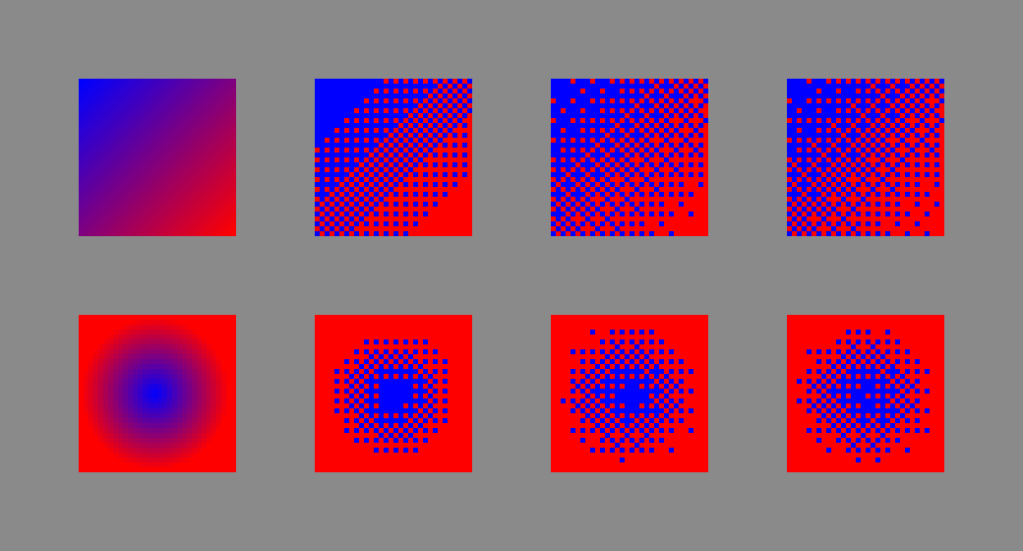
The left side of the image shows the Linear Gradient and Radial Gradient options without dithering. These are regulars gradients and they introduce many colours into the image.
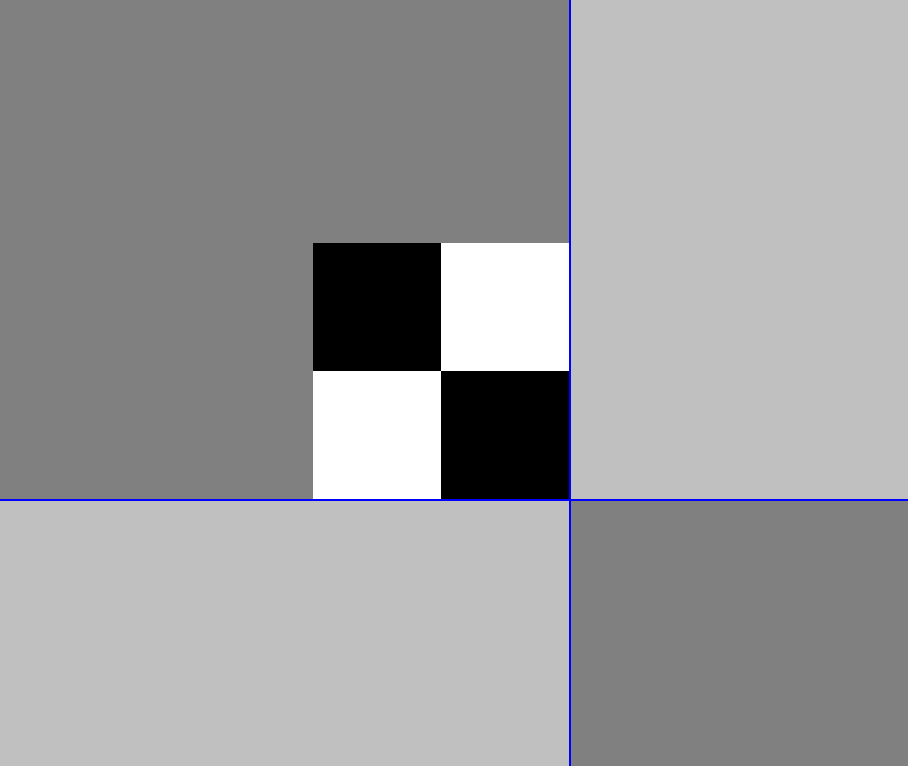
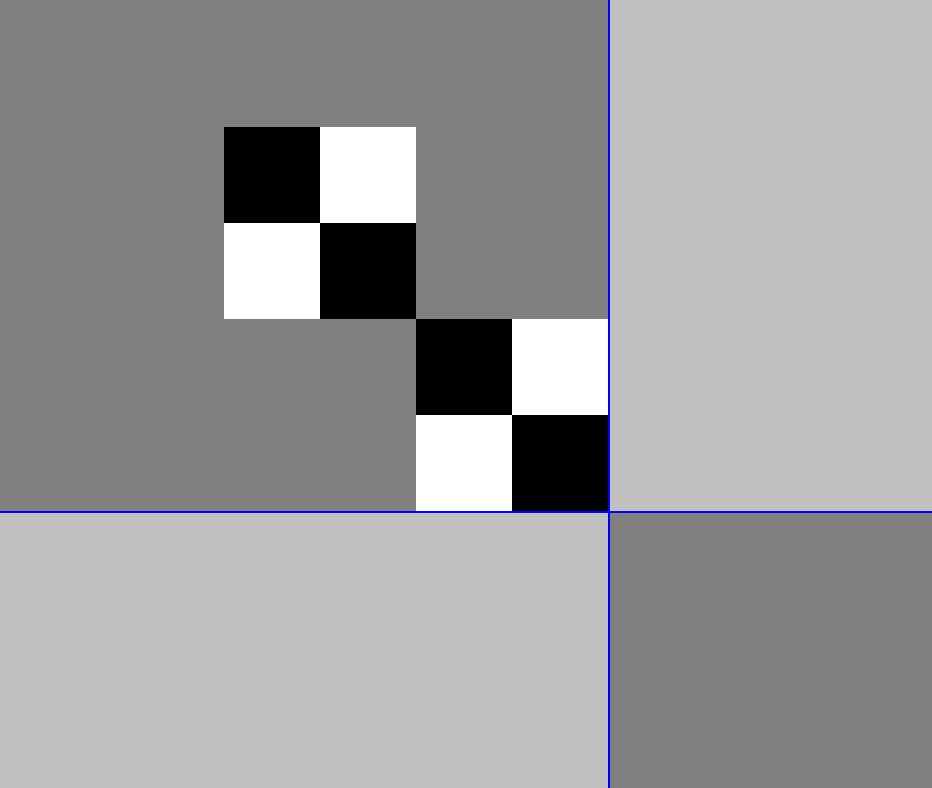
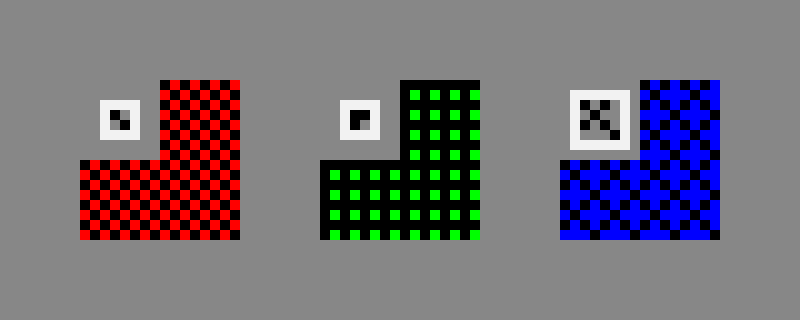
We can change the No Dithering option, to a Bayer Matrix. This comes in 2×2, 4×4 and 8×8 (which you can see below from left to right). As you can see the larger size, has a more complex pattern.
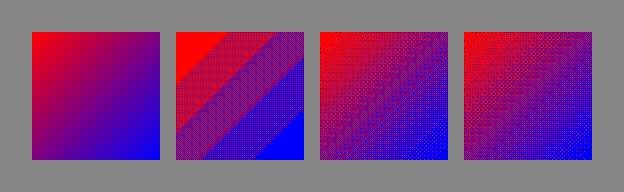
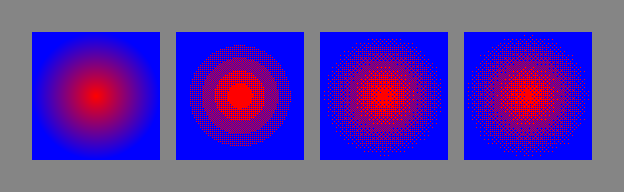
Note, if the canvas isn’t big enough, then all of the details cannot be represented.
4. Opacity and Blend Modes
Opacity and blend modes can be used to add texture to an image.
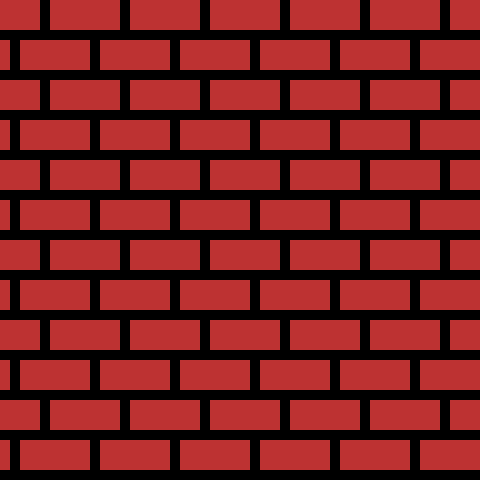
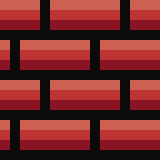
Take this brick texture for example.
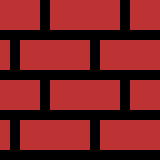
It was drawn with tiled in both axes turned on, so that it repeats seamlessly.
View –> Tiled Mode –> Tiled in Both Axes
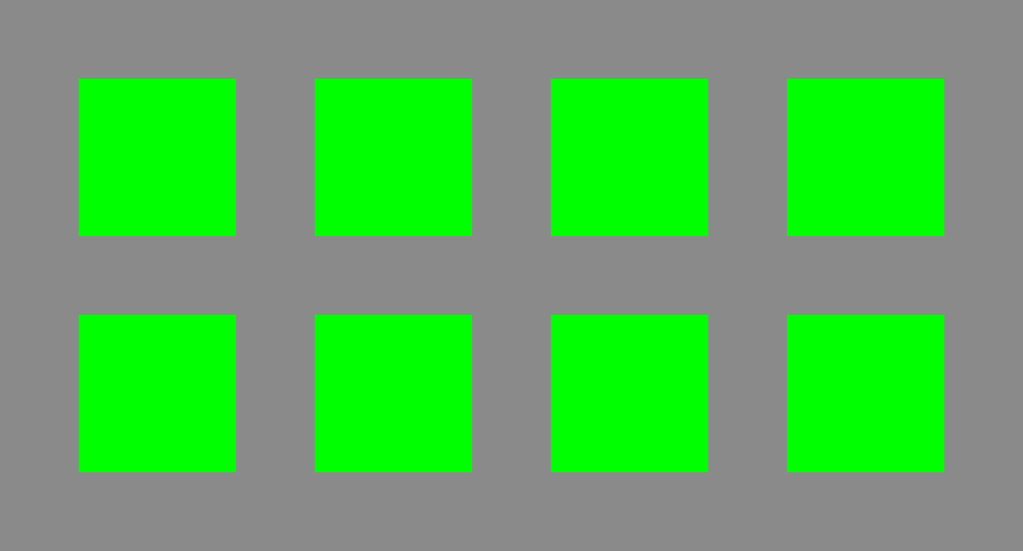
This is what it looks like when there are 9 of the same image side by side, in a 3×3 arrangement.
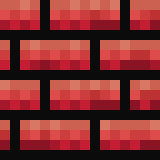
So next if some shadows and highlights are added to the image.
Then if a new layer is created, and random noisy dithering is applied on top of the brick texture using greyscale colours. It doesn’t look good yet, but in the next step!

If we set the opacity of the dither layer to ‘50%’ and the blend mode to ‘Overlay’, then we get this:
This opacity might be too much for your liking, so feel free to drop it further if you wish.
And when it is repeated it looks like this:
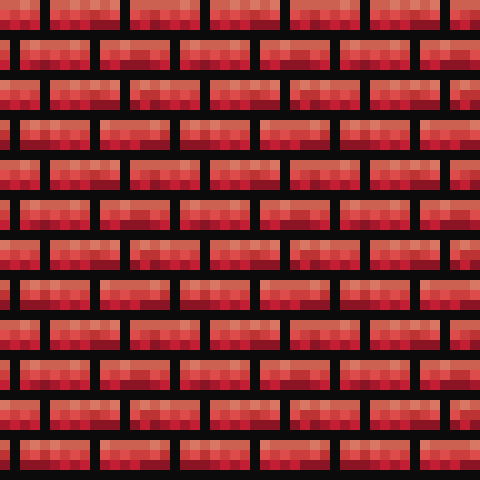
As you can see, this is a pretty fast way to add texture to an image. But beware, this adds extra colours to the image.
Feel free to experiment with different shapes, blend modes and opacity settings.
Conclusion
Thanks for reading this tutorial. You have learned four techniques you can use to create and use dithering patterns in the Aseprite image editor. You learned how to hand paint dithering patterns, create pattern brushes, then use the gradient tool and bayer matrix, and finally how to adjust opacity and change blend modes.

2 responses to “Aseprite Pixel Art Tutorial: Dithering”
Great tutorial — this is a very clear and approachable explanation of dithering in Aseprite, especially for pixel art workflows. The examples make it easy to see how different settings affect the final look.
I’ve been experimenting with dithering a lot recently, and I’ve also noticed that palette size and color selection often have a bigger impact than the specific pattern used. Really appreciate you putting this together — very helpful reference.
Thank you, I am glad you found this tutorial useful! 😀