

This tutorial will show you four simple and fast ways to create arches in Aseprite using different tools. Read on to find your favourite method.
Aseprite
Aseprite is an image editor designed primarily for pixel art drawing and animation.
1: Pencil tool
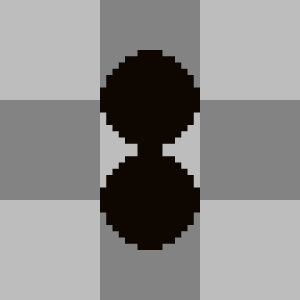
Select the pencil tool and make sure the circle mode is selected. Scale the brush up in size, then place a circle.

Hold shift and left click to create another circle below.
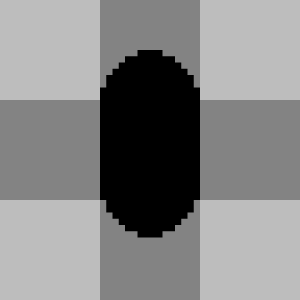
Erase the bottom of the lower circle to create an arch using the eraser tool.
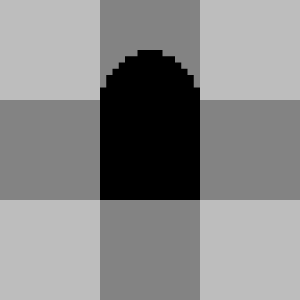
2: Eraser tool
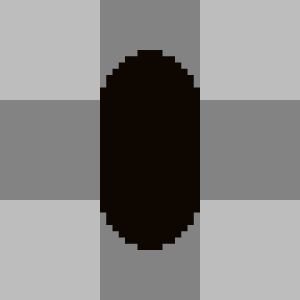
Fill the layer with a solid colour. Then switch to the eraser tool and make sure the circle mode is selected. Scale the eraser up in size, then erase a circle from the filled area.

Hold shift and left click to erase another circle below.
Fill in half of the circle below using the pencil tool to create an arch.

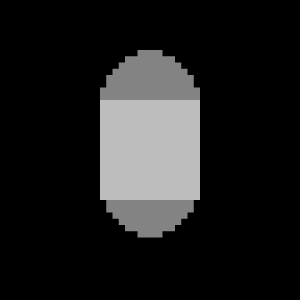
3: Filled ellipse tool
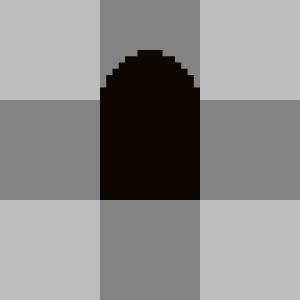
Select the filled ellipse tool and create a circle.
Switch to the rectangular marquee tool and select the circle. Copy it and move the copy below.
Switch to the pencil tool and fill in the gaps between the circles.
Switch to the eraser tool and erase half of the bottom circle to create an arch.

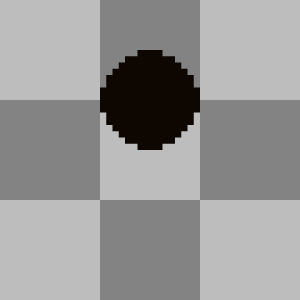
4: Elliptical marquee tool
Select the elliptical marquee tool and create a circular selection area with it. Press ‘F’ to fill in the selection area to create a circle.

Switch to the pencil tool and draw the rest of the arch as an outline below the current circle. You can hold shift to draw lines.

Use the paint bucket tool to fill in the outline.
Conclusion
Thanks for reading this tutorial, let me know in the comments section if you enjoyed it and which technique you prefer.
See more pixel art tutorials here.

3 responses to “Four simple ways to create arches in Aseprite”
Thanks for the tutorial! Giving me ideas 🙂
Thanks, I love your designs!
Oh thank you! You’re too kind. 🙂