
This guide will show you how to install ffmpeg on the Windows operating system in three simple steps.
- Download ffmpeg.
- Unzip ffmpeg.
- Add the ffmpeg bin folder to the user path.
Read on for the details.
Introduction
The free and open source ffmpeg project allows you to process video and audio files. You can create GIFs, compress videos, clip videos, combine videos, and do many other useful things.
Download
Go to:
Builds – CODEX FFMPEG @ gyan.dev
Download the latest essential release build. At the time of writing, that would be this one (highlighted with the red circle):

Unzip
Then unzip the ffmpeg archive somewhere.
User path
Next you will need to add ffmpeg to your user path.
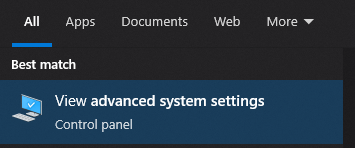
One way to get there would be to type this into the windows search bar: ‘advanced system settings’. Then simply click on this:
This will bring up the System Properties window.
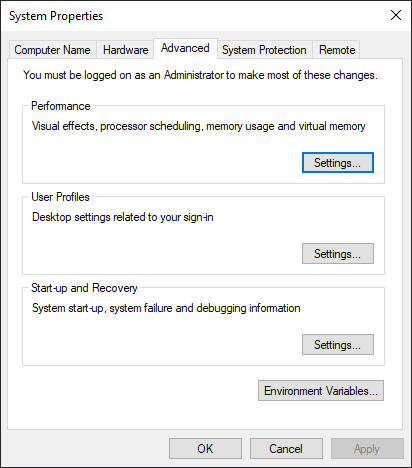
Click on the Advanced tab, then click on Environment Variables.
Under user variables, click on Path, then click on Edit.
Then click New, followed by Browse. Set the path to the location of your ffmpeg bin folder. Similar to this, but with your user name (assuming your ffmpeg is in the downloads folder):
C:\Users\UserName\Downloads\ffmpeg\binNow all you have to do is press ok multiple times, to close the System Properties and confirm your changes.
Test
Now lets test if we setup ffmpeg successfully.
Type ‘cmd’ into the windows search bar, and open up the Command Prompt.
Type ‘ffmpeg’ and press enter.
If it prints the ffmpeg version you added to the path, then you were successful. If not, double check your path points to the ffmpeg bin folder.
You should see something like this if you were successful:
ffmpeg version 6.1-essentials_build-www.gyan.dev Copyright (c) 2000-2023 the FFmpeg developersConclusion
Now that you have ffmpeg installed, you will be able to do the following whenever you want:
Thank you for reading this tutorial, I hope you found it useful!
