

Learn how to create a hue shift shader using the GLSL programming language and the YIQ colour space.
Introduction
For this tutorial I am going to port the YIQ algorithm from this GameMaker tutorial to GLSL. I picked the YIQ version because I think it looks the best. But the tutorial also shows you how to create an HSV version and a Rodrigues’ rotation formula version.
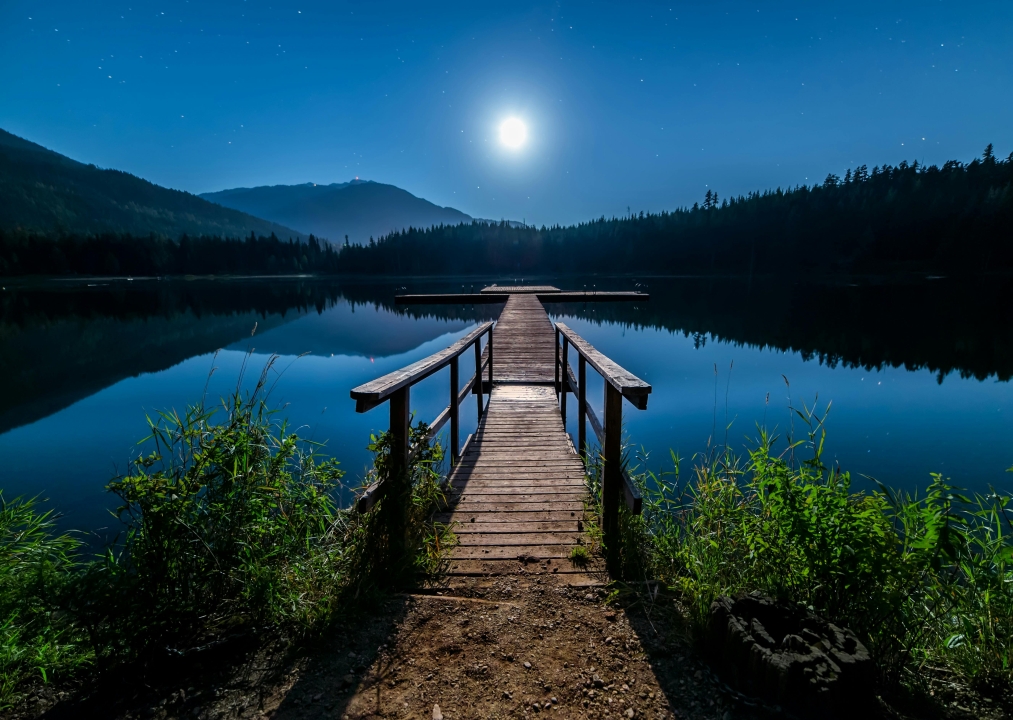
I will use this beautiful wooden dock image for the tutorial.
YIQ
Define a matrix to convert a RGB colour to YIQ.
const mat3 YIQ_CONVERT = mat3(
	0.299, 0.596, 0.211,
	0.587, -0.274, -0.523,
	0.114, -0.322, 0.312
);
Next define a function which uses the matrix.
vec3 ToYIQ(vec3 colour)
{
	return YIQ_CONVERT * colour;
}
RGB
Define a matrix which converts YIQ back to RGB.
const mat3 RGB_CONVERT = mat3(
	1.0, 1.0, 1.0,
	0.956, -0.272, -1.106,
	0.621, -0.647, 1.703
);
Next define a function which uses the matrix.
vec3 ToRGB(vec3 colour)
{
	return RGB_CONVERT * colour;
}
Shift uniform
Create a uniform called shift. The expected input is radians in the range of 0 to 2PI.
uniform float shift = 0.0f;
Hue Shift
Create a hue shift function which will use the two colour conversion functions we created.
vec3 HueShift(vec3 colour)
{
	vec3 yiq = ToYIQ(colour);

	mat2 rotMatrix = mat2(
		cos(shift), -sin(shift),
		sin(shift), cos(shift)
	);
	yiq.yz *= rotMatrix;

	return ToRGB(yiq);
}
First convert the RGB value to YIQ.
vec3 yiq = ToYIQ(colour);
Next define a rotation matrix using the shift uniform we pass in. This will control the hue shift. Multiply the rotation matrix against two of the YIQ components.
	mat2 rotMatrix = mat2(
		cos(shift), -sin(shift),
		sin(shift), cos(shift)
	);
	yiq.yz *= rotMatrix;
Lastly convert back to RGB, and return the result!
return ToRGB(yiq);
Output
Set the fragment output colour to the current texture colour inside the shader main function. Then pass the RGB part into the hue shift function we created earlier. The result of the function will change the hue of the texture colour.
void main()
{
	fragColour = texture(textureUnit, texCoord);
	fragColour.rgb = HueShift(fragColour.rgb);
}
Set shift
Set the shift uniform outside of the shader. You can use the current time in seconds, modulus and 2PI to make the hue shift value loop around.
const float shift = std::fmodf(timeSeconds, TWO_PI);
hueShiftShader->Uniform1f("shift", shift);
Final result
Conclusion
Thank you for reading this tutorial. Let me know in the comments section if you enjoyed it, or have any questions!

8 responses to “Creating a hue shift shader”
so this is interesting to me, but how well you think it would work on designs such as mine?
I think it would look cool on your designs. But the question is whether you can have animated backgrounds or not? I guess they would be video files like MP4 or GIFs
Yea I would have to run them off my youtube or as gif, I might be reaching out to ya when or if I decided to try some designs with this.
Go for it, would be interesting to see. I could use one of your images for one of my tutorials and link back to your website? Like a collaboration post or something
works for me I would love to see it and would most certainly add a promo block for ya even if my reach is miniscule lol
Well I wouldn’t say my reach is great either, but I think we are going in the right direction 😀 I’ll think about what effect I am going to do next, then get in touch
all great things start from nothing and nobody’s collaboration is the best way to build!!
“If you build it, they will come”