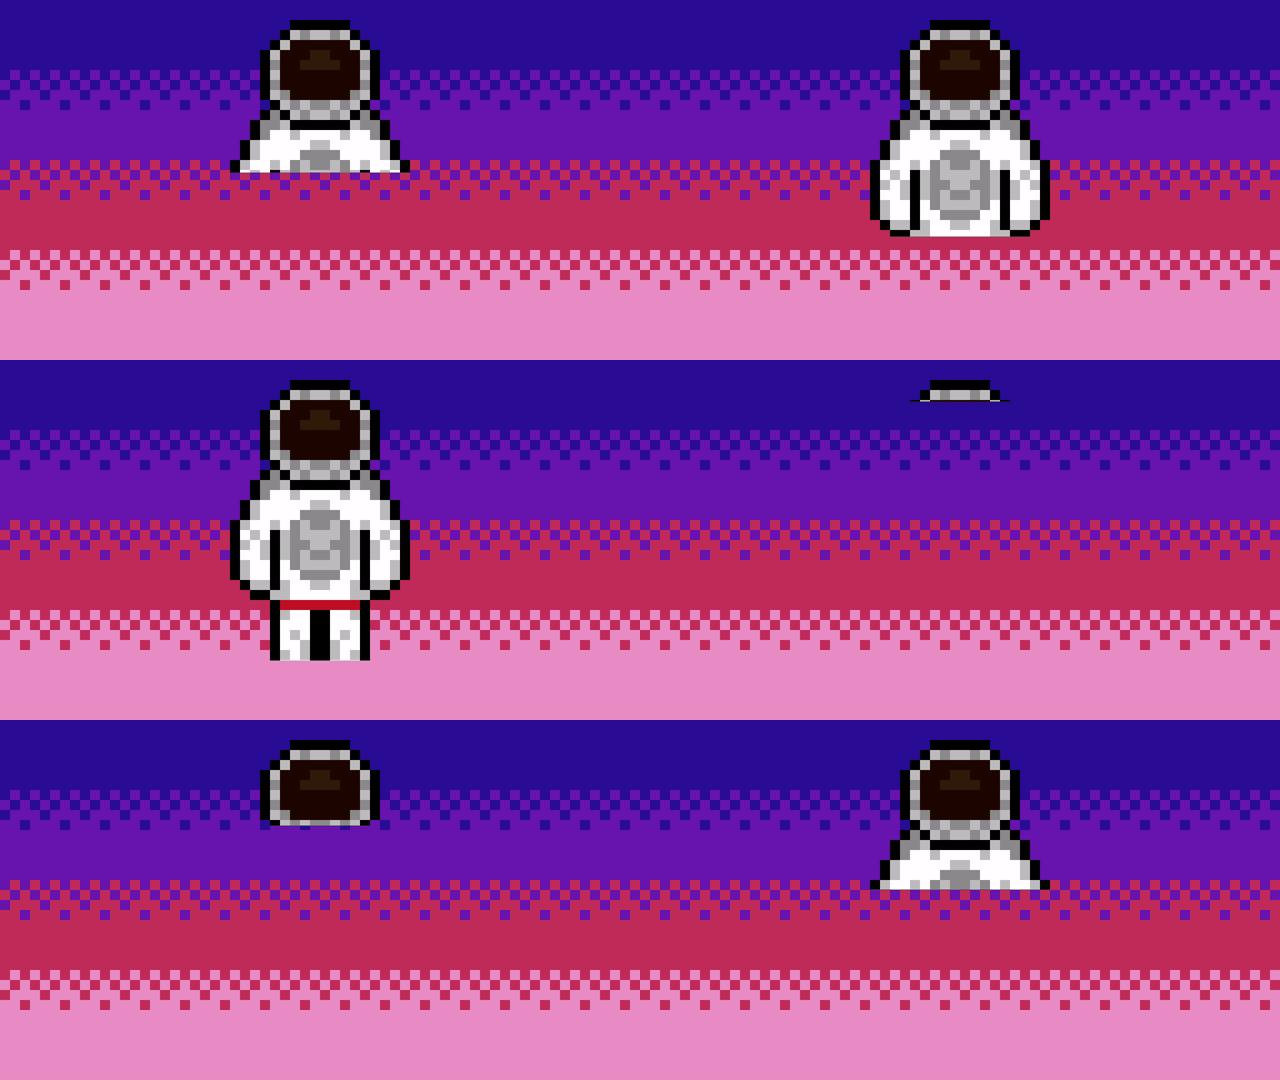
Learn how to create a 3D printer shader visual effect and watch as the texture appears line by line. Written in the GLSL programming language.
Uniform
The animation is controlled using a uniform called progress. The value should be in the 0 to 1 range.
uniform float progress;
Printer
The following code is inside the shader main function.
float s = step(texCoord.y, progress);
The step function compares the first value against the second value. If the second value is less than the first value, then 0 is returned. Else 1 is returned.
The texCoord variable represents the texture coordinates and is a vec2 which gets passed into the shader. The texture coordinates increase from 0 to 1, like the progress value. So the higher the progress value, the more of the texture which is visible.
fragColour = texture(textureUnit, texCoord);
Get the pixel colour.
fragColour.a *= s;
Scale the alpha with the result from the step function. This will control the transparency for each line of the texture.
Time
You can test the shader using the time in seconds. Create a looping progress value in the 0 to 1 range using a fract function and time. The fract function returns only the decimal of a number. Then pass the progress value into the shader.
const float progress = math::Fract(timeSeconds);
shader->Uniform1f("progress", progress);
Conclusion
Thank you for reading this tutorial. Let me know in the comments section if you enjoyed it, or have any questions!


3 responses to “Creating a 3D printer shader”
Nice 💯🌼🌷🌻
Blessings and greetings 👋🇪🇸
David López Moncada.
🌼🌷🌻 I GROW TOGETHER
PK 🌎 /
Thank you David 🙂
Hello friend, I enjoyed reading your post. I subscribed. See you often. Have a happy and bright day🌙💫🔆😸🌷🌹