
Learn how to draw a grid and snap images to the grid using Processing and Java. Easily portable to other programming languages.
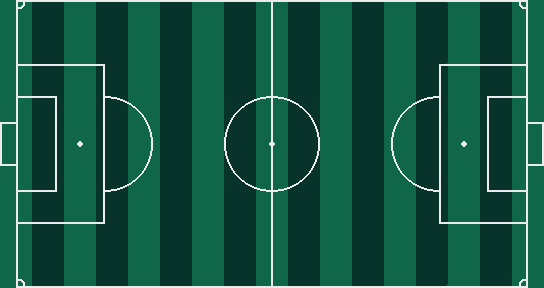
You can use any image for this tutorial. I used this football pitch sprite I made in Aseprite.
Grid size
First specify the grid size as a variable at the top of the program.
float gridSize = 32;

Draw a grid
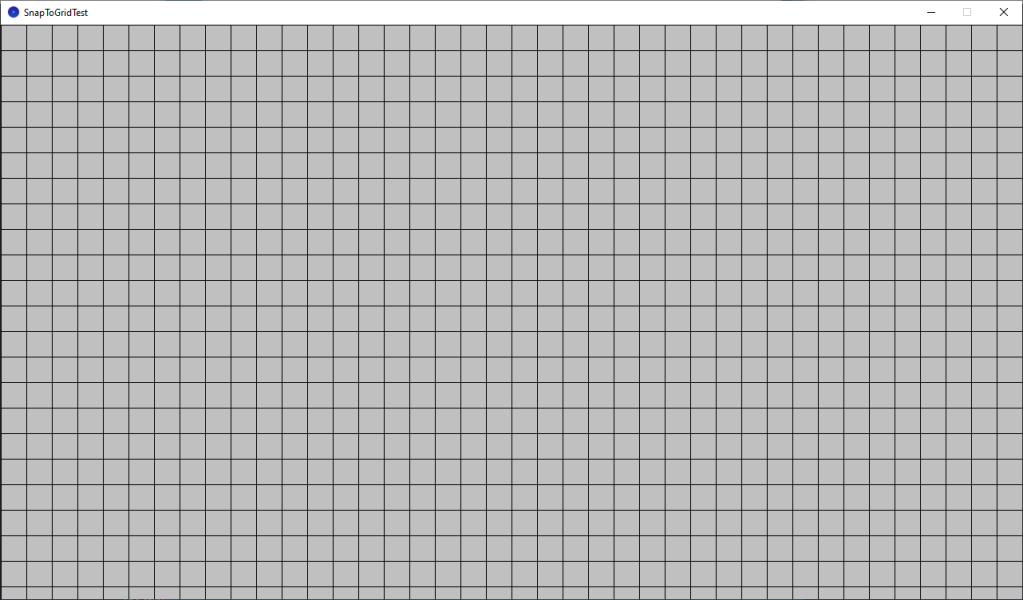
Next create a draw grid function.
The stroke is set to black and the fill is turned off.
void DrawGrid()
{
  stroke(0);
  noFill();

  // Horizontal lines
  int total = ceil(height / gridSize);
  for(int i=0; i<total; ++i)
  {
    line(0, gridSize * i, width, gridSize * i);
  }

  // Vertical lines
  total = ceil(width / gridSize);
  for(int i=0; i<total; ++i)
  {
    line(gridSize * i, 0, gridSize * i, height);
  }
}
The horizontal lines are drawn first, then the vertical lines. The total numbers of lines is calculated using width or height divided by the grid size. The ceil function is used to round the total up. So the grid should always cover the full screen.
Load an image
Create an image variable at the top of the program.
PImage myImage;
Load the image in the setup function.
void setup()
{
  size(1280, 720);

  myImage = loadImage("FootballPitch.png");
}
Draw the image
We can draw the image centred at the mouse position like so:
void DrawImage()
{
  float x = mouseX;
  float y = mouseY;

  image(myImage, x - myImage.width / 2, y - myImage.height / 2);
}
Snap to grid
This function will snap a position to a grid. It takes a position variable, the image size, and the grid size.
float SnapToGrid(float x, float imageSize, float gridSize)
{
  x -= imageSize / 2;
  x = ceil(x / gridSize) * gridSize;
  x += imageSize / 2;
  return x;
}
The position variable is assumed to be the centre of an image. Hence why we offset by half the image size. The current position is divided by the grid size and rounded up by the ceil function, then multiplied by the grid size. This will align the position to either the current or the next grid cell.
Draw image snapped
The image can now be snapped to a grid like this:
void DrawImageSnapped()
{
  float x = mouseX;
  float y = mouseY;

  x = SnapToGrid(x, myImage.width, gridSize);
  y = SnapToGrid(y, myImage.height, gridSize);

  image(myImage, x - myImage.width / 2, y - myImage.height / 2);
}
And the draw order looks like this:
void draw()
{
  background(192);
  DrawGrid();
  DrawImageSnapped();
}
Conclusion
This tutorial has shown you how to draw a grid and snap an image to a grid using Processing and Java.
Thank you for reading this tutorial. Let me know in the comments section if you enjoyed it, or have any questions!
