
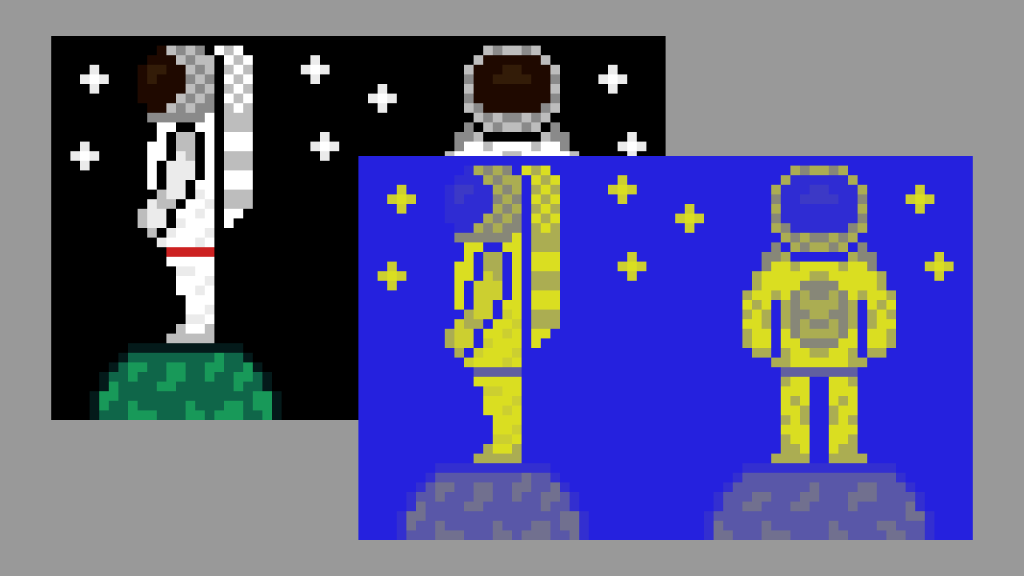
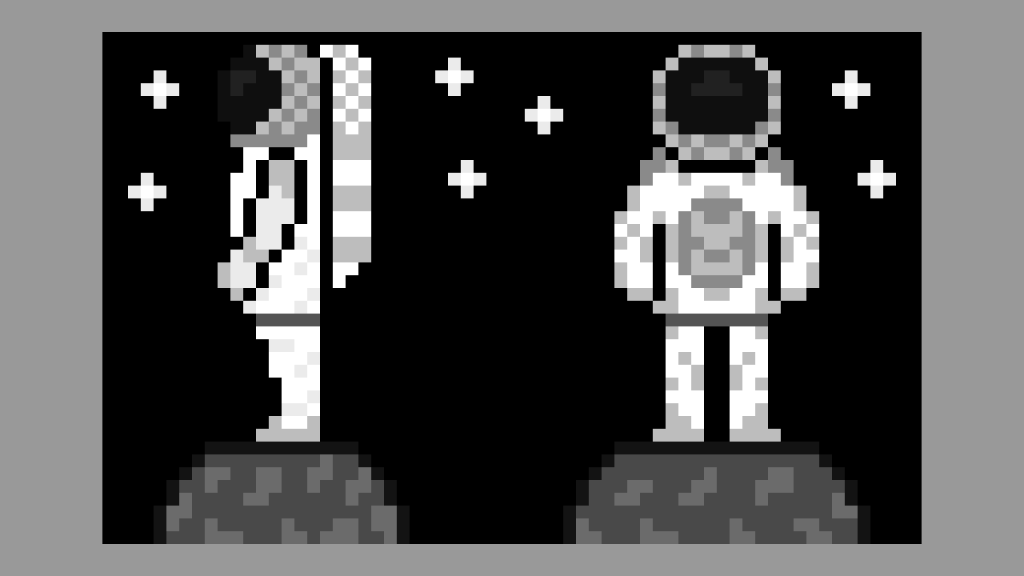
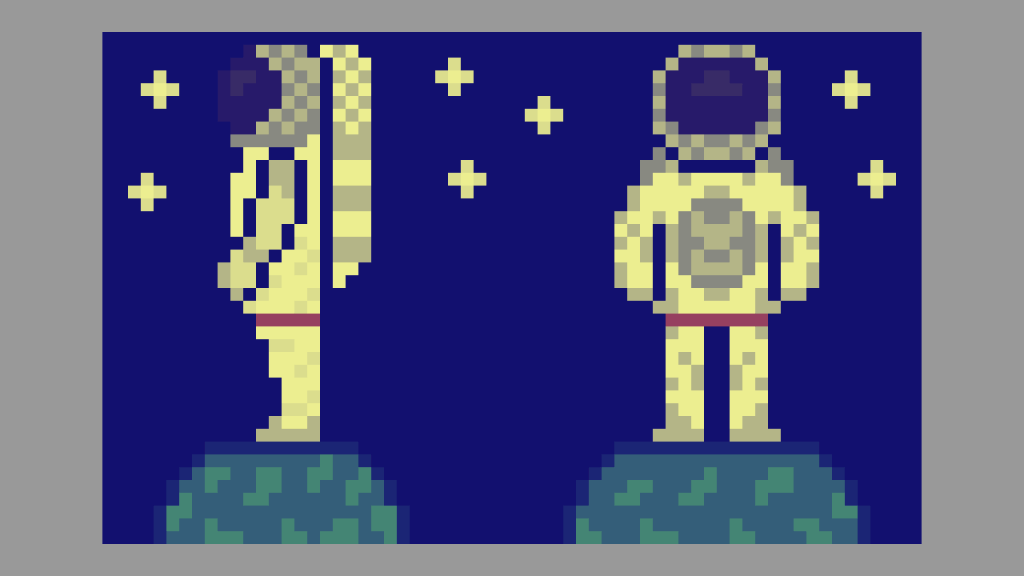
This tutorial will show you how to create a duotone effect in a GLSL shader. I will be using the following sprite of an astronaut which I created in Aseprite.

This is what the main algorithm looks like, it’s actually quite small:
void main()
{
	vec4 pixel = texture(textureUnit, texCoord);

	// Convert pixel colour to greyscale
	vec3 pixelGreyscale = vec3(dot(pixel.rgb, GREY_WEIGHTS));

	// Get the pixel brightness,
        // by converting to HSV
	vec3 hsv = ToHSV(pixelGreyscale.rgb);
	float pixelBrightness = hsv.b;

	// Mix both colours based on pixel brightness
	fragColour.rgb = mix(shadow, highlight, pixelBrightness);

	// Mix original colour with duotone colour
	fragColour.rgb = mix(pixel.rgb, fragColour.rgb, intensity);

	// Set alpha channel to original pixel alpha
	fragColour.a = pixel.a;
}
Step 1: Get the current pixel colour
vec4 pixel = texture(textureUnit, texCoord);Step 2: Convert to greyscale
Convert the current pixel colour to greyscale using the weights.
const vec3 GREY_WEIGHTS = vec3(0.299f, 0.587f, 0.114f);
vec3 pixelGreyscale = vec3(dot(pixel.rgb, GREY_WEIGHTS));
Explanation of converting to greyscale here.
Step 3: Get the pixel brightness
Convert the greyscale pixel to the HSV colour format, and get the pixel brightness.
vec3 hsv = ToHSV(pixelGreyscale.rgb);
float pixelBrightness = hsv.b;
You will need an algorithm for converting to HSV. I got mine from here: Saturation and Value Shaders – GameMaker Tutorial.
Here is what the ToHSV function looks like:
// Input: RGB
vec3 ToHSV(vec3 colour)
{
	vec4 k = vec4(0.0, -1.0 / 3.0, 2.0 / 3.0, -1.0);
	vec4 p = mix(vec4(colour.b, colour.g, k.w, k.z), vec4(colour.g, colour.b, k.x, k.y), step(colour.b, colour.g));
	vec4 q = mix(vec4(p.x, p.y, p.w, colour.r), vec4(colour.r, p.y, p.z, p.x), step(p.x, colour.r));

	float d = q.x - min(q.w, q.y);
	float e = 0.00001;

	return vec3(abs(q.z + (q.w - q.y) / (6.0 * d + e)), d / (q.x + e), q.x);
}
Step 4: Mix the shadow and highlight
Mix the shadow and the highlight colours using the pixel brightness.
fragColour.rgb = mix(shadow, highlight, pixelBrightness);I pass in two uniforms called shadow and highlight. You can pass in any colour you like, but I recommend checking out this post for tips on selecting duotone colours.
uniform vec3 shadow;
uniform vec3 highlight;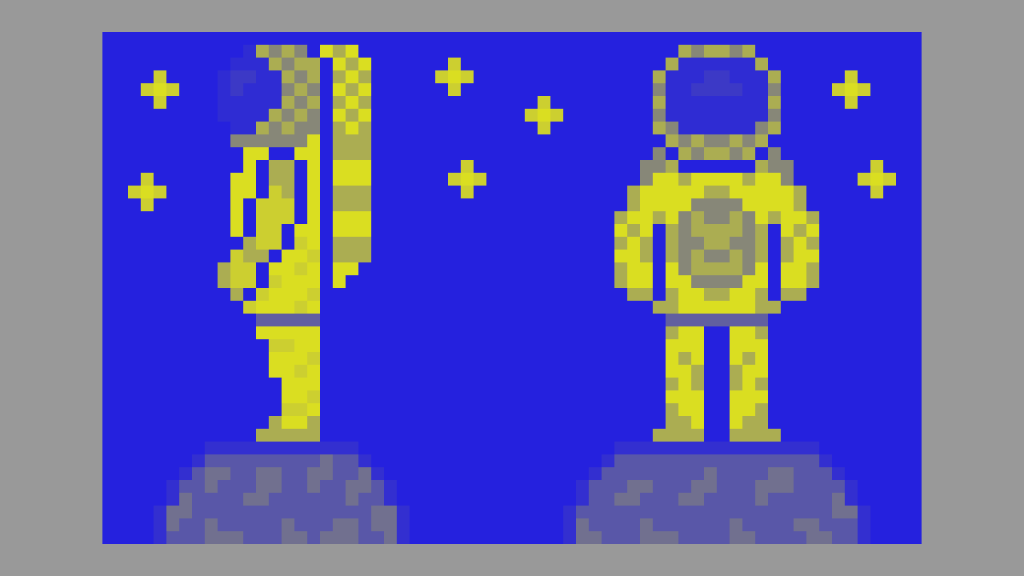
Step 5: Control effect intensity
Optionally mix the original pixel colour with the current duotone colour. I pass in another uniform called intensity which controls the strength of the effect.
fragColour.rgb = mix(pixel.rgb, fragColour.rgb, intensity);You can use the intensity uniform as follows:
- 1 is full strength.
- 0.5 is half strength.
- 0 turns the effect off.
uniform float intensity = 1.0f;This is what 0.75 looks like:
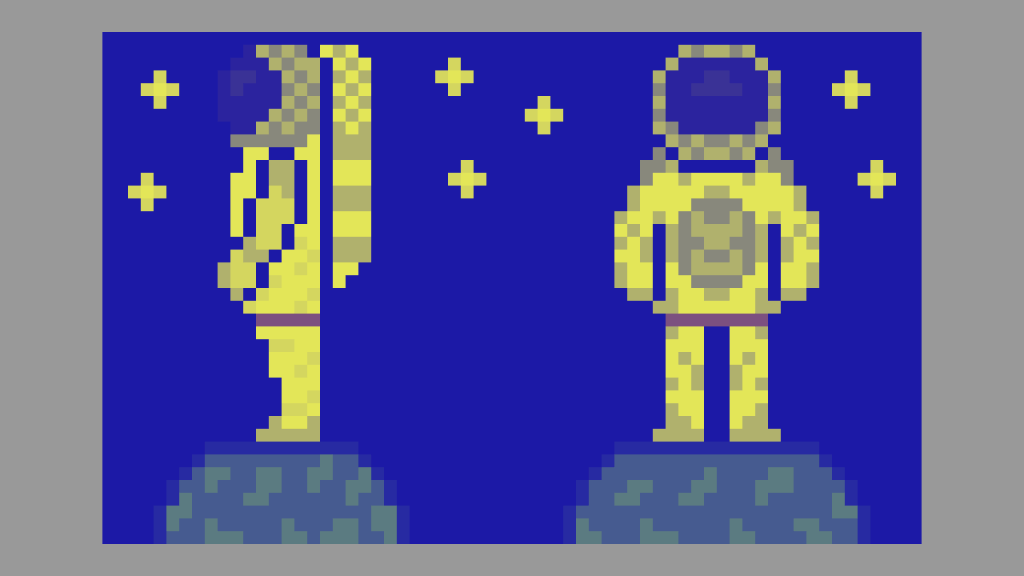
This is what 0.5 looks like:
Step 6: Set the alpha
The final step is to set the alpha channel to the original pixel colour, so transparency works correctly.
fragColour.a = pixel.a;Thank you for reading this tutorial, I hope you found it useful!
See this tutorial for how to create a duotone effect in GIMP.
