

This tutorial will show you how to add shadows and highlights to a pixel art image in the Aseprite image editor using gradients and blend modes.
Introduction
The tutorial will use the Aseprite image editor, but any image editor with layers, gradients, pixel selection tools and blend modes should work just fine for this tutorial.
Step 1
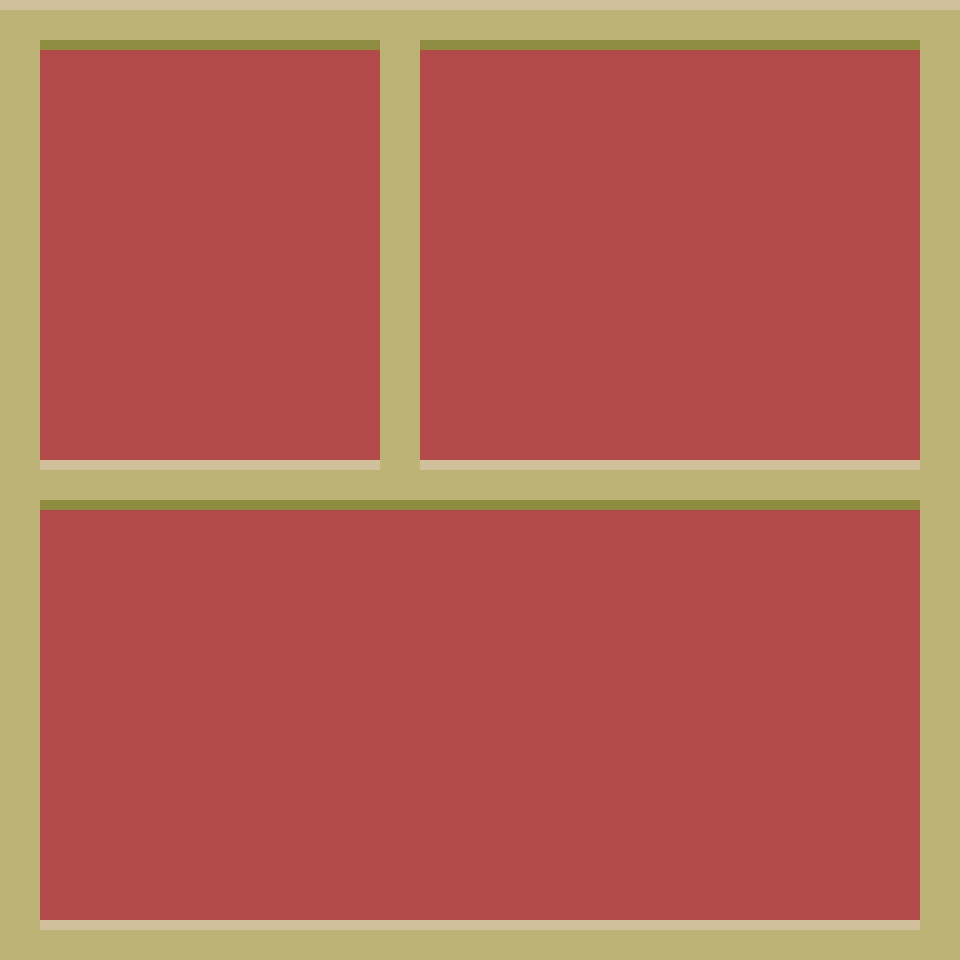
The tutorial will use the following shelfing unit image as a starting point. Open Aseprite, and create a new image using the image below. Rename the starting layer to ‘Image’.
Step 2
Select the red areas. You can use the Magic Wand Tool by pressing ‘W’, and the ‘shift’ key to select multiple areas together. Or you can use the Select Color Range tool, and pick the red color.
Select –> Color Range

Step 3
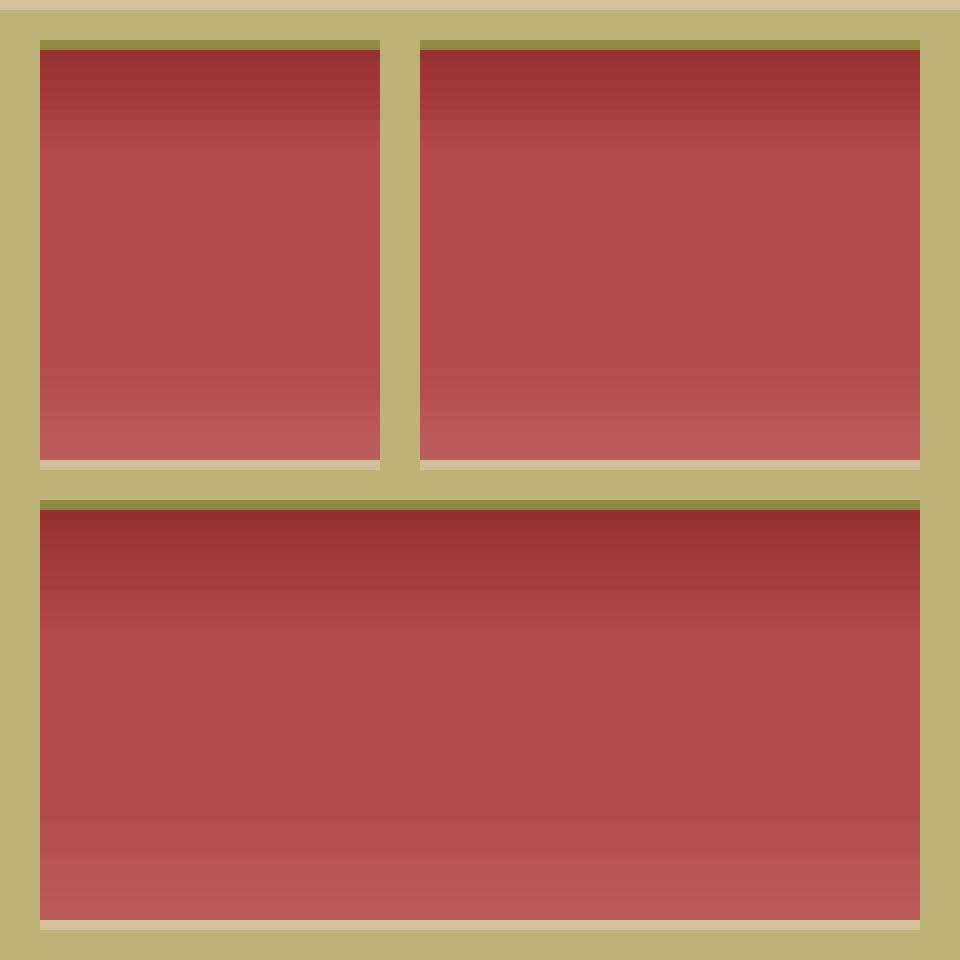
Create a new layer, and call it ‘Shadow’. Then select the ‘Shadow’ layer. Press ‘Shift + G’ to select the Gradient Tool. Then select black for the first color, and for the second color drop the opacity to 0%. Drag the gradient from top of each selection box, so that it looks similar to the image below.

Step 4
Select the layer properties for the ‘Shadow’ layer. Change the ‘Mode’ to ‘Soft Light’ and the ‘Opacity’ to ‘50%’.

Step 5
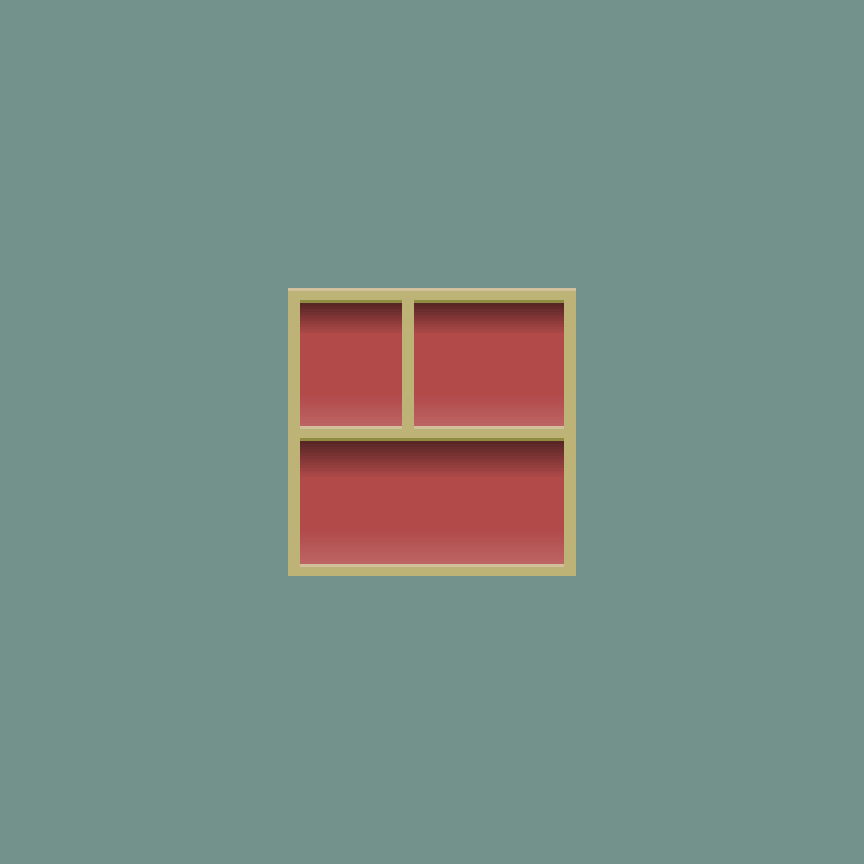
Create a new layer, and call it ‘Highlight’. Select the ‘Image’ layer and select the red areas again, like you did in ‘Step 2’. Then select the ‘Highlight’ layer. Press ‘Shift + G’ to select the Gradient Tool. Then select white for the first color, and for the second color drop the opacity to 0%. Drag the gradient from bottom of each selection box upwards, so that it looks similar to the image below.

Step 6
Select the layer properties for the ‘Highlight’ layer. Change the ‘Mode’ to ‘Soft Light’ and the ‘Opacity’ to ‘30%’.
Congratulations you have completed this tutorial!
Feel free to experiment with different blend modes, gradients and opacity to see what you can come up with!
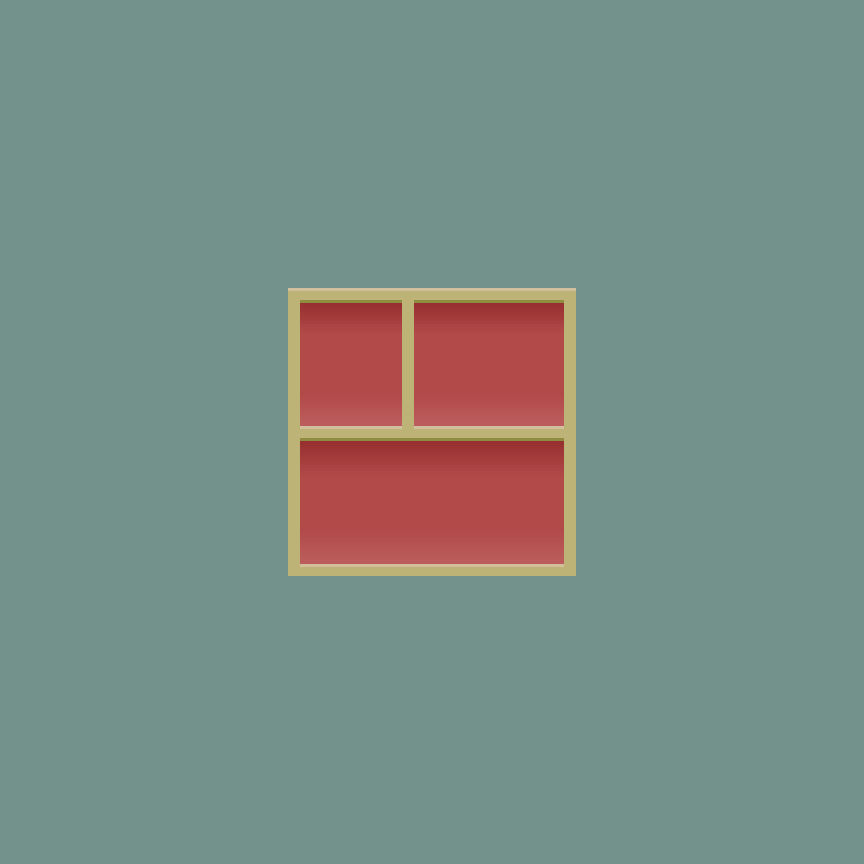
The images above are large so it’s easier to see the shadow and highlights. But pixel art should be displayed from further away. So here is the shelfing image at a smaller scale.
Blend Modes
Here are some other useful blend modes, which you might like to try.


Conclusion
Thanks for reading this tutorial. You have learned how to add shadows and highlights to a pixel art image using gradients and blend modes.
This technique is great for adding fast shadows and highlights to an image. However if you wish to work with a more limited color palette and you have a more complex image, then this technique will introduce many colors to the scene. If you are not worried about the number of colors in your image, then this technique can be very useful!
