

Learn how to generate a node graph, connect the nodes and render the nodes in this Processing tutorial, using the Java programming language.
Open Processing
Open Processing, then import the hash set collection. We will use the hash set later to keep track of nodes which we currently know about.
import java.util.HashSet;
Next create an array list of nodes. This will hold all the nodes in the node graph.
final ArrayList<Node> nodeList = new ArrayList<Node>();
Create two variables for the start and goal nodes.
Node start = null;
Node goal = null;
Don’t worry about any errors or warnings, we will add the Node class later.
Define two variables for collision detection and for rendering nodes as circles.
final float extent = 32;
final float radius = extent / 2;
Math
Create a new tab called “Math”.
Put these two squared distance functions within it. We will use them for checking the node distances later on.
float SquaredDistance(float x, float y)
{
  return x*x + y*y;
}

float SquaredDistance(PVector a, PVector b)
{
  return SquaredDistance(a.x - b.x, a.y - b.y);
}
Node
Create a new tab called “Node”.
Then create a class called “Node”.
class Node
{
  PVector position = new PVector();
  ArrayList<Node> adjacentNodes = new ArrayList<Node>();

  void Add(Node other)
  {
    adjacentNodes.add(other);
  }
}
The node class has a “position” variable, which represents the node’s world position.
The “adjacentNodes” ArrayList is used to store the nodes connected to this node.
Finally the “Add” function, adds a node to the list of adjacent connected nodes.
Next create a “CreateNode” function. This will create a new node, add it to the node list, and set it’s position in the world.
Node CreateNode(float x, float y)
{
  Node node = new Node();
  nodeList.add(node);
  node.position.set(x, y);
  return node;
}
Lastly add one more function. This function will check if two nodes overlap based on the size of the radius variable. The squared distance function is used in order to avoid using the square root function. Since the square root function can affect performance.
boolean Overlaps(Node a, Node b, float radius)
{
  return SquaredDistance(a.position, b.position) < radius*radius;
}
Node Graph
Create a new tab called “NodeGraph”.
Then create a new function, which will be used to create the node graph.
void CreateNodeGraph()
{
}
Inside the new function, first clear the node list, to make sure there aren’t already nodes in the node list.
nodeList.clear();
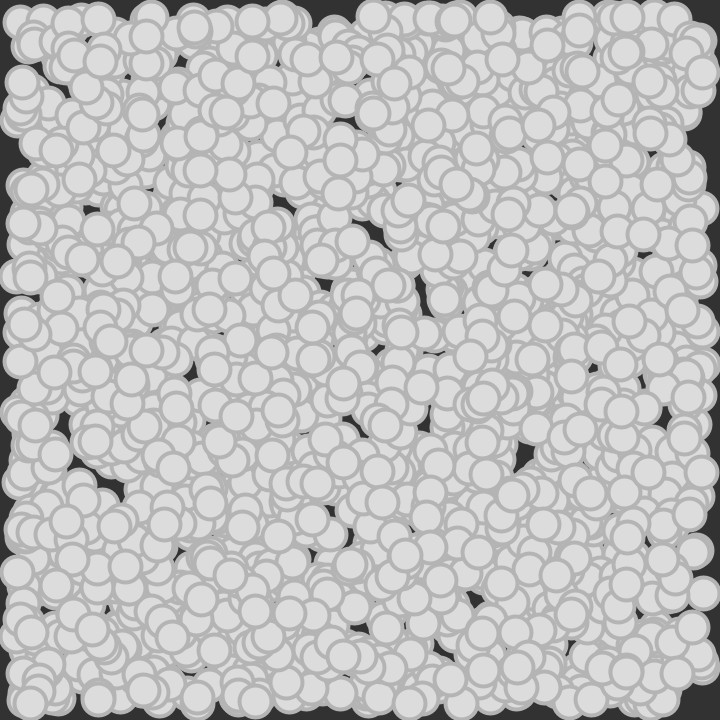
Next we will create “2000” nodes at random positions within the window. Notice how the seed is set to “8”. This means the random values will be the same every time the code is run. This is nice, since we can test with the same node graph layout every run. Feel free to play with this value. Since changing it will generate a different node graph!
// Create nodes
randomSeed(8);
final float w = width - radius;
final float h = height - radius;
for(int i=0; i<2000; ++i)
{
  CreateNode(random(radius, w), random(radius, h));
}
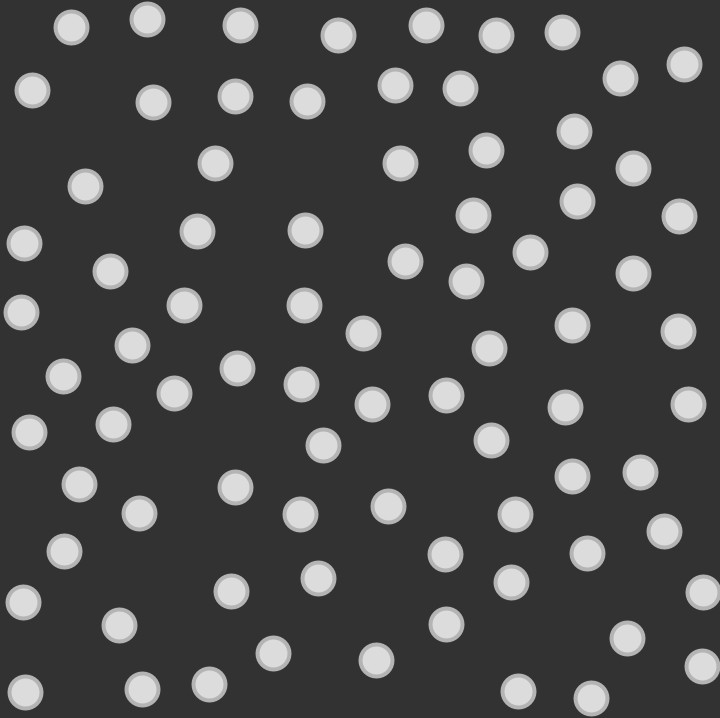
Then we are going to loop through all the nodes and remove any which are two close together. But we need to leave one node, else we will end up removing all the nodes in that location. Hence why we use the HashSet to keep track of which nodes we already know about.
// Remove some of the nodes which overlap
HashSet<Node> removalSet = new HashSet<Node>();
for(Node n1 : nodeList)
{
  if(removalSet.contains(n1)) continue;
  for(Node n2 : nodeList)
  {
    if(n1 == n2) continue;
    if(removalSet.contains(n2)) continue;
    if(Overlaps(n1, n2, radius * 4))
    {
      removalSet.add(n2);
    }
  }
}
nodeList.removeAll(removalSet);
Now we are going to connect all the nodes together, if they are close to each other.
// Connect nodes
final float r = radius * 6;
for(Node n1 : nodeList)
{
  for(Node n2 : nodeList)
  {
    if(n1 == n2) continue;
    if(SquaredDistance(n1.position, n2.position) < r*r)
    {
      n2.Add(n1);
    }
  }
}

Finally we will set our start and goal node. We are using the first node, and the last node in the node list. Since we have no idea what the positions are of these nodes, the result will be random, and affected by the random seed value we used earlier.
// Select start and goal nodes
start = nodeList.get(0);
goal = nodeList.get(nodeList.size()-1);
Setup
Go back to the main tab. Then create a function called “setup”. We will use it to set the window size and generate the node graph.
void setup()
{
  size(720, 720);
  CreateNodeGraph();
}
Rendering
Now we will render the node graph.
Create a new function inside the main tab. This function will render lines between a node and all of it’s connected nodes.
void RenderConnections()
{
  stroke(150);
  strokeWeight(4);
  for(Node a : nodeList)
  {
    for(Node b : a.adjacentNodes)
    {
      line(a.position.x, a.position.y, b.position.x, b.position.y);
    }
  }
}
Next create another function which will render all the nodes as circles.
void RenderNodes()
{
  stroke(180);
  strokeWeight(4);
  fill(220);
  for(Node node : nodeList)
  {
    circle(node.position.x, node.position.y, extent);
  }
}
Then add a function which renders the start and goal nodes.
void RenderStartAndGoal()
{
  // Draw start and goal nodes as circles
  stroke(10);
  strokeWeight(2);
  fill(20, 255, 10);
  circle(start.position.x, start.position.y, radius);
  fill(255, 10, 20);
  circle(goal.position.x, goal.position.y, radius);
}
Now create a “draw” function, and call all the render functions we created earlier after clearing the screen to the background colour.
void draw()
{
  background(50);
  RenderConnections();
  RenderNodes();
  RenderStartAndGoal();
}
Finally you just need to run the sketch, and you should see a nice node graph!
Conclusion
Thanks for reading this tutorial. You have learned how to generate a node graph, connect the nodes and render the nodes.
In the next tutorial we will code a pathfinding search algorithm which will search the node graph for a goal point.
