

Learn how to create a cool looking planet using the GIMP image editor. You will learn how to use noise, blur, gradients, lighting and blend modes to create beautiful art.
New image
Create a new image with a width and height of 512.
Fill the background with black.
Rename the current layer to ‘planet’.
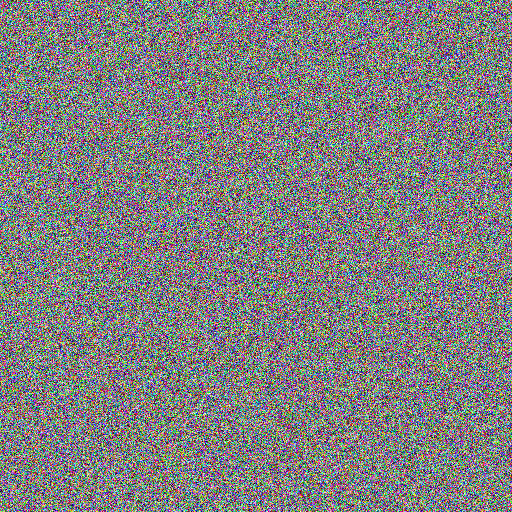
Noise
Go to:
Filters –> Noise –> Hurl
Set ‘Randomization’ to ‘100’.
Set the ‘Repeat’ to whatever you want.
Then press ok.
Gaussian blur
Apply a small amount of gaussian blur on the x and y axes.
Filters –> Blur –> Gaussian Blur

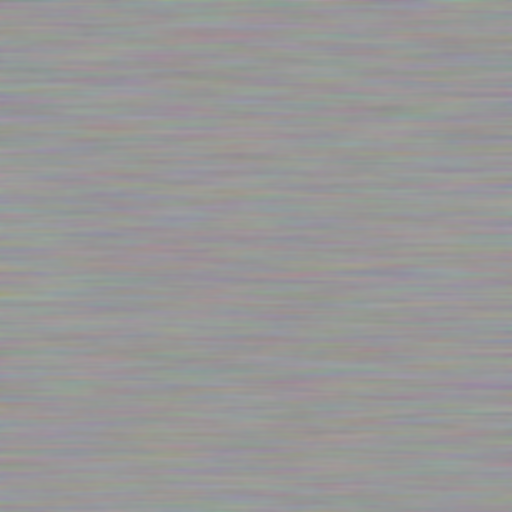
Linear blur
Go to:
Filters –> Blur –> Linear Motion Blur
Set the ‘Length’ to around ’50’, and press ok.
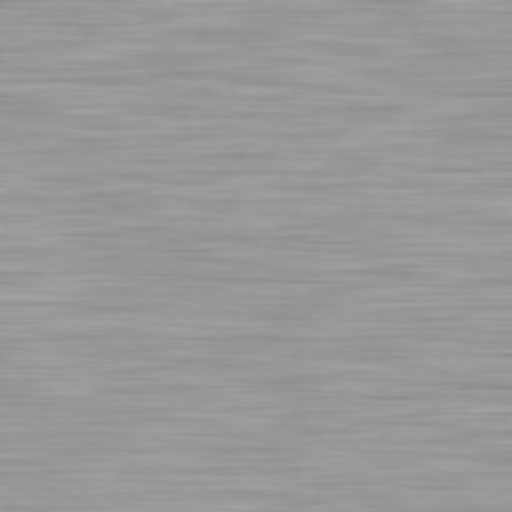
Desaturate
Go to:
Colors –> Desaturate –> Desaturate
Pick a ‘Mode’ and press ok.
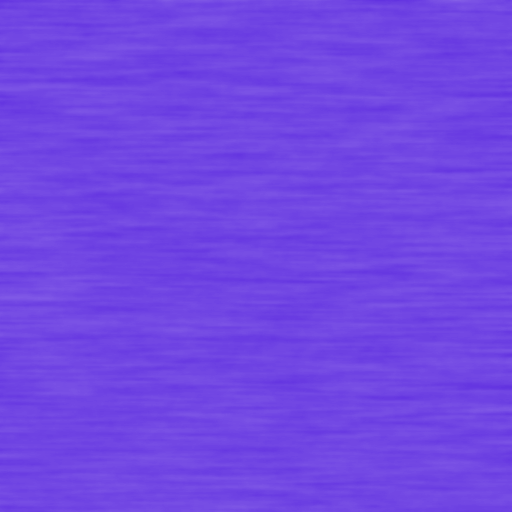
Colorize
Go to:
Colors –> Colorize
Play with the hue, saturation and lightness, until you get something you like.
Scale
Use the scale tool to scale the image up by a lot on the x and y axes. So the lines turn into rectangular bands.
Use the move tool to select the part of the rectangle you want to use.
Then go to:
Layer –> Layer to Image Size
So we cut off any unneeded parts of the image boundary.

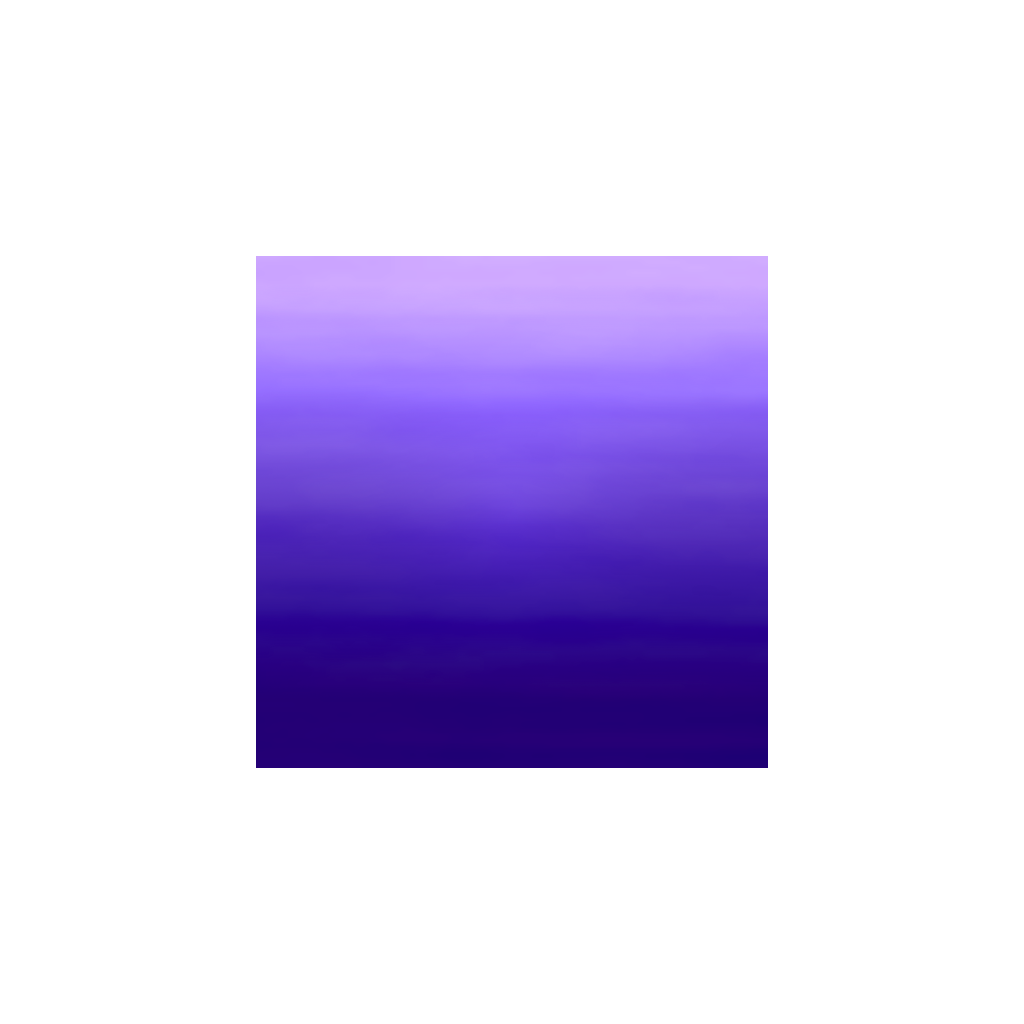
Linear gradient
Create a new layer above the planet layer, and call it ‘light’.
Select the gradient tool.
Pick the standard white to black gradient, and set the ‘Shape’ to ‘Linear’.
Make sure the light layer is selected.
Now drag a gradient from the top of the image to the bottom of the image. Leave some padding though. I like to have a large black area for the shadow, and a smaller white area for the highlight.
Press ‘enter’ to create the gradient when you are happy.

Right click on the light layer and set the blend mode to ‘grain merge’.
Set the opacity of the layer to a value around 80 to 90 percent.

Grid
Go to:
Image –> Configure Grid
Set the grid size to 256×256, then press ok.
Turn the grid on, by going to:
View –> Show Grid
Next turn on snap to grid, by going to:
View –> Snap to Grid
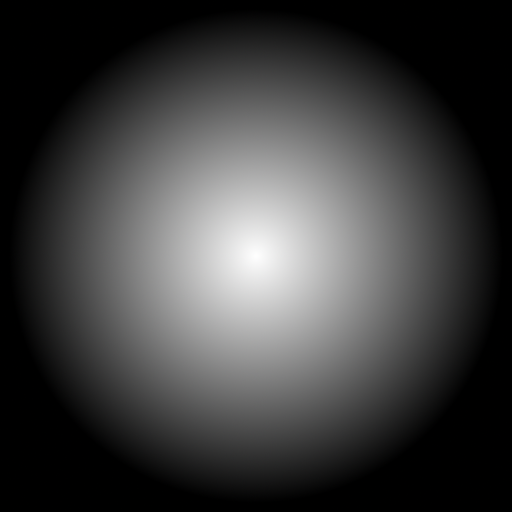
Radial gradient
Create a new layer above the light layer and call it ‘rim’.
Select the gradient tool, and change the ‘Shape’ to ‘Radial’.
Create a radial gradient from the centre of the image to the edge of the image. But leave some black padding. Press ‘enter’ when you are happy to create the gradient.
The idea of this rim layer is to create a vignette like effect, where we draw the eye to the centre of the image.
Set the blend mode of the rim layer to ‘multiply’.
Drop the layer opacity down to around 20 to 40 percent.

Merge
Merge the three visible layers together. Right click on any layer and press ‘Merge Visible Layers’. Then press ‘Merge’.
Canvas size
Double the canvas size by going to:
Image –> Canvas Size
Set the width and height to 1024. Then press ‘Center’. Then press ‘Resize’.
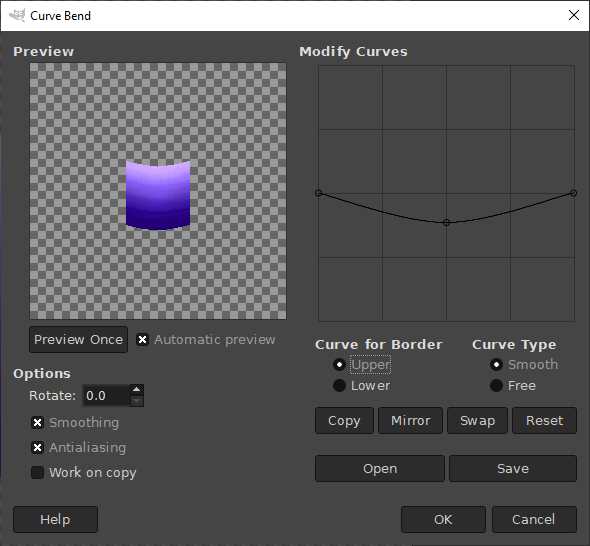
Curve bend
Go to:
Filters –> Distorts –> Curve Bend
Turn on ‘Automatic Preview’.
Press the ‘Upper’ button for ‘Curve for border’. Then create a control point in the middle of the line and drag it below the line. Do the same for the ‘Lower’ button. Then press ok. This will make the image curve.
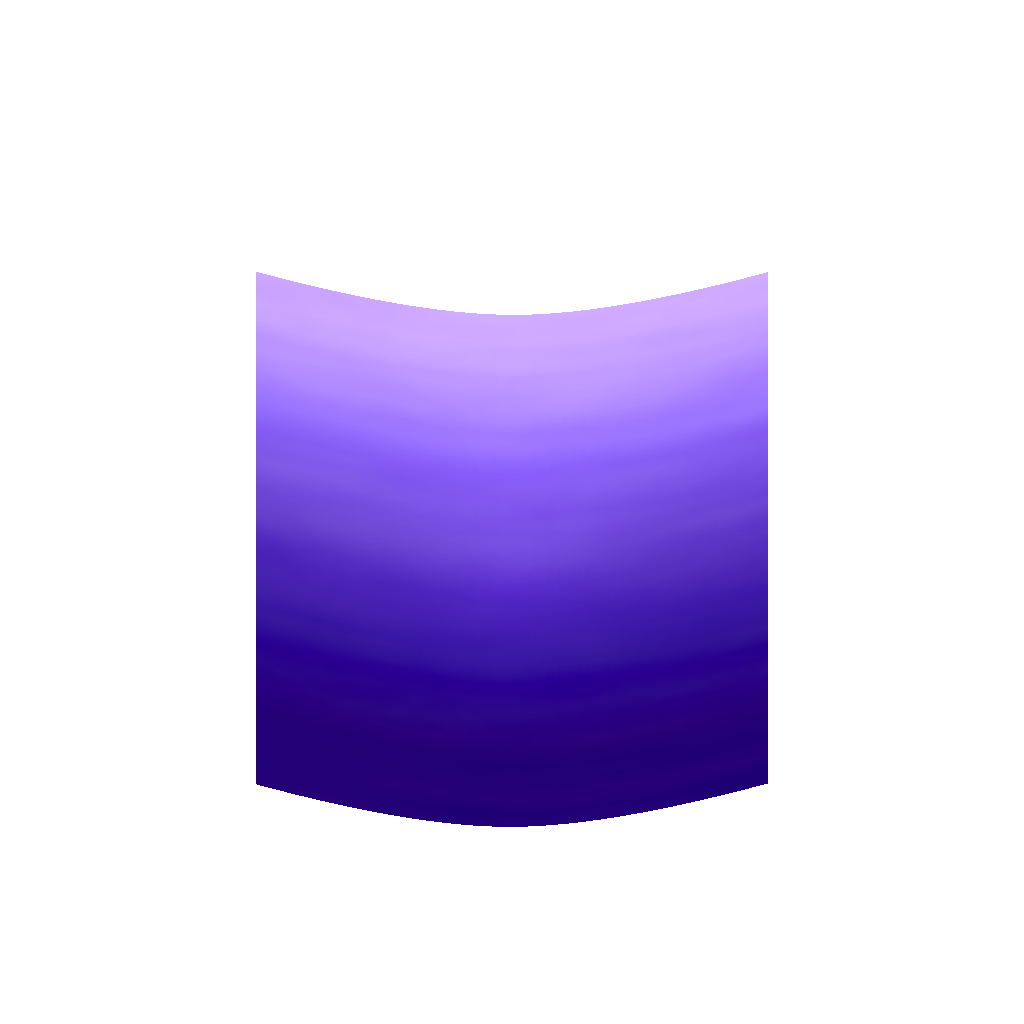
Scale
Use the scale tool to slightly scale up the image on both the x and y axes. We do this because we want to cut a circle out of the curved shape in the next step.
Ellipse select
Select the ellipse tool.
Create an ellipse selection with a size of 512.
Place the ellipse within the curved shape (You can drag it from the centre).
Go to:
Select –> Invert
Press the delete key.
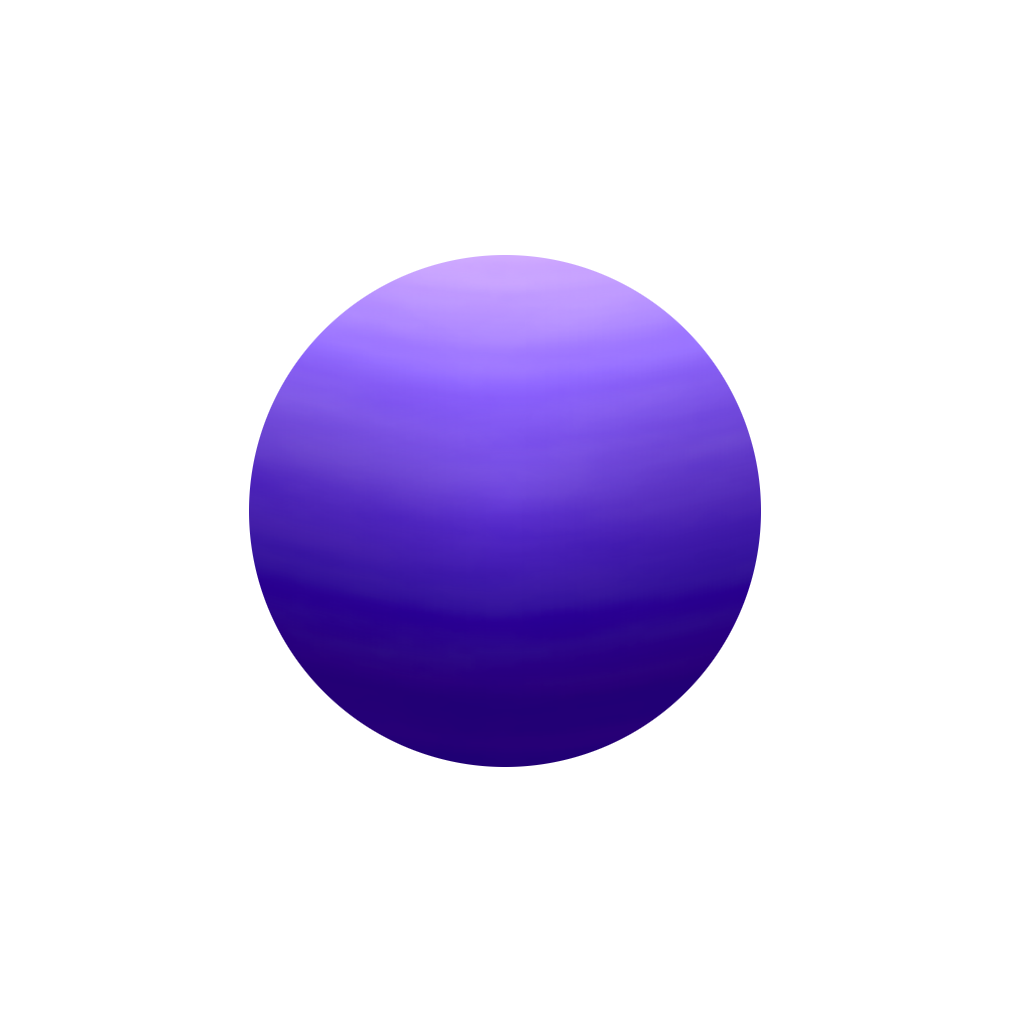
You should now have a nice circular planet shape.
Use the move tool to move the circle to the centre of the screen.
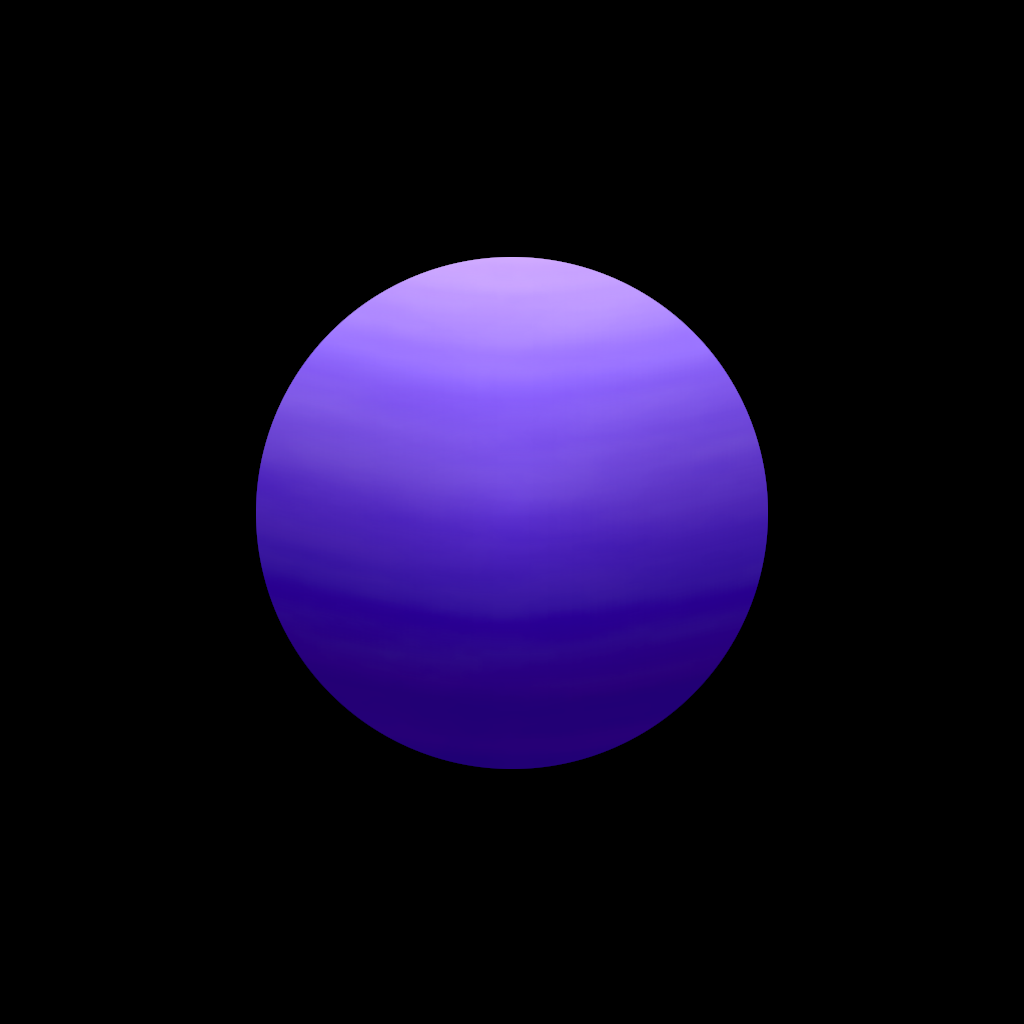
Background
Create a new layer, and call it ‘background’.
Fill the background layer with black.
This will make it easier to see the next step.
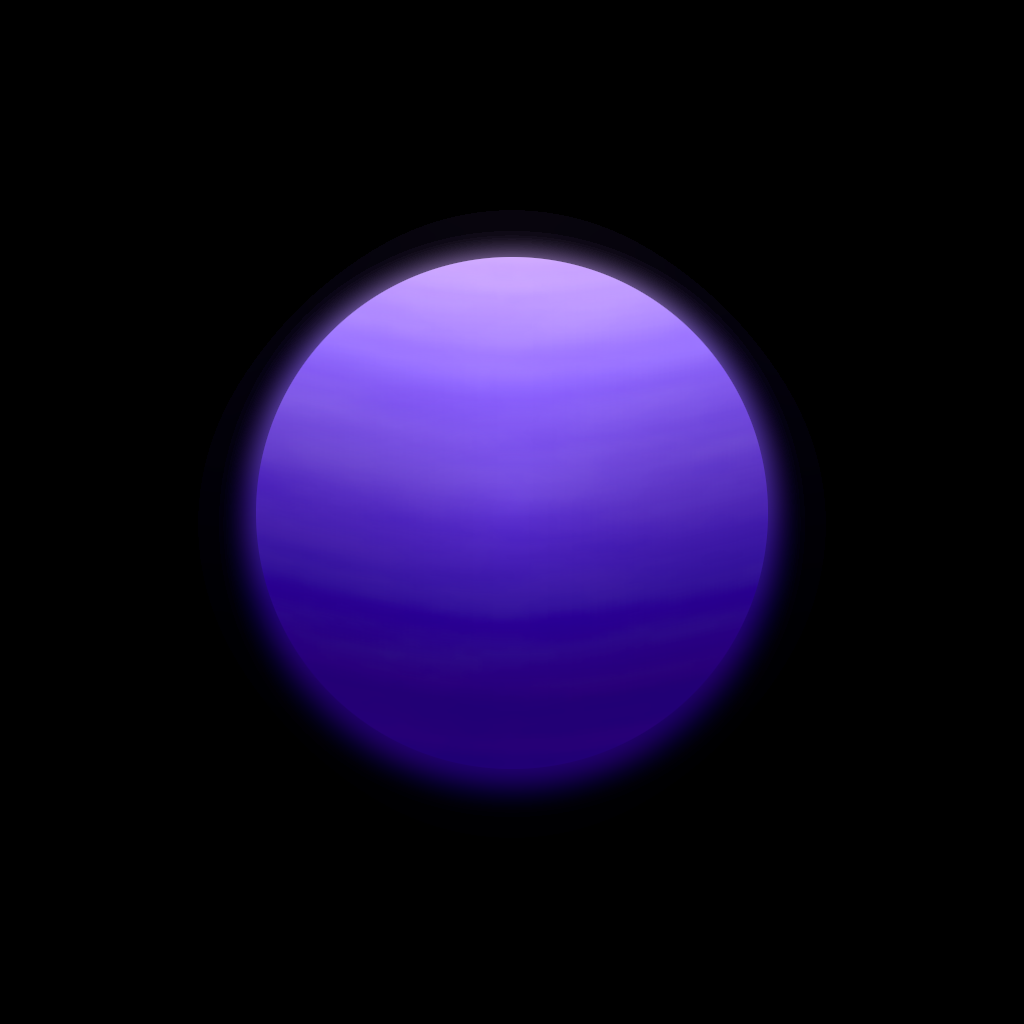
Small glow
Duplicate the planet layer and drag it beneath the planet layer. Rename the layer to ‘small glow’.
Select the small glow layer.
Go to:
Filters –> Blur –> Gaussian Blur
Set the size x and y values to a value between 10 and 15.
This should create a nice small glow behind the planet. You might need to use the move tool to better line it up.
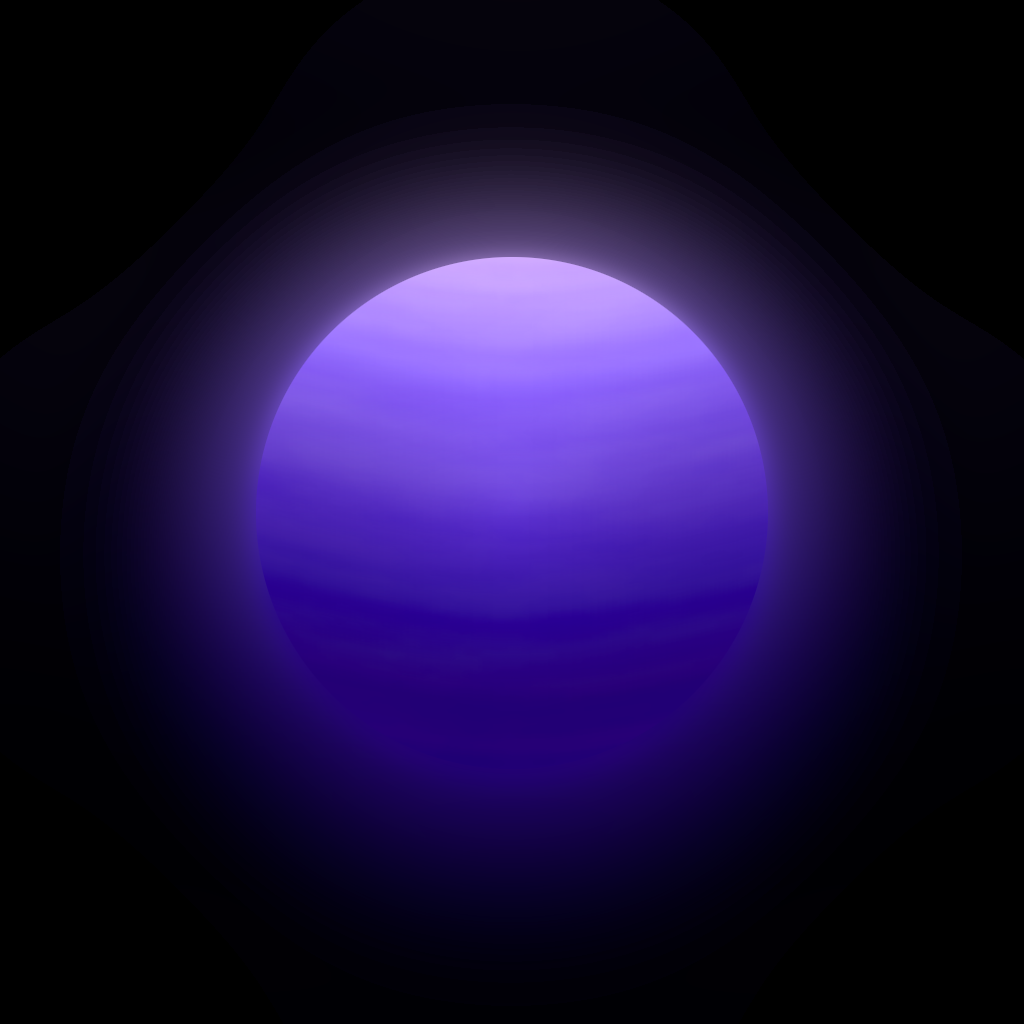
Large glow
Duplicate the planet layer again, and call it ‘large glow’.
Drag the new layer beneath the small glow layer.
Select the large glow layer.
Go to:
Filters –> Blur –> Gaussian Blur
Set the size x and y to a high value.
This should produce a nice large glow behind the planet. You might need to use the move tool to better line it up.
Conclusion
Congratulations on completing this tutorial, you have learned how to create a cool looking planet. Feel free to experiment with different filters, blend modes, colour settings, and see what you can come up with. See you in the next tutorial!
