

Learn how to create a noise texture background in this step-by-step Aseprite pixel art tutorial. Create an image made up of many squares of varying sizes using two colours. Then make the image noisy using a convolution matrix. Use blend modes and gradients to add the finishing touches.
Step 1
Open Aseprite, and create a new 32×32 sprite on a transparent background.
Step 2
Select a colour and fill the background with the colour.

Step 3
Press ‘X’ to switch colours, and select a second colour.
Switch to the pencil tool by pressing ‘B’.
Hold ‘CTRL’ and use the mouse wheel to scale the pencil size to 6 pixels.
Make sure the pencil shape is rectangle shaped, and not circle shaped.
Use the pencil tool to randomly place some squares over the canvas.
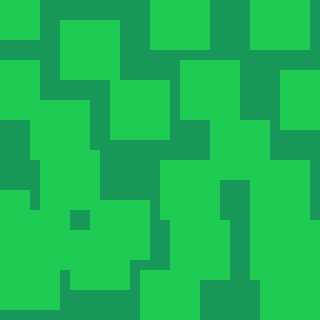
Step 4
Switch back to the first colour by pressing ‘X’, then place some more squares randomly.
Step 5
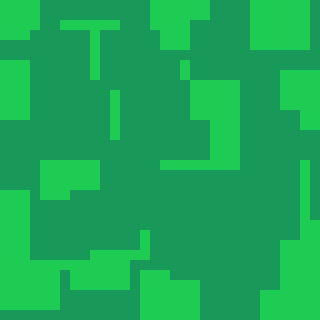
Switch colours again by pressing ‘X’. Then scale the pencil tool size down to 4 pixels using ‘CTRL’ and the mouse wheel.
Then paint some smaller squares over the other colour.

Switch colours by pressing ‘X’. Now paint some more smaller squares.
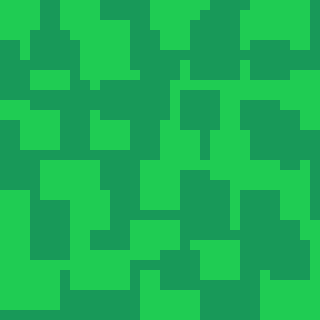
Step 6
Next go to:
Edit –> FX –> Convolution Matrix
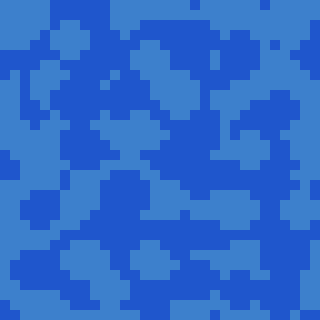
Select the ‘drunk-5x5_x’ matrix and click ok.

Step 7
Create a new layer.
Next select two new colours. Select black first, then press ‘X’ and select white.
Press ‘shift’ + ‘G’ to select the gradient tool. Create a gradient from the top of the canvas, to the bottom of the canvas.

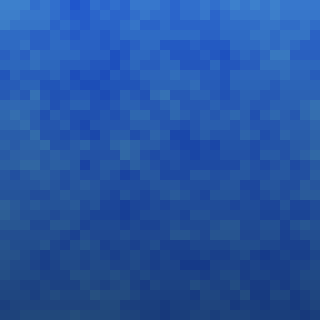
Step 8
Right click on the gradient layer, and select ‘Properties’.
Set the ‘Mode’ to ‘Hard light’.
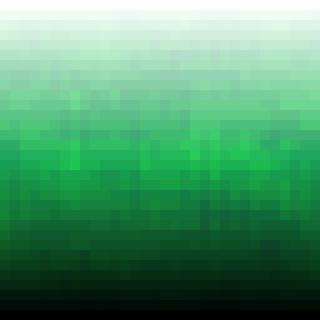
Finally set the layer ‘Opacity’ to 30%.

Congratulations
Congratulations on finishing this tutorial! You now know how to create a cool noise texture background.
Feel free to experiment. Try change these:
- Brush shapes or patterns.
- Colours.
- Blend modes.
- Convolution matrices.
- Gradients.
Bonus section
Alternative design using circles instead of squares, and the multiply blend mode instead of the hard light blend mode.

Conclusion
Thanks for reading this tutorial, see you in the next one.
See more pixel art tutorials here.
