

Learn how to create a bouncing ball animation in Aseprite with squash and stretch in this step-by-step pixel art tutorial.
What is squash and Stretch?
Squash and stretch is one of the twelve basic principles of animation, as described in the Disney book: ‘Disney Animation: The Illusion of Life’. The idea is to keep the volume the same even though the shape of the object changes due to squashing and stretching whilst moving.
For example if a circular ball falls due to gravity and hits the ground, the shape would become more like a wide oval. The ball would get squashed vertically, and stretched horizontally to emphasise hitting the ground.
Read on to learn how to create squash and stretch in Aseprite.
Aseprite
Open Aseprite, and create a 16×16 canvas with a transparent background.
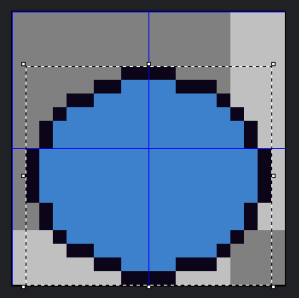
Select a dark colour (close to black), then select the Elliptical Marquee Tool (you can press ‘shift + M’).
Create a circle by dragging from the top left corner to the bottom right corner. Then add a stroke to the selection by pressing ‘S’.
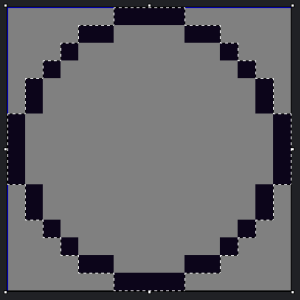
Next select another colour, and fill in the middle of the circle using the Paint Bucket Tool. You can press ‘G’ to select it.

Second Frame
Press ‘C’ and change the canvas size to 20×20 from the centre of the image. This will give us plenty of space to animate.
Next lets change the grid size. Go to:
View –> Grid –> Grid Settings
Change the width and height to 10, so the grid lines are centred.
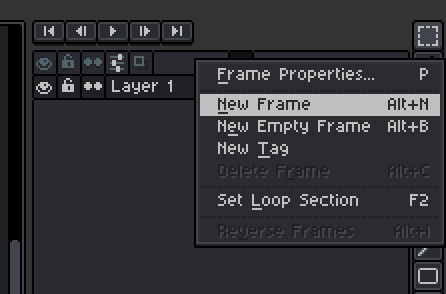
Now we will add a new frame. Right click on the current frame, then select ‘New Frame’.
Select the Rectangular Marquee Tool by pressing ‘M’. Then select half of the image from the left side of the screen. Press the right arrow key to move the selection one pixel to the right.
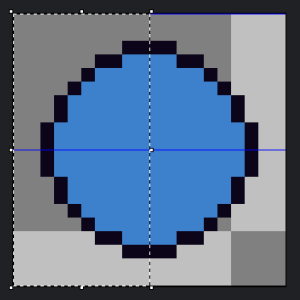
Now select half of the image from the right side of the screen. Then use the left arrow key to move the selection one pixel to the left.

We have now squashed the circle two pixels on the horizontal axis, so now we need to stretch it on the vertical axis by two pixels.
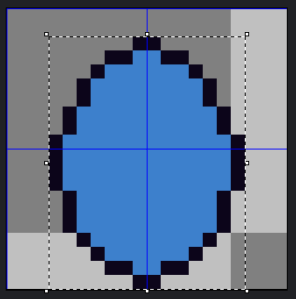
Select the whole circle, including the dark outline with the Rectangular Marquee Tool. Then drag the bottom handle down two pixels to the bottom the of screen. You should end up with a tall oval shape.
Third Frame
Select the first frame, right click on it and add a new frame. Drag this frame to the end, so it becomes the third frame.
Next press ‘CTRL + A’ to select the whole image. Move it down two pixels using the down arrow key.
Select the whole circle using the Rectangular Marquee Tool, then use the left handle to drag the bounding box one pixel to the left. Then use the right handle to drag the bounding box one pixel to the right. So that the circle becomes an oval which is two pixels wider.
Now use the Rectangular Marquee Tool to select the top half of the oval, and move it down two pixels using the down arrow key.

Timing
Finally select all the frames using the left mouse button and the shift key. Right click and go to Frame Properties. Change the duration to 150. This should slow down the animation a little bit.

Conclusion
Congratulations, you have completed the tutorial!

Thanks for following this tutorial, hopefully you have learned how quick, fun and easy it is to create a bouncing squash and stretch animation. But why stop here? There are eleven other basic principles of animation which you can check out!
See more pixel art tutorials here.
