
Learn how to create a circle particle in the GIMP image editor using gaussian blur. This type of image works great when used in a particle system as a visual effect for video games or films.
New Image
Open GIMP and create a new image with the size set to 512×512. Set the background of the starting layer to transparent.
Grid
Go to view and turn on the grid:
View –> Show Grid
And grid snap:
View –> Snap to Grid
Next we will set the grid size. Go to:
Image –> Configure Grid
Set the horizontal and vertical spacing to 64, and press ok.
Circle
Set the foreground colour to white. Then select the ellipse tool by pressing ‘E’.
Drag the ellipse shape from one grid cell corner to another. Leave one grid cell as padding around the edges, like so:

Now fill the selection, by going to:
Edit –> Fill with FG Color
You should see something like this:

You can now get rid of the circle selection, by left clicking somewhere outside of the selection.
Canvas Size
We will now resize the canvas, so we have some space for the blur, which we will apply later. Go to:
Image –> Canvas Size
Set the width and height to 1024, so that the size is doubled.
Click on ‘Center’, and make sure ‘Resize layers’ is set to ‘All layers’. Then click on ‘Resize’ to execute the changes.
Gaussian Blur
Next we will apply gaussian blur. Go to:
Filters –> Blur –> Gaussian Blur
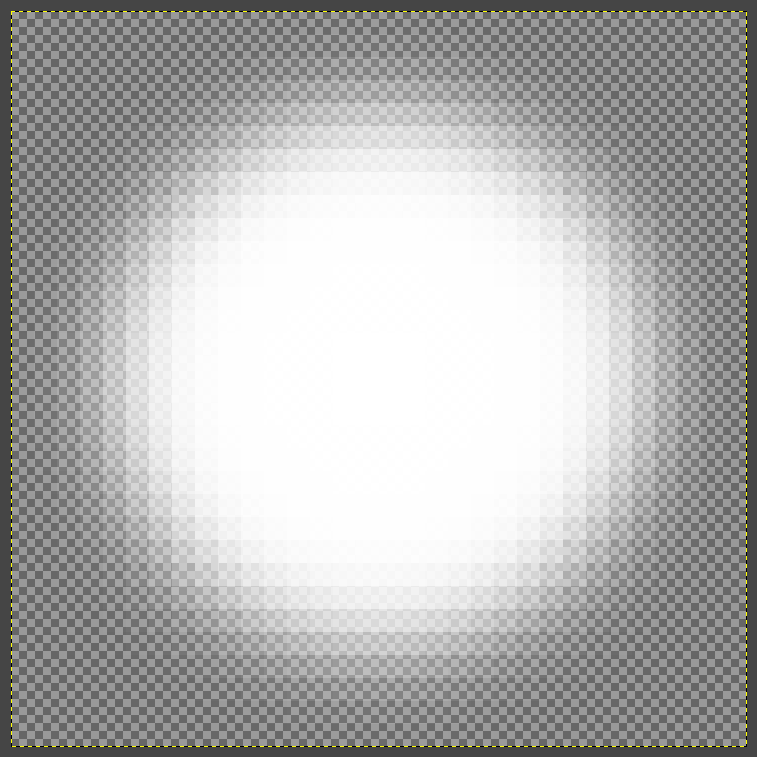
Play with ‘Size X’ and ‘Size Y’ until you get something you like. The more blur you use, the softer the particle. But you may need to decrease the circle size or increase the canvas size, so that the blurred edges don’t get cut off.

Tip: You can create a new layer beneath the current layer and fill it with a solid neutral colour. This will allow you to see the blurred edges more easily.
Half Canvas Size
Now we will half the canvas size. Go to:
Image –> Canvas Size
Set the width and height to 512, so that the size is halfed.
Click on ‘Center’, and make sure ‘Resize layers’ is set to ‘All layers’. Then click on ‘Resize’ to execute the changes.
Scale
Next we will scale the image down in size, so that the image is a more suitable size for a particle. Go to:
Image –> Scale Image
I will set the width and height to 32, but feel free to pick a size which best fits your needs.
Set the interpolation to ‘Cubic’, then click ‘Scale’.
Feel free to play with the interpolation value. Usually you would want to avoid scaling artefacts, but with this blurred particle image the scaling artefacts can add interest.
Export
Finally you just need to export your image, then you can use it in a particle system. Here is my finished one:

Conclusion
Congratulations on completing this tutorial! This tutorial doesn’t just work for circles, it can be applied to any shape. So feel free to experiment. If you are stuck for ideas, try make particles with these shapes:
- Box
- Cross
- Heart
- Star
Thanks for reading this tutorial, let me know in the comments section if you enjoyed it.
Follow this tutorial if you want to learn how to code a particle system.

2 responses to “Creating a Blurred Circle Particle in GIMP: Step-by-Step Tutorial”
💕❤️♥️ BEAUTIFUL 💖
. blessed and Happy afternoon 🌞 PK 🌎
Thank you PK, same to you!