

Learn how to easily create a ruined wall in this pixel art tutorial using Aseprite.
Aseprite
Aseprite is an image editor designed primarily for pixel art drawing and animation.
Step 1
Create a new sprite with plenty of space. I am using 128×128 as the size.
Fill the current layer with a solid colour. This will be the background layer.
Step 2
Create a new layer and pick another colour. Fill in some grid cells with the paint bucket tool. You can use the rectangular marquee tool to select the grid cells, then press F to fill the selection.

Step 3
Use the eraser tool to erase some of the top parts of the rectangle.

Step 4
Select the grid cells which you filled earlier. Then go to:
Edit –> FX –> Outline
Select an outline colour and press ok.

Step 5
Go to:
Select –> Colour range
Select the outline colour and press ok.
Hold CTRL and move the selected pixels up. This will create a copy of the current outline pixels.

Step 6
Join the outline up on the edges using the pencil tool.
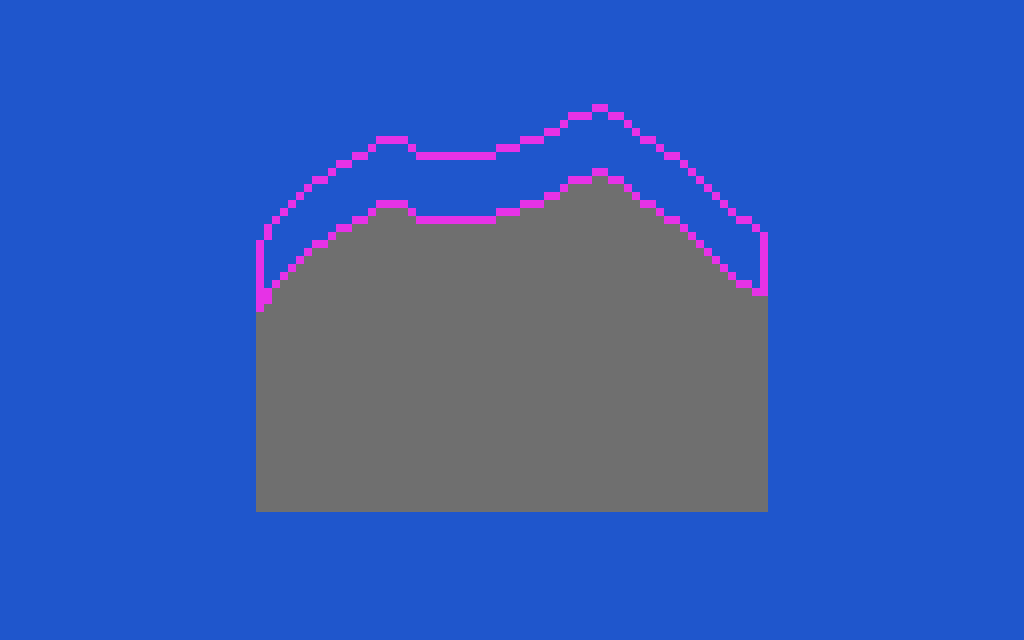
Step 7
Optionally move the pixels up or down to fit the grid cells, so they tile nicely. You can use the rectangular marquee tool for this.

Step 8
Fill in the pixels in between the outline boundary. I am using a bright colour, since I imagine the light is coming from above.

Step 9
Create a brick texture. I wrote a tutorial here, which should help.
Select the brick texture, then press CTRL + B to create a brush.
Press G to use the paint bucket tool and fill the wall colour with the brick texture. Remember to line it up with the grid cell before filling.
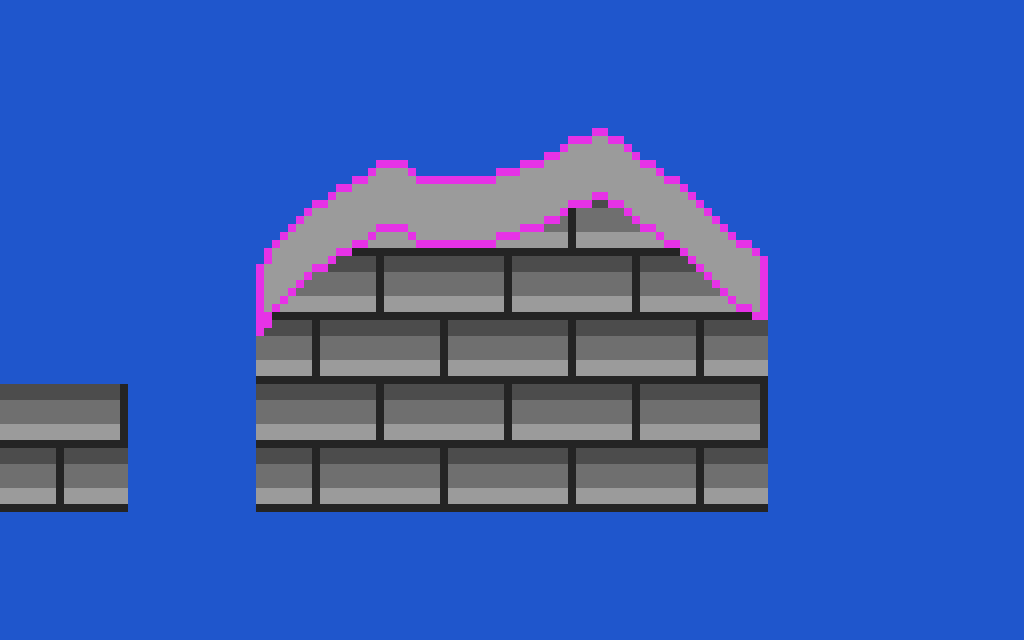
Step 10
Replace the outline colour. I am using the darkest colour in the brick texture for this.

Step 11
Do some clean up, and then you are done!
For example I got rid of some the darker areas which had a thickness of two pixels. And added in a solid outline to the left and right edges of the wall.

Conclusion
Thanks for reading this tutorial, let me know in the comments section if you enjoyed it.
See more pixel art tutorials here.

3 responses to “Aseprite Pixel Art Tutorial: How to Create a Ruined Wall”
It has done so beautifully well shared 😊
Thank you, Priti!
😊