
Learn how to create a circle pattern in Shadertoy using a checkerboard pattern and an easing function. The tutorial is written in the GLSL programming language.
Texture coordinates
Following on from the last tutorial two different types of texture coordinates are used.
// Normalised pixel coordinates (from 0 to 1)
vec2 texCoord = fragCoord / iResolution.xy;

// Calculate aspect ratio
float w = 1.0 / min(iResolution.x, iResolution.y);

// Aspect ratio corrected UV coordinates
vec2 uv = fragCoord * w;
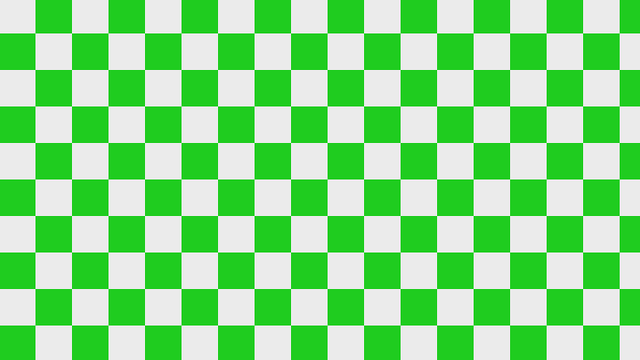
Checkerboard
Next a checkerboard is created.
float check = Checkerboard(uv, vec2(ROWS));
Checkerboard function:
float Checkerboard(vec2 uv, vec2 total)
{
    uv = floor(total * uv);
	return mod(uv.x + uv.y, 2.);
}
Checkerboard explanation is here.
Circle total
Next the circle position and total is calculated based on the rows value. Where the rows, is the number of rows of circles.
// Position and number of circles
vec2 pos = fract(uv * ROWS);
pos -= 0.5;

Circle radius
The circle radius is calculated using an easing function and the texture coordinates. So the circles grow in size diagonally.
// Scale circle radius
float radius = EaseOutQuart(texCoord.x * (1.0 - texCoord.y));
radius = max(0.1, radius) * 0.5;
Easing function:
float EaseOutQuart(float x)
{
    return 1.0 - pow(1.0 - x, 4.0);
}
Explanation of easing function here.

Circle distance
Get the distance to the circle centre.
float c = Circle(pos, radius);
Circle function:
float Circle(vec2 pos, float radius)
{
    return length(pos) - radius;
}
Smoothing
Smooth the circle edges using the aspect ratio and a value of one or greater for the smoothing value.
float s = SMOOTHING * w;
c = smoothstep(s, -s, c);
See here for more details on smoothing / antialiasing inside a shader.

Mix
Use the easing function again to mix two colours together based on the horizontal texture coordinates. Then mix the background colour with the circle colour. Use the circle distance and checkerboard distance to decide on size and placement of circles.
vec3 col = mix(COL1, COL2, EaseOutQuart(texCoord.x));
fragColour.rgb = mix(BACKGROUND, col, c * check);
fragColour.a = 1.0;
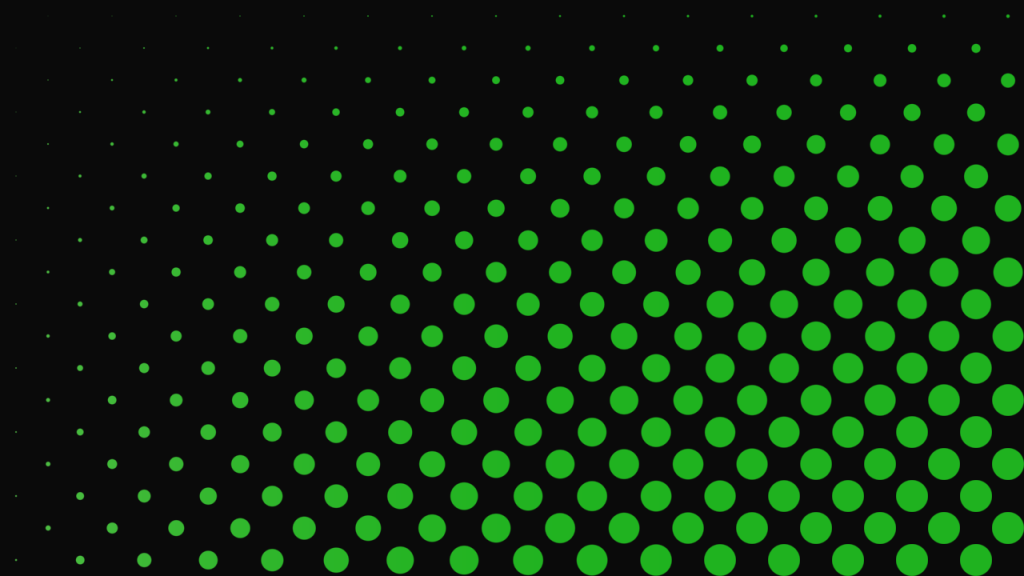
Also looks great without the checkerboard!

Shadertoy
Full Shadertoy code and demo available here.
Conclusion
Thank you for reading this tutorial. Let me know in the comments section if you enjoyed it, or have any questions!

2 responses to “Creating a circle pattern in Shadertoy Part 2”
gradient layers are something I’m looking to add to my art here next couple months
Exciting, you are consistently producing some good stuff. I’ve got some more gradient related stuff coming up to