
This tutorial will show you how to create a duotone effect using a circle shape in the GIMP image editor. The process should be similar for other image editors like Adobe Photoshop.
Step 1: Find an image
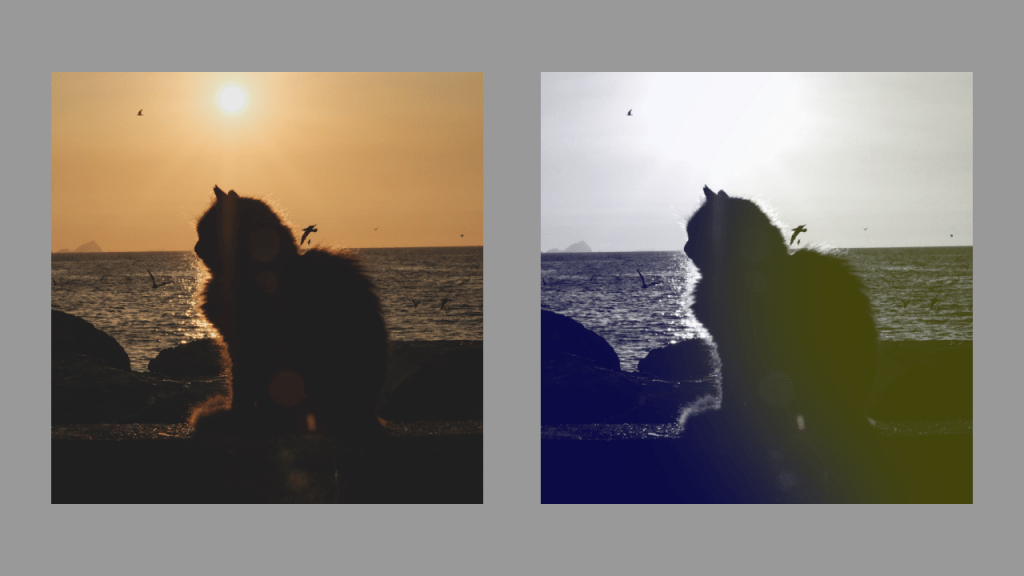
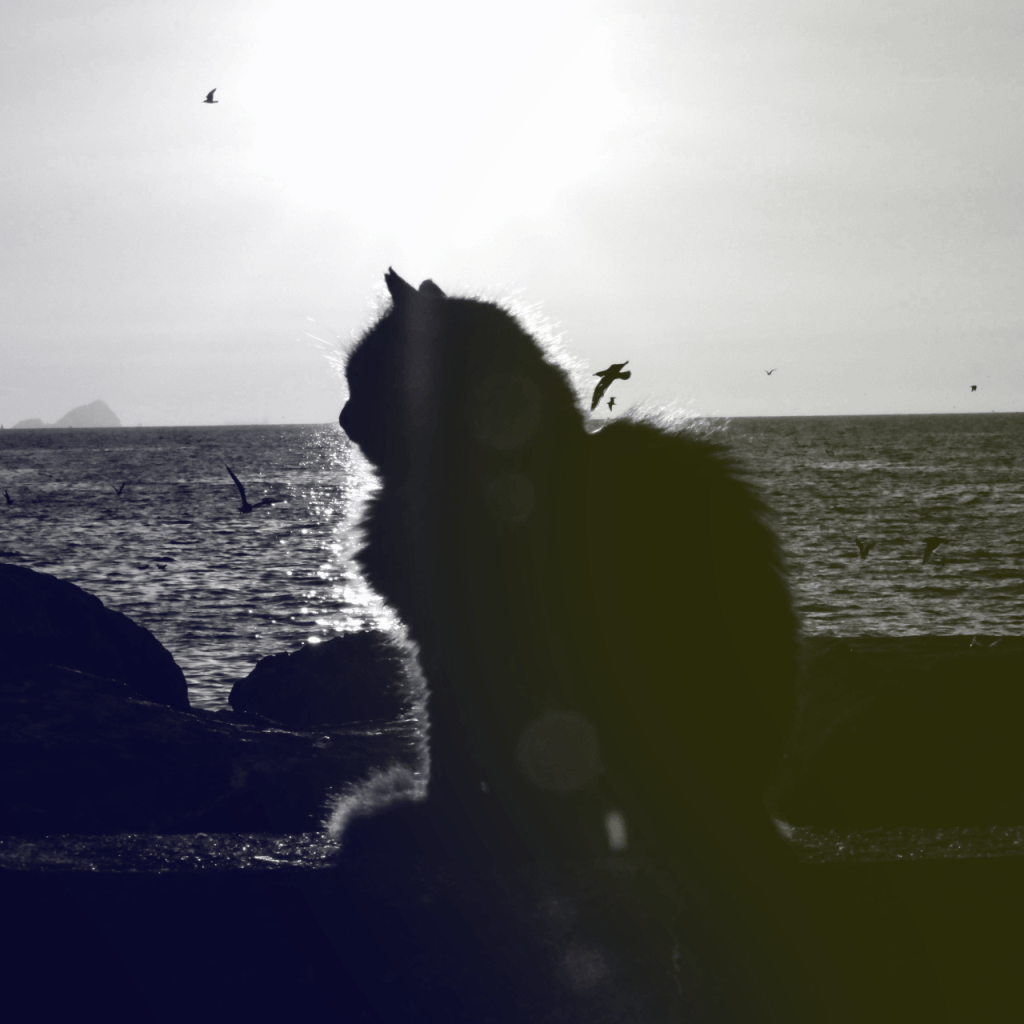
First off you will need an image. The effect works best with images which have shadows and highlights. I used this lovely cat image.

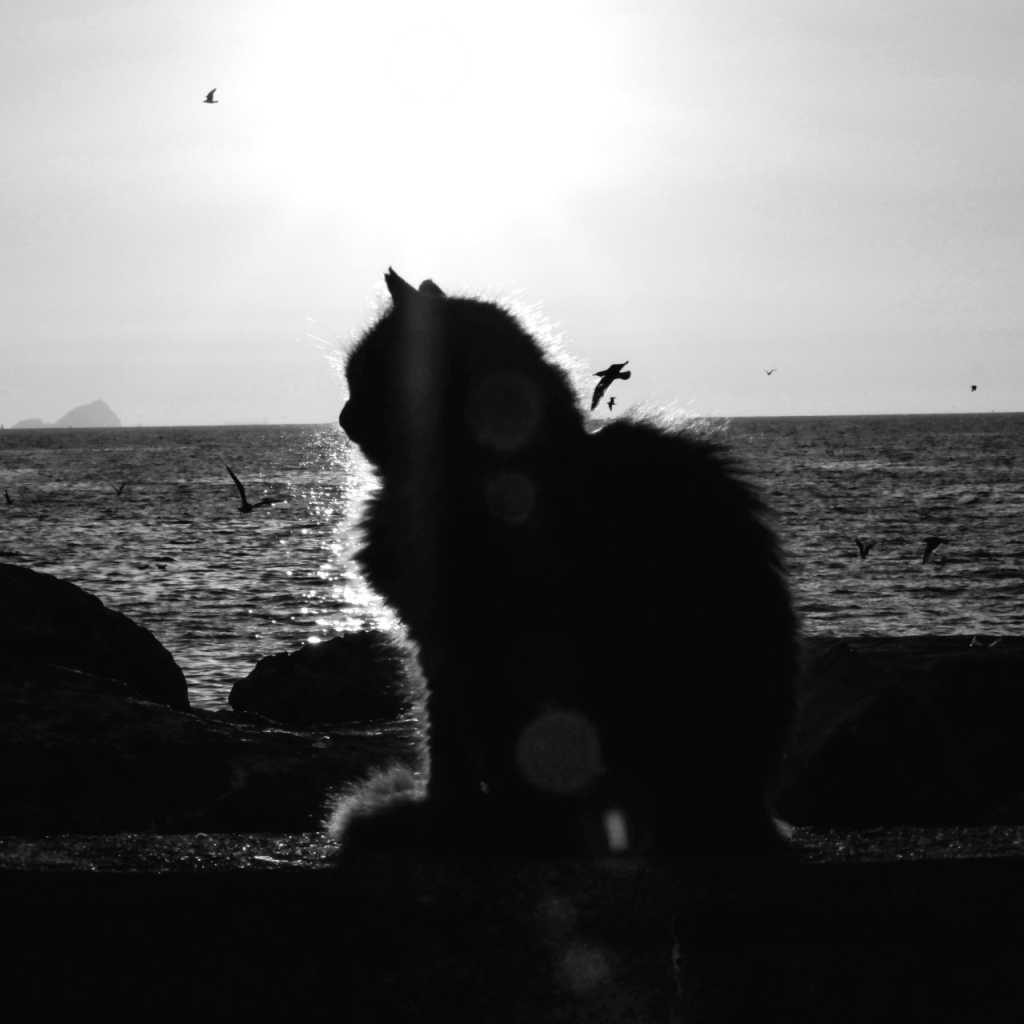
Step 2: Convert to greyscale
Next you will want to convert the image to greyscale. There are many ways of doing this in image editor programs, and you may choose any of them. In GIMP, I went to:
Colors –> Desaturate –> Desaturate
I picked Value (HSV) as the Mode, and clicked ok.
Step 3 (optional): Adjust contrast
As an optional step, you might want to adjust the contrast of your greyscale layer. Feel free to experiment.
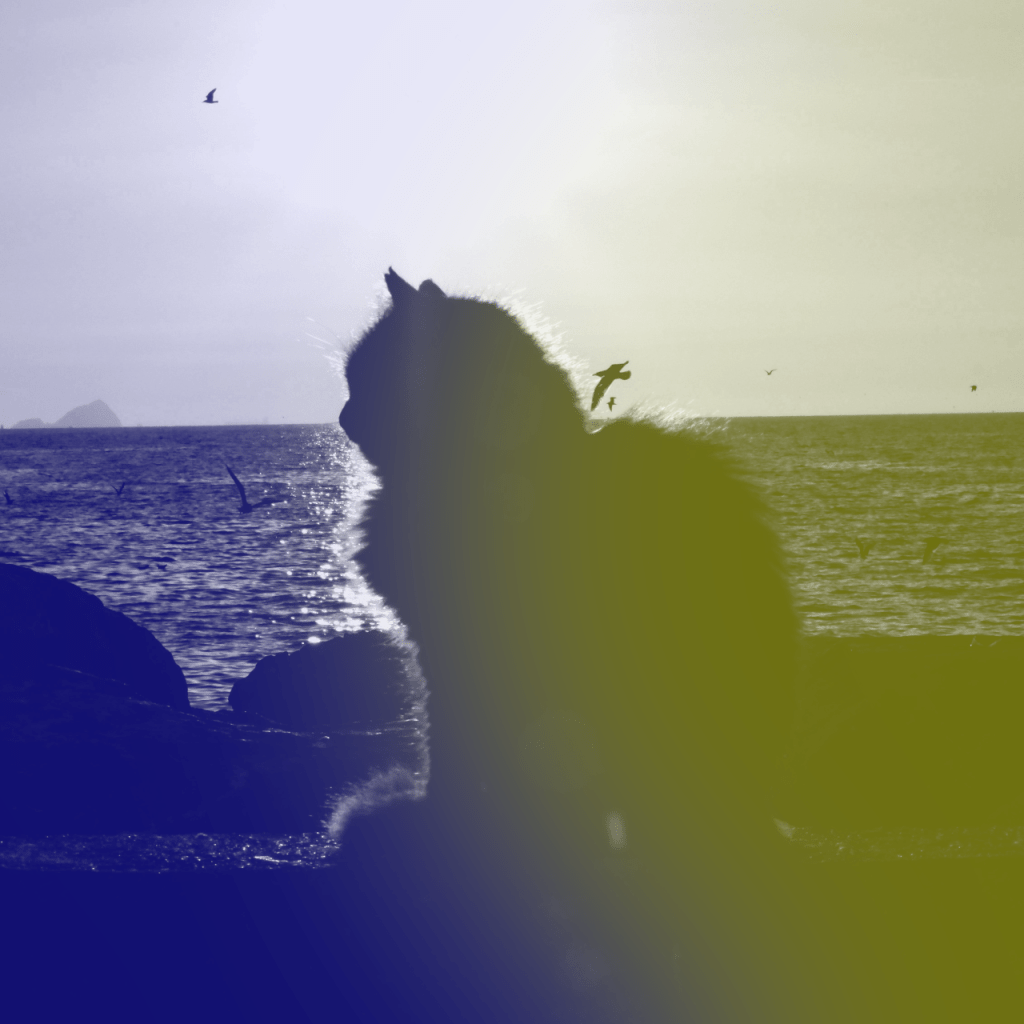
Step 4: Select colours
Next select two colours to use. You can use any colour you like, however complementary colours work well. You could also use black and white. Or black and any other bright colour. Feel free to experiment!
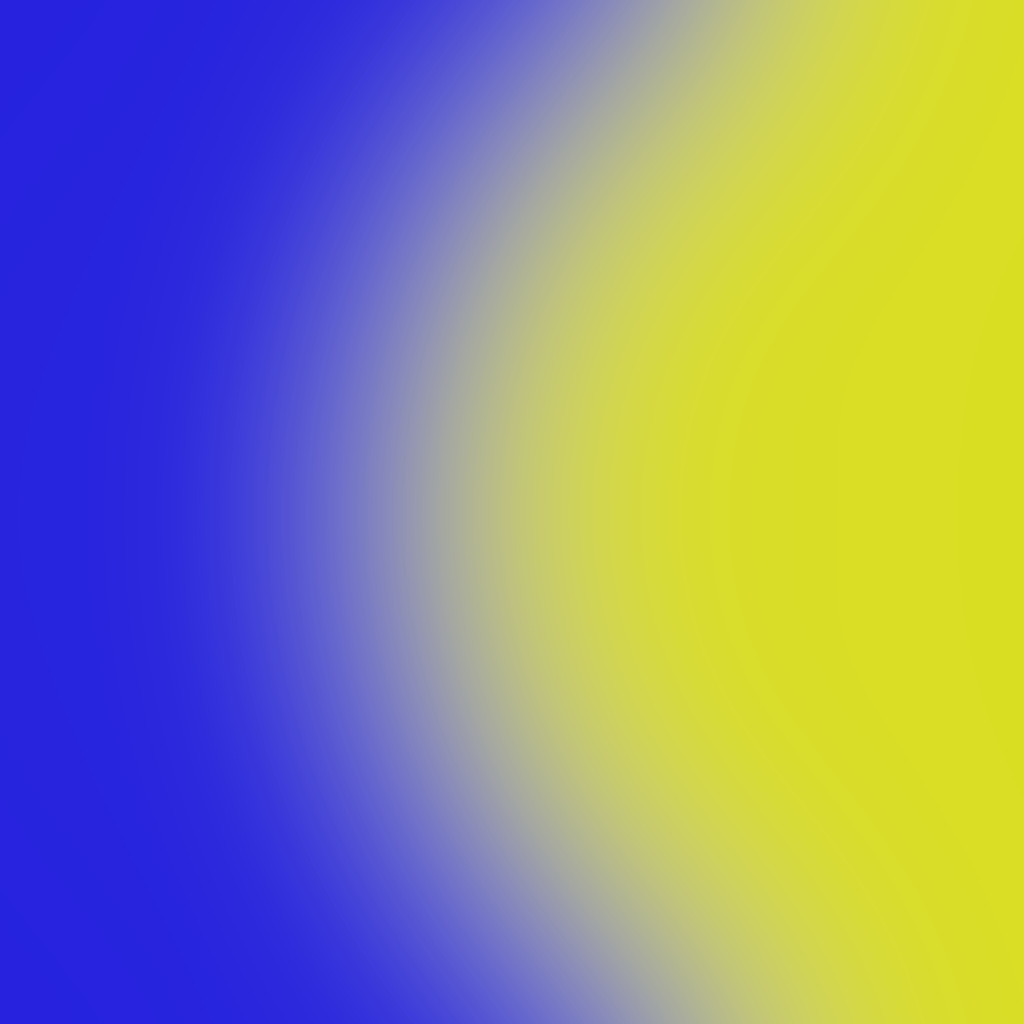
Step 5: Create the circle
Create a new layer with a transparent background. Then use the Ellipse Select Tool to create a circular shape over part of the image. Fill this selection with one of your colours. Then go to Select followed by Invert, to invert the selection. Fill this with the other colour.

Step 6: Gaussian blur
Go to:
Filters –> Blur –> Gaussian Blur
Apply a strong blur by increasing the size in the options to create a nice circular gradient. Mine looks like this:
Step 7: Lower layer opacity
Lower the opacity of the circle layer to create the circular duotone effect. The lower the opacity the more subtle the effect.

Thank you for reading this tutorial, I hope you found it useful!
See this tutorial for how to create a duotone circle in a shader.
