
Learn how to create a wood texture in the GIMP image editor using noise, motion blur, levels and gradients. You can use the wood to texture 3D models for video games and other types of computer-generated imagery.
New Layer
Create a new layer and call it ‘wood’. Fill the wood layer with black.
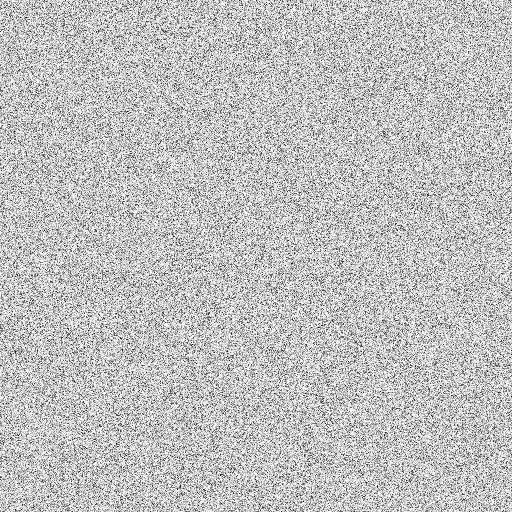
Noise
Go to Filters –> Noise –> Hurl
Turn randomization up to 100, and pick whatever repeat value you want.

Desaturate
Go to Colors –> Desaturate –> Desaturate
Pick Value (HSV) for the mode.
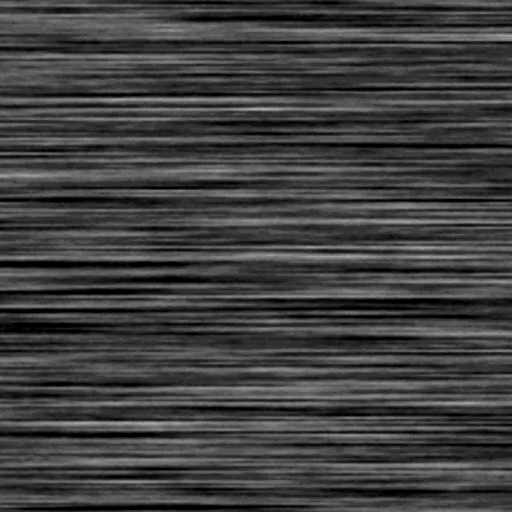
Motion blur
Go to Filters –> Blur –> Linear Motion Blur
Increase the length until the texture starts to look like lines. It won’t cover the whole texture, so you will need to use the scale tool to scale the image up until you only see lines.
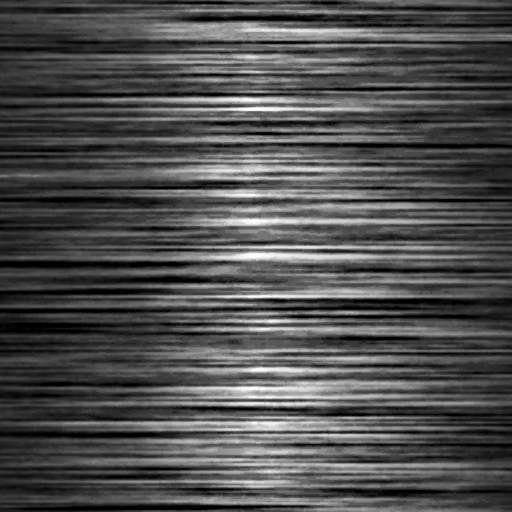
Levels
Go to Colors –> Levels
Play with the black, grey and white sliders until you get something you like.
Next go to Colors –> Brightness-Contrast
Turn the contrast way up.
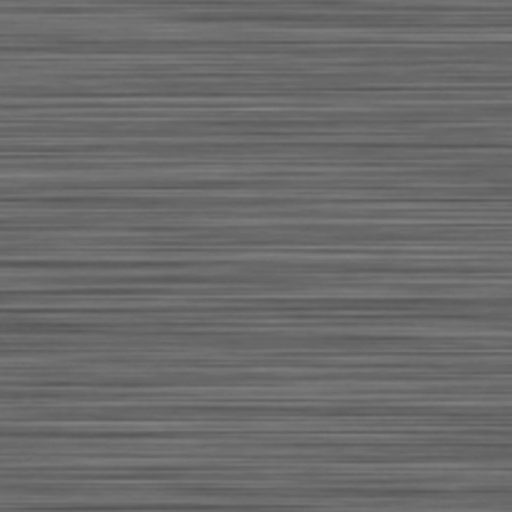
Gradient
Create a new layer and pick a gradient with black on either side and white in the middle. Pick Bi-linear for the shape. Next you will probably need to scale the gradient layer up in size, so that there is only white and grey on the screen. Scale it mostly horizontally.

Overlay
Set the blend mode of the gradient layer to overlay. Play around with the scale of both layers, and use the move tool until you are happy.
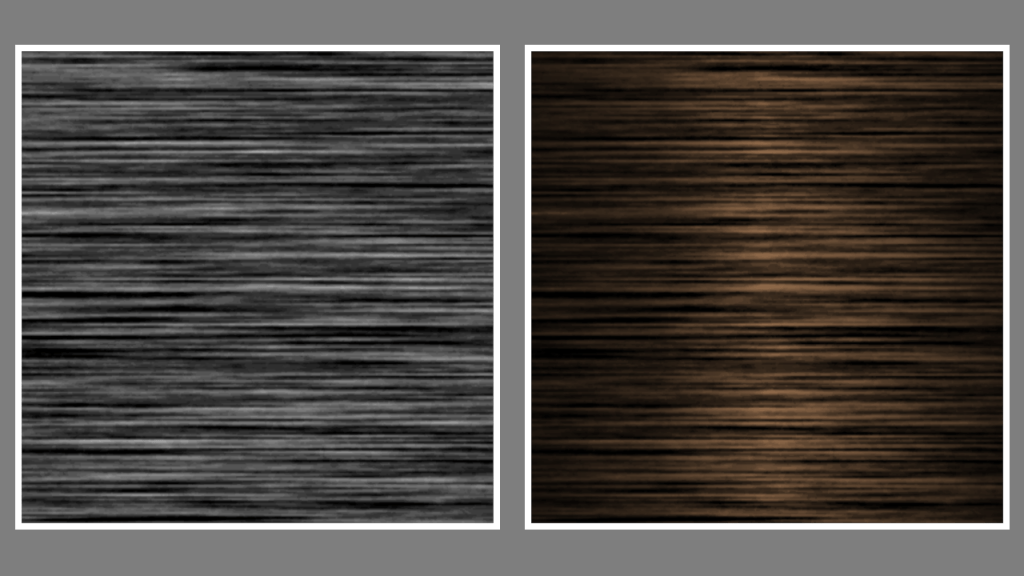
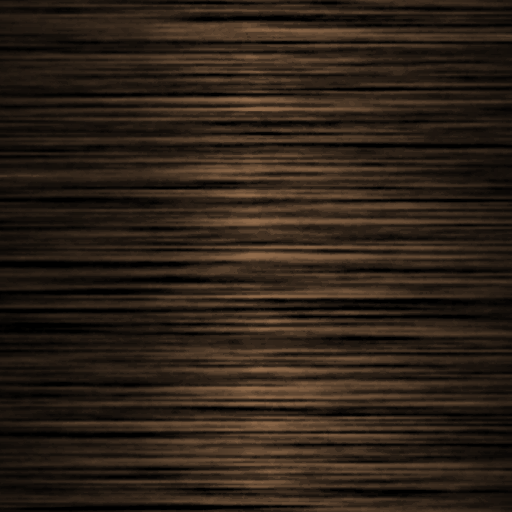
Colorize
Select the wood layer, and go to Colors –> Colorize
And pick a brown colour.
Conclusion
Thank you for reading this tutorial. Let me know in the comments section if you enjoyed it, or have any questions!

2 responses to “Creating a wood texture in GIMP”
Love this tutorial, so happy you’re doing some with GIMP, it is my fave editor 😁
Thank you! GIMP has really improved over the years. There is so much you can do with it 😀