
Learn how to apply a drop shadow effect to any image in the GIMP image editor by creating a shadow layer and applying gaussian blur. The process is similar for other image editors like Adobe Photoshop.
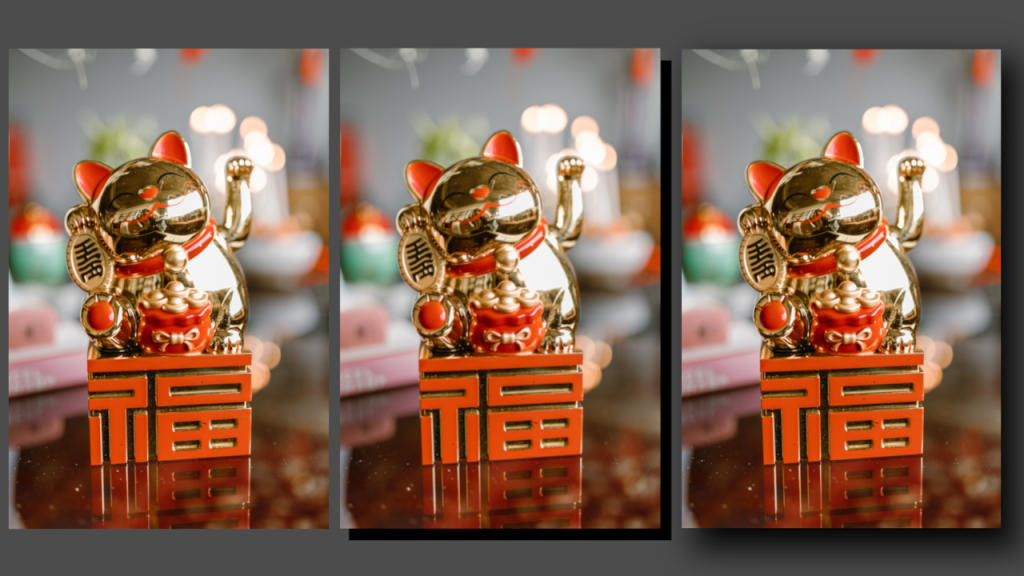
I will use this beautiful cat image from Pexels for the tutorial.

Open GIMP
Open GIMP and drag in an image you want to use.
New layer
Create a new layer and fill it with a solid colour. I will refer to this layer as the ‘shadow’ layer.
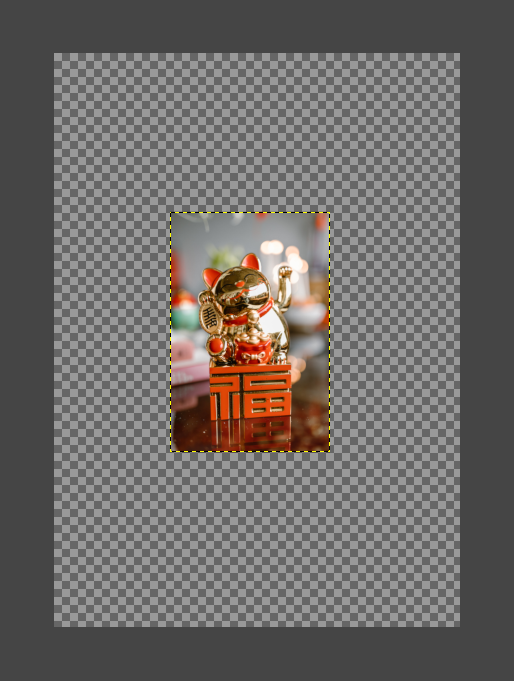
Resize canvas
Resize the canvas, so there is space for the blur. I recommend doubling the canvas size from the centre of the screen.
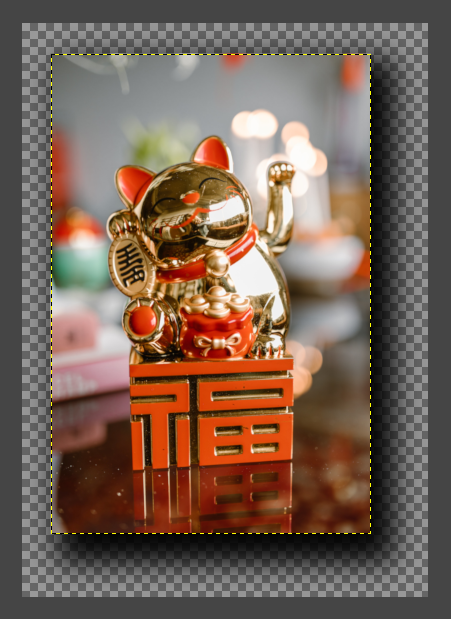
Gaussian blur
Set the shadow layer to the size of the image, so that the blur can be applied to the whole image. Then apply gaussian blur to the shadow layer.

Offset
Offset the shadow layer to create the drop shadow using the move tool. You can also make some final adjustments with the scale tool.
You can also skip the blur, and make a solid colour shadow like below:

Conclusion
This tutorial has shown you how to apply a drop shadow effect to an image in the GIMP image editor, with and without blur applied.
Thank you for reading this tutorial. Let me know in the comments section if you enjoyed it, or have any questions!

4 responses to “Creating a drop shadow effect in GIMP”
Sweet tutorial, I love GIMP so much
Thank you!
💯
💯