
This tutorial teaches you how to add an eraser to the paint program, and follows on from the last tutorial about changing the brush size. We will also pick better colors, which aren’t so bright.
Step 1: New colors
We will start by adding some new variables to the top of the file. These variables are accessible throughout the whole program. We added brushSize and Shape in the previous tutorials.
float brushSize = 8;

color backgroundFill = color(200);

enum Shape { circle, square, triangle }
Shape shape = Shape.circle;

color circleFill = color(220, 50, 50);
color squareFill = color(50, 220, 50);
color triangleFill = color(50, 50, 220);
We have a new variable called backgroundFill which is of the data type color. The color data type is made up of 3 values for red, green and blue. However we set the value of color to 200. Which means we set the red, green and blue channels to 200. Since the backgroundFill is a greyscale value.
Lastly we add 3 color RGB variables for the circle, square and triangle fill colors.
Notice how the shape colors are no longer just full red, full green, and full blue. We previously used this for the circle fill:
fill(255, 0, 0);
Which produces a very bright red. I’ve decreased the amount of red, so it isn’t so bright, and added some green and blue into the mix, to make the color less of an eye sore.
color circleFill = color(220, 50, 50);
Here’s a comparison of both reds in the draw function:
  fill(255, 0, 0);
  circle(width / 2 - 192, height / 2, 256);
  fill(220, 50, 50);
  circle(width / 2 + 192, height / 2, 256);
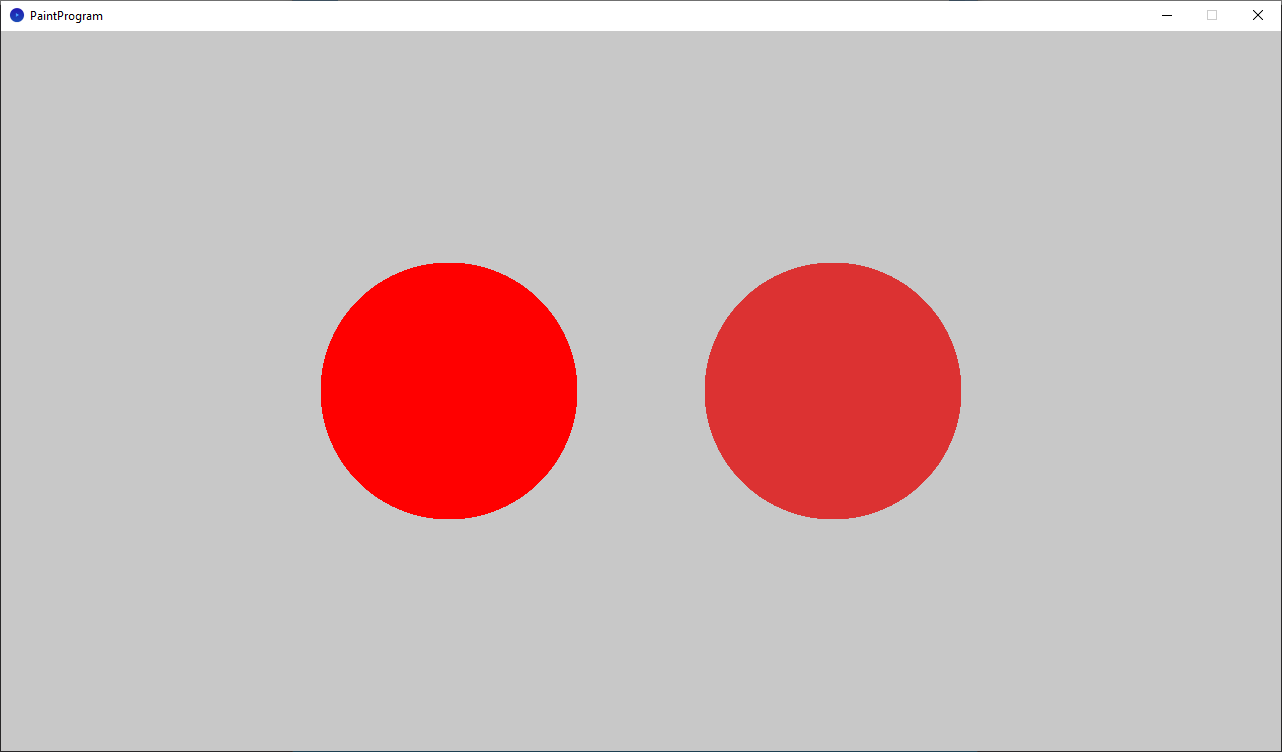
Feel free to experiment and create your own colors.
Step 2: Setup
Next lets update the setup function to use the backgroundFill variable for the background color, and the circleFill variable for the shape fill. We will also turn off the stroke here.
void setup()
{
  size(1280, 720);

  background(backgroundFill);

  noStroke();
  fill(circleFill);
}
Step 3: Clear screen
We need to update the ClearScreen function to use the backgroundFill variable.
void ClearScreen()
{
  if(keyPressed && (key == 'r' || key == 'R'))
  {
    background(backgroundFill);
  }
}
Step 4: Select shape
I’m going to rename the SelectFill function to SelectShape, and have it only select the shape. Since we will set the shape fill later in the DrawShape function.
void SelectShape()
{
  if (!keyPressed) return;

  if (key == '1')
  {
    shape = Shape.circle;
  }
  else if (key == '2')
  {
    shape = Shape.square;
  }
  else if(key == '3')
  {
    shape = Shape.triangle;
  }
}
Step 5: Draw shape
We will use the shape color variables in the DrawShape function. We need to do this, since the eraser will also use a separate color later.
void DrawShape()
{
  boolean leftMousePressed = mousePressed && mouseButton == LEFT;
  if(!leftMousePressed) return;

  float halfBrushSize = brushSize / 2;
  switch(shape)
  {
    case circle:
      fill(circleFill);
      circle(mouseX, mouseY, brushSize);
      break;
    case square:
      fill(squareFill);
      float x = mouseX - halfBrushSize;
      float y = mouseY - halfBrushSize;
      square(x, y, brushSize);
      break;
    case triangle:
      fill(triangleFill);
      float x1 = mouseX;
      float y1 = mouseY - halfBrushSize;
      float x2 = mouseX - halfBrushSize;
      float y2 = mouseY + halfBrushSize;
      float x3 = mouseX + halfBrushSize;
      float y3 = mouseY + halfBrushSize;
      triangle(x1, y1, x2, y2, x3, y3);
      break;
  }
}
Step 6: Eraser
Now it’s time to add the eraser. For this we will need to add a new function called UseEraser.
void UseEraser()
{
  boolean rightMousePressed = mousePressed && mouseButton == RIGHT;
  if(!rightMousePressed) return;

  fill(backgroundFill);

  float halfBrushSize = brushSize / 2;
  switch(shape)
  {
    case circle:
      circle(mouseX, mouseY, brushSize);
      break;
    case square:
      float x = mouseX - halfBrushSize;
      float y = mouseY - halfBrushSize;
      square(x, y, brushSize);
      break;
    case triangle:
      float x1 = mouseX;
      float y1 = mouseY - halfBrushSize;
      float x2 = mouseX - halfBrushSize;
      float y2 = mouseY + halfBrushSize;
      float x3 = mouseX + halfBrushSize;
      float y3 = mouseY + halfBrushSize;
      triangle(x1, y1, x2, y2, x3, y3);
      break;
  }
}
The function will check if the right mouse button is currently down. If this is the case, then we will proceed to erase.
boolean rightMousePressed = mousePressed && mouseButton == RIGHT;
  if(!rightMousePressed) return;
We first set the fill to the backgroundFill color.
fill(backgroundFill);
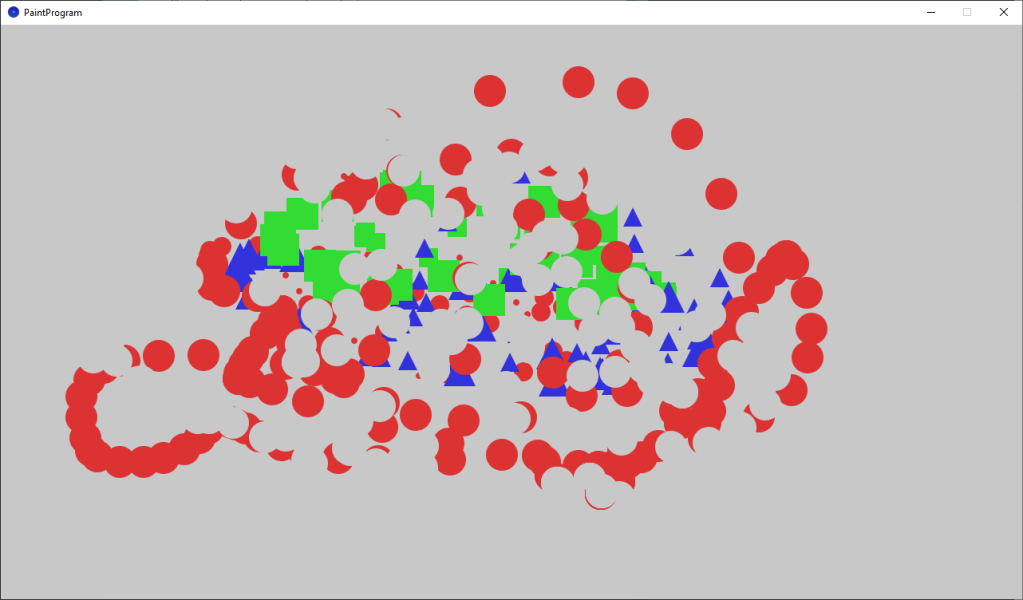
Now we will use a switch statement to draw the currently selected shape. Since the shape color matches the background, it will erase pixels of a different color!
Step 7: Update draw
Finally we just need to update the draw function to use our new erase function. We also need to update the name of the SelectFill function to SelectShape.
void draw()
{
  ClearScreen();

  SelectShape();

  DrawShape();

  UseEraser();
}
Full Code
float brushSize = 8;

color backgroundFill = color(200);

enum Shape { circle, square, triangle }
Shape shape = Shape.circle;

color circleFill = color(220, 50, 50);
color squareFill = color(50, 220, 50);
color triangleFill = color(50, 50, 220);

void setup()
{
  size(1280, 720);

  background(backgroundFill);

  noStroke();
  fill(circleFill);
}

void draw()
{
  ClearScreen();

  SelectShape();

  DrawShape();

  UseEraser();
}

void ClearScreen()
{
  if(keyPressed && (key == 'r' || key == 'R'))
  {
    background(backgroundFill);
  }
}

void SelectShape()
{
  if (!keyPressed) return;

  if (key == '1')
  {
    shape = Shape.circle;
  }
  else if (key == '2')
  {
    shape = Shape.square;
  }
  else if(key == '3')
  {
    shape = Shape.triangle;
  }
}

void DrawShape()
{
  boolean leftMousePressed = mousePressed && mouseButton == LEFT;
  if(!leftMousePressed) return;

  float halfBrushSize = brushSize / 2;
  switch(shape)
  {
    case circle:
      fill(circleFill);
      circle(mouseX, mouseY, brushSize);
      break;
    case square:
      fill(squareFill);
      float x = mouseX - halfBrushSize;
      float y = mouseY - halfBrushSize;
      square(x, y, brushSize);
      break;
    case triangle:
      fill(triangleFill);
      float x1 = mouseX;
      float y1 = mouseY - halfBrushSize;
      float x2 = mouseX - halfBrushSize;
      float y2 = mouseY + halfBrushSize;
      float x3 = mouseX + halfBrushSize;
      float y3 = mouseY + halfBrushSize;
      triangle(x1, y1, x2, y2, x3, y3);
      break;
  }
}

void ChangeBrushSize()
{
  brushSize += 8;
  brushSize = brushSize > 64 ? 8 : brushSize;
}

void keyReleased()
{
  if(key == 'q' || key == 'Q')
  {
    ChangeBrushSize();
  }
}

void UseEraser()
{
  boolean rightMousePressed = mousePressed && mouseButton == RIGHT;
  if(!rightMousePressed) return;

  fill(backgroundFill);

  float halfBrushSize = brushSize / 2;
  switch(shape)
  {
    case circle:
      circle(mouseX, mouseY, brushSize);
      break;
    case square:
      float x = mouseX - halfBrushSize;
      float y = mouseY - halfBrushSize;
      square(x, y, brushSize);
      break;
    case triangle:
      float x1 = mouseX;
      float y1 = mouseY - halfBrushSize;
      float x2 = mouseX - halfBrushSize;
      float y2 = mouseY + halfBrushSize;
      float x3 = mouseX + halfBrushSize;
      float y3 = mouseY + halfBrushSize;
      triangle(x1, y1, x2, y2, x3, y3);
      break;
  }
}
Conclusion
This tutorial has shown you how to add an eraser to the paint program, and how to pick better colors which aren’t so bright.
Thank you for reading this tutorial. Let me know in the comments section if you enjoyed it, or have any questions!
