
This tutorial will show you how to create a painting program in Processing. You will learn how to draw shapes using mouse input. You will use keyboard input to change the colour and the type of shape to draw. You will learn about if statements, how to create your own functions and how to create an enum.
This tutorial continues on from the last tutorial, so I recommend you check it out.
Step 1: Setup
Open up Processing using the executable (processing.exe), so we start with an empty sketch.
Then create the setup function and set the window size.
void setup()
{
  size(1280, 720);
}
Step 2: Draw function
Next we will create the draw function.
void draw()
{

}
Step 3: Circle and mouse
Inside the draw function we will turn the stroke off and set the fill to red.
noStroke();
fill(255, 0, 0);
Next we are going to check if the left mouse button is pressed, and store the result in a boolean. A boolean is a data type which holds either a true or a false value.
Processing has built in variables like mousePressed and mouseButton. The mousePressed variable checks whether any of the mouse buttons are currently pressed. The mouseButton variable checks which mouse button is currently pressed. In this case we are checking for if the left mouse button is currently pressed down.
boolean leftMousePressed = mousePressed && mouseButton == LEFT;
Next we will use the leftMousePressed boolean in an if statement. An if statement is used to check if a condition is true or false. In this case we will use the leftMousePressed boolean as the conditional. If the condition is true, then we will draw a circle, else we will do nothing.
if(leftMousePressed)
{
  circle(mouseX, mouseY, 64);
}
If you run the code, you should now be able to paint circles with the left mouse button.
See if you can produce a better piece of art than this masterpiece 😉
Step 4: Change fill
Red is a nice colour, but how about we let the user change colour. First lets delete this line:
fill(255, 0, 0);
Next we will create our own function for changing the fill. We have created the Processing functions setup and draw. We have also called other Processing functions like size, fill and circle. So we have some idea of what they can do.
Create some empty space below the draw function, and create a new empty function called SelectFill.
void SelectFill()
{

}
The SelectFill function currently does nothing, since there is no code between the opening ({) and closing (}) curly braces. The function has a return type of void, which means it returns nothing. Functions can return numbers and other things. The function also doesn’t take any arguments, as you can see from the empty parenthesis (). This is fine for us, since we just want to change the fill.
So lets add some code to our new function. We will use another Processing variable called keyPressed. Which is used to check if any keyboard buttons are currently pressed. However since there is an exclamation mark (!) before the keyPressed variable, it means we are checking if there is currently ‘not’ any keyboard buttons pressed.
if (!keyPressed) return;
The not operator (!) is used to reverse the value of a boolean expression. This means:
- True becomes false.
- False becomes true.
So our code above will use the if statement to check if none of the keyboard buttons are currently pressed, then it will return and exit the function if this is true.
Next we will change the fill by checking the number keys. The word key is another Processing variable. We use the key to check which key is currently pressed.
The if statement can have optional else clauses. In this case we use two else clauses. If the first conditional isn’t true, then the second condition is evaluated, and so on.
- If 1 is pressed, then we return red.
- else If 2 is pressed, then we return green.
- else If 3 is pressed, then we return blue.
If an irrelevant key is pressed, then we do nothing.
  if (key == '1')
  {
    fill(255, 0, 0);
  }
  else if (key == '2')
  {
    fill(0, 255, 0);
  }
  else if(key == '3')
  {
    fill(0, 0, 255);
  }
So the completed function looks like this:
void SelectFill()
{
  if (!keyPressed) return;

  if (key == '1')
  {
    fill(255, 0, 0);
  }
  else if (key == '2')
  {
    fill(0, 255, 0);
  }
  else if(key == '3')
  {
    fill(0, 0, 255);
  }
}
All that’s left to do is to call the SelectFill function inside the draw function:
void draw()
{
  noStroke();
  SelectFill();

  boolean leftMousePressed = mousePressed && mouseButton == LEFT;
  if(leftMousePressed)
  {
    circle(mouseX, mouseY, 64);
  }
}
You should now be able to change the fill colour using the numbers keys (1, 2, 3) on the keyboard.

Step 5: Change shape
Wouldn’t it be cool if we could change the shape we want to draw. Lets first start by creating an enum, which will represent which shape we want to draw.
enum Shape { circle, square, triangle }
Shape shape = Shape.circle;
So we create an enum called Shape, which contains 3 constants: circle, square and triangle.
We then create a Shape variable, called shape, and set it to circle by default.
Now lets learn how to select a shape.
We will edit our SelectFill function, like so:
void SelectFill()
{
  if (!keyPressed) return;

  if (key == '1')
  {
    fill(255, 0, 0);
    shape = Shape.circle;
  }
  else if (key == '2')
  {
    fill(0, 255, 0);
    shape = Shape.square;
  }
  else if(key == '3')
  {
    fill(0, 0, 255);
    shape = Shape.triangle;
  }
}
Notice how each number press now selects a different shape, by setting the shape variable.
- 1 sets shape to circle.
- 2 sets shape to square.
- 3 sets shape to triangle.
Step 6: Draw shape
We can now select which shape we want, so all that’s left is to draw the shape we have selected. We will do this by creating a new function called DrawShape.
Create the DrawShape function below the SelectFill function.
void DrawShape()
{

}
Now lets start adding some code into the function. We only want to draw a shape if the left mouse button is down, so lets reuse this code from earlier:
boolean leftMousePressed = mousePressed && mouseButton == LEFT;
if(!leftMousePressed) return;
So far so far good. Next lets handle drawing the selected shape using a switch statement like so:
  switch(shape)
  {
    case circle:
      circle(mouseX, mouseY, 64);
      break;
    case square:
      float halfSize = 64 / 2;
      float x = mouseX - halfSize;
      float y = mouseY - halfSize;
      square(x, y, 64);
      break;
    case triangle:
      float x1 = mouseX;
      float y1 = mouseY - 32;
      float x2 = mouseX - 32;
      float y2 = mouseY + 32;
      float x3 = mouseX + 32;
      float y3 = mouseY + 32;
      triangle(x1, y1, x2, y2, x3, y3);
      break;
  }
A switch statement works in a similar way to a if else statement. We first put our shape variable here:
switch(shape)
The switch statement then checks each case to see if it matches the variable. If the case is the circle shape, then this case is matched.
case circle:
      circle(mouseX, mouseY, 64);
      break;
The break keyword will break out of the case. If there is no break keyword in the case, then the switch statement will go to the next case.
A quick note on the shape draw functions:
- Circle takes a position and a size value.
- Square takes a position and a size value.
- Triangle takes 3 position values.
See the shape section of the reference for more information here.
So finally we just need to clean up the draw function and use our DrawShape function. Also set the fill function to red in the setup function, else it will use another colour by default until you press a number key.
void setup()
{
  size(1280, 720);

  fill(255, 0, 0);
}

void draw()
{
  noStroke();
  SelectFill();
  DrawShape();
}
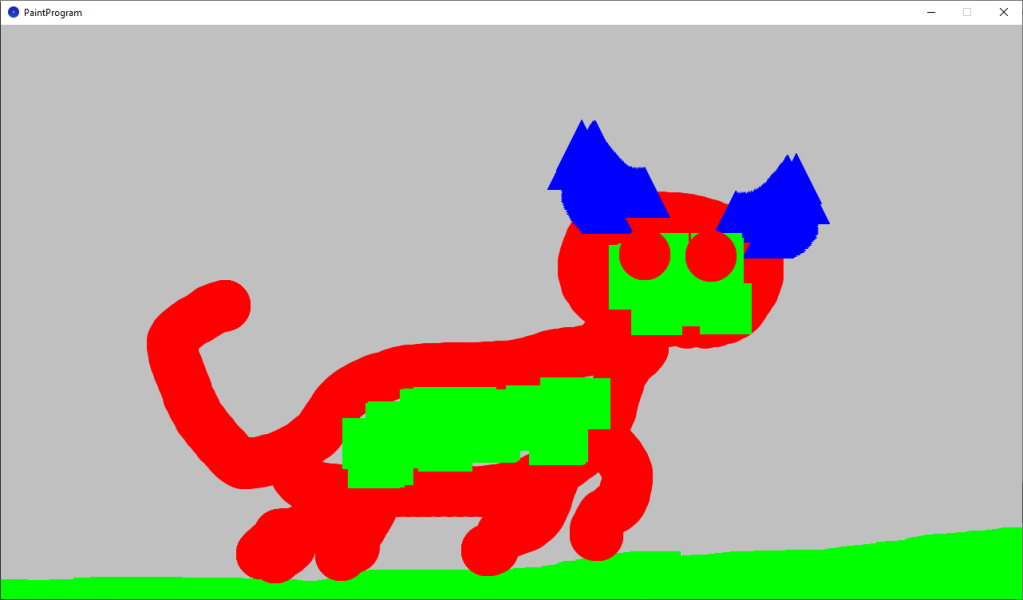
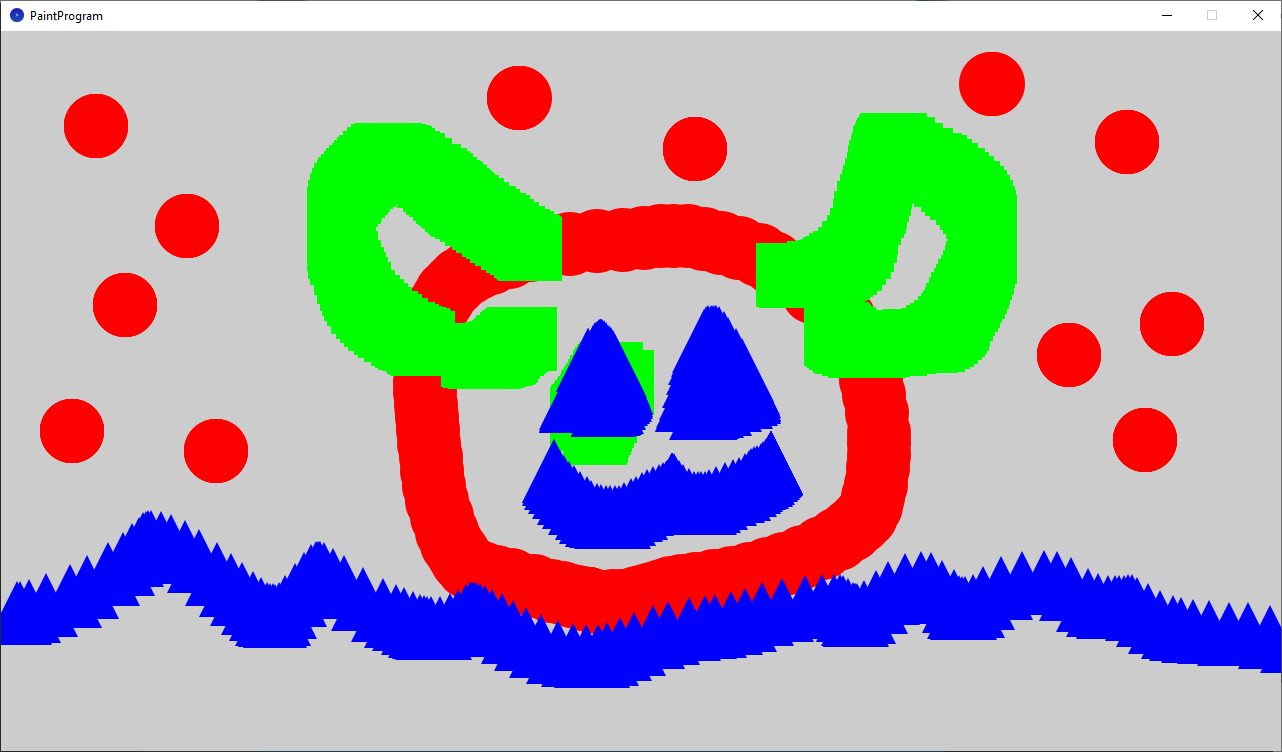
Now if you run the code, you will be able to change both the shape type and the fill colour using the number keys (1, 2, 3).
Full code
enum Shape { circle, square, triangle }
Shape shape = Shape.circle;

void setup()
{
  size(1280, 720);

  fill(255, 0, 0);
}

void draw()
{
  noStroke();
  SelectFill();
  DrawShape();
}

void SelectFill()
{
  if (!keyPressed) return;

  if (key == '1')
  {
    fill(255, 0, 0);
    shape = Shape.circle;
  }
  else if (key == '2')
  {
    fill(0, 255, 0);
    shape = Shape.square;
  }
  else if(key == '3')
  {
    fill(0, 0, 255);
    shape = Shape.triangle;
  }
}

void DrawShape()
{
  boolean leftMousePressed = mousePressed && mouseButton == LEFT;
  if(!leftMousePressed) return;

  switch(shape)
  {
    case circle:
      circle(mouseX, mouseY, 64);
      break;
    case square:
      float halfSize = 64 / 2;
      float x = mouseX - halfSize;
      float y = mouseY - halfSize;
      square(x, y, 64);
      break;
    case triangle:
      float x1 = mouseX;
      float y1 = mouseY - 32;
      float x2 = mouseX - 32;
      float y2 = mouseY + 32;
      float x3 = mouseX + 32;
      float y3 = mouseY + 32;
      triangle(x1, y1, x2, y2, x3, y3);
      break;
  }
}
Conclusion
This tutorial has taught you how to create a painting program in Processing. You learned how to draw shapes using mouse input. You used the keyboard input to change the colour and the type of shape to draw. You learned how to use if else statements. How to create your own functions, and how to create an enum.
Why not try the following:
- Add more shapes and colours.
- Use the background function to clear the screen by adding a new keyboard button.
- Toggle the stroke function on and off by adding a new keyboard button.
Thank you for reading this tutorial. Let me know in the comments section if you enjoyed it, or have any questions!
