
This tutorial will show you how quick and easy it is to use Processing and Java to create art using code. You will learn how to create a beautiful animated mosaic pattern. No prior knowledge of coding is required. All you need is a willingness to learn.
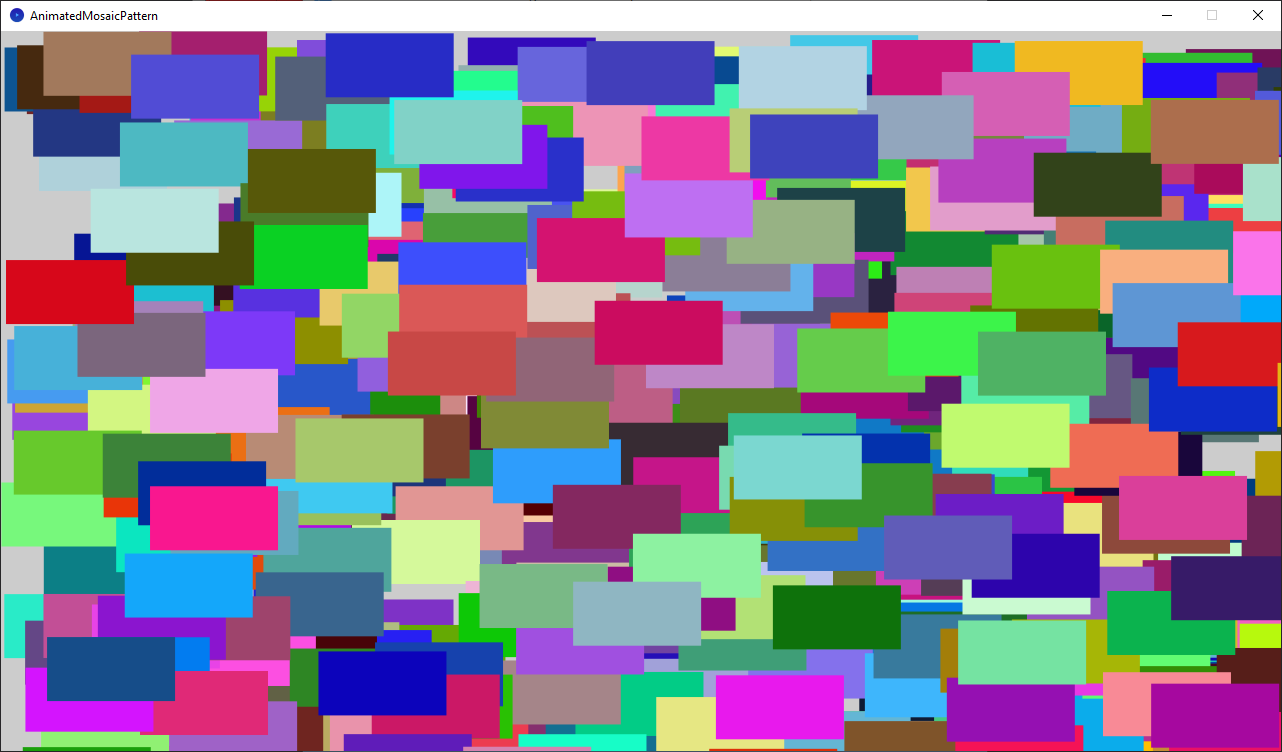
This is what you will be creating:
What is Processing?
“Processing is a flexible software sketchbook and a language for learning how to code. Since 2001, Processing has promoted software literacy within the visual arts and visual literacy within technology. There are tens of thousands of students, artists, designers, researchers, and hobbyists who use Processing for learning and prototyping.”
Welcome to Processing! / Processing.org
Installation
Go to: Download Processing / Processing.org
Download the correct version of Processing for your Operating System.
Instructions for Windows
Unzip the file you downloaded, then find the processing.exe file inside the processing folder.
Then launch the executable by double clicking on it.
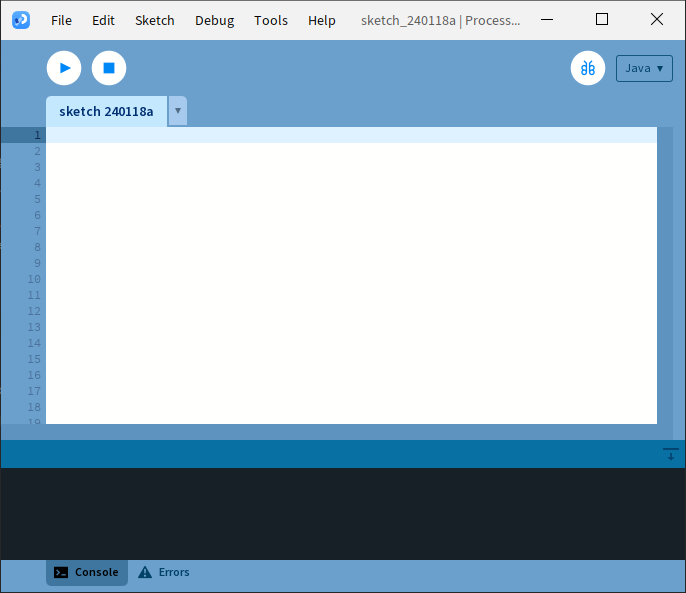
Step 1: Code editor
After launching the executable, you should be greeted with the Processing code editor.
Step 2: Setup
The first thing we will do is create the setup function and set the window size using the size function. Type this code into the empty space.
void setup()
{
  size(1280, 720);
}
The setup function is called once on start up, and is commonly used to set the window size and perform other one off set up tasks. I have set the window size to 1280×720.
You can now run the code by pressing the triangle button or CTRL + R. You will see an empty window.
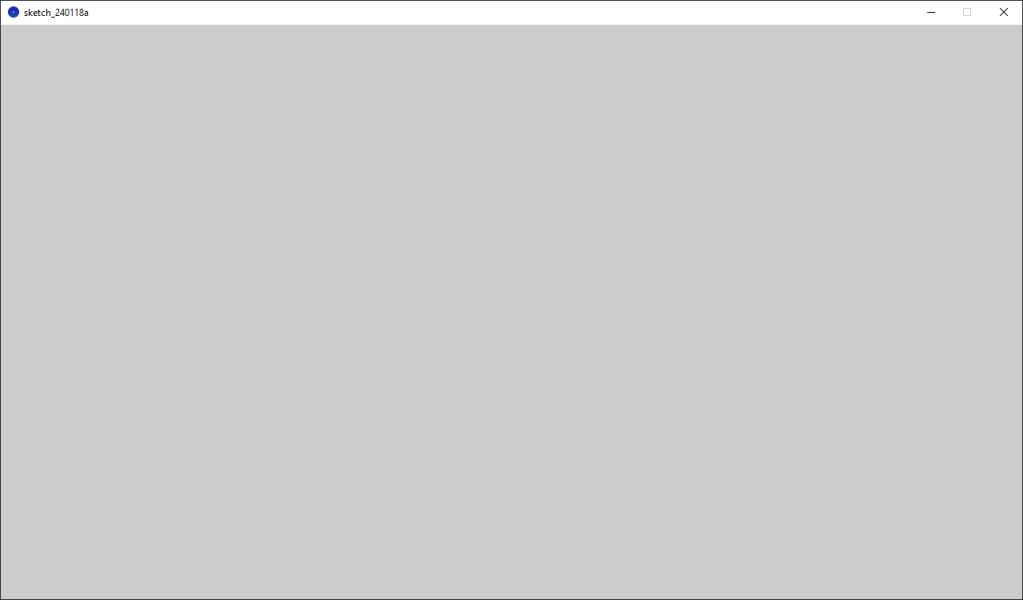
Close the window using one of these methods:
- Press the Esc key.
- Press the cross button in the top right of the window.
- Press the square button in the Processing editor.
Step 3: Draw
We will now add a draw function. This function gets called repeatedly, and we will use it to draw things like shapes.
Lets start by drawing a rectangle. Copy and paste this code into some empty space. I recommend pasting it below the setup function.
void setup()
{
  size(1280, 720);
}

void draw()
{
  stroke(0);
  fill(255);
  rect(0, 0, 128, 128);
}
Now run the code with the triangle button.
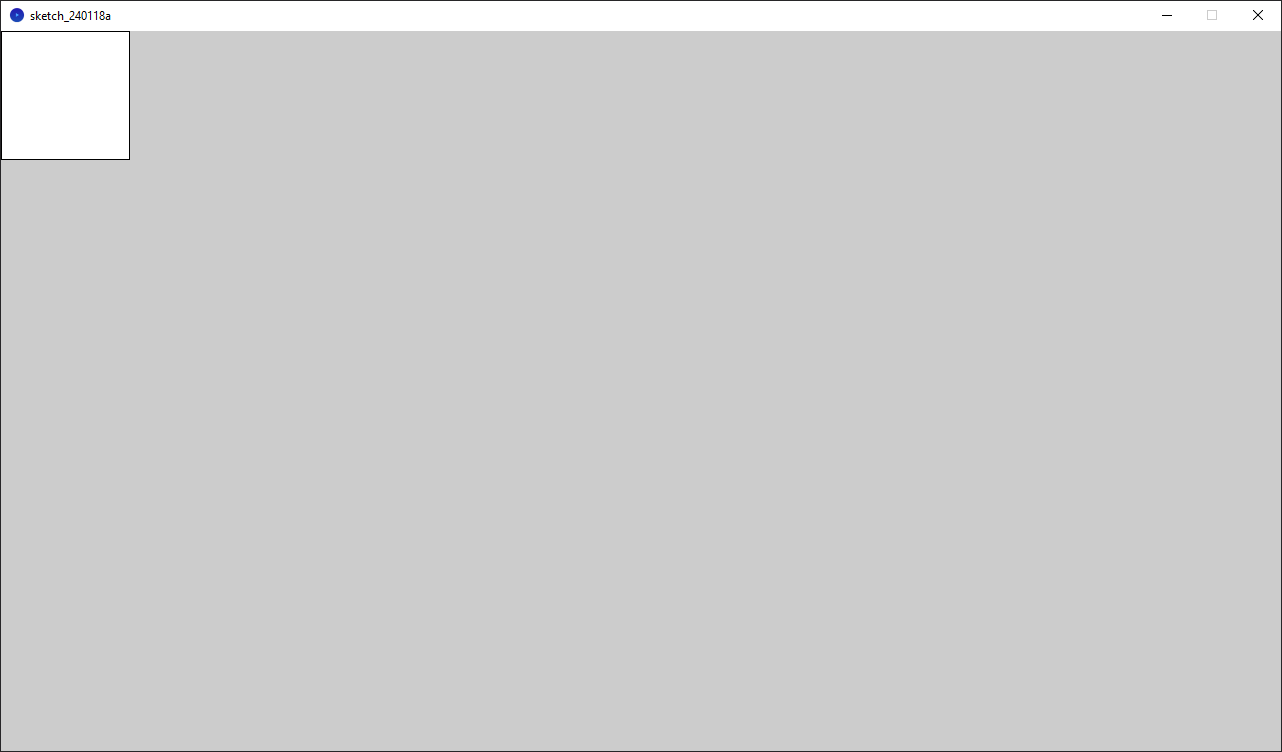
You should see a white rectangle in the top left of the screen. The white rectangle also has a black border.
Lets review the code we wrote. Inside the draw function, we have a function called stroke. The stroke sets the border colour to black. The fill function sets the inside of the rectangle to white.
The stroke and fill functions both take a colour in the 0 to 255 range. Where 0 is black, and 255 is white. If there is only a single value in the function, then we get a greyscale value.
Lets change the fill function, and we see what we get.
fill(255, 0, 0);
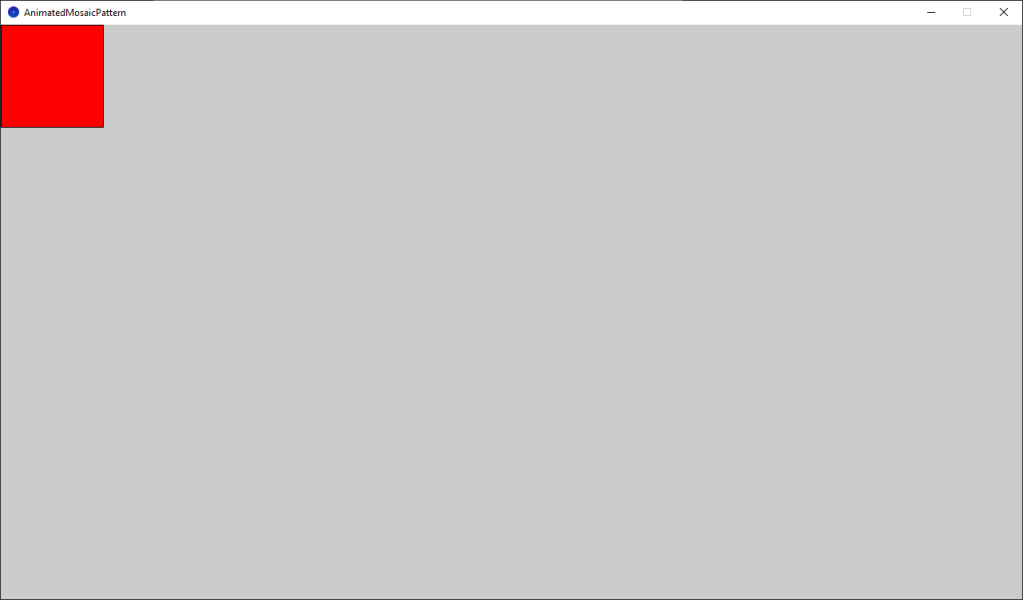
We now have a red rectangle. If we supply fill or stroke with 3 values, then we get an RGB colour. This makes sense since we set the 1st value to 255 for red, and the other values to 0.
Now lets talk about the rect function. The name of the rect function is short for rectangle. It takes 4 values. The 1st and 2nd values represent the position. We set the position to (0, 0), which is the top left corner of the screen.
If you remember the size function from earlier, we used it to set the width and height of the window. This means the bottom right corner of the window is equal to (width, height).
The 3rd and 4th values in the rect function represent the width and height of the rectangle. We set it to (128, 128).
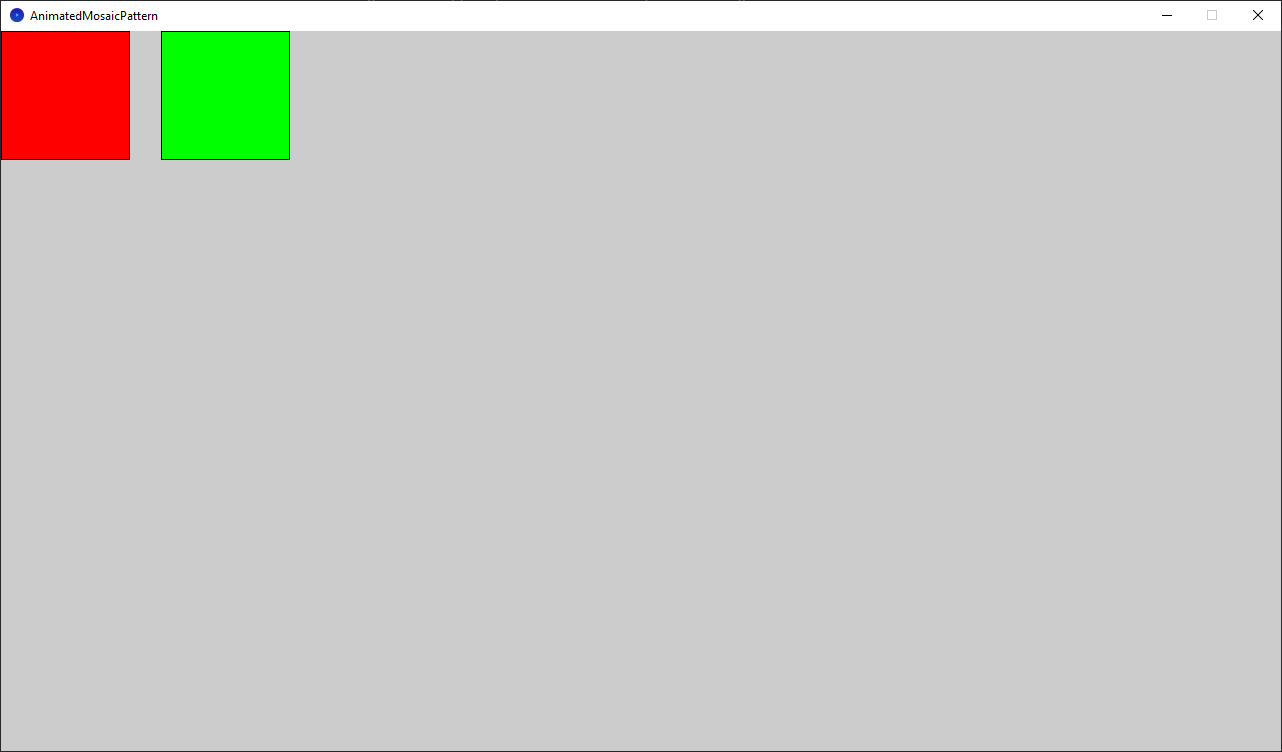
Step 4: Second rectangle
Now lets draw another rectangle. We will copy and paste the code from the previous rectangle. Then we will change the position of the 2nd rectangle to (160, 0). Lets also change the colours of the rectangles. I will make the 1st rectangle red, and the 2nd rectangle green.
void draw()
{
  stroke(0);
  fill(255, 0, 0);
  rect(0, 0, 128, 128);

  stroke(0);
  fill(0, 255, 0);
  rect(160, 0, 128, 128);
}
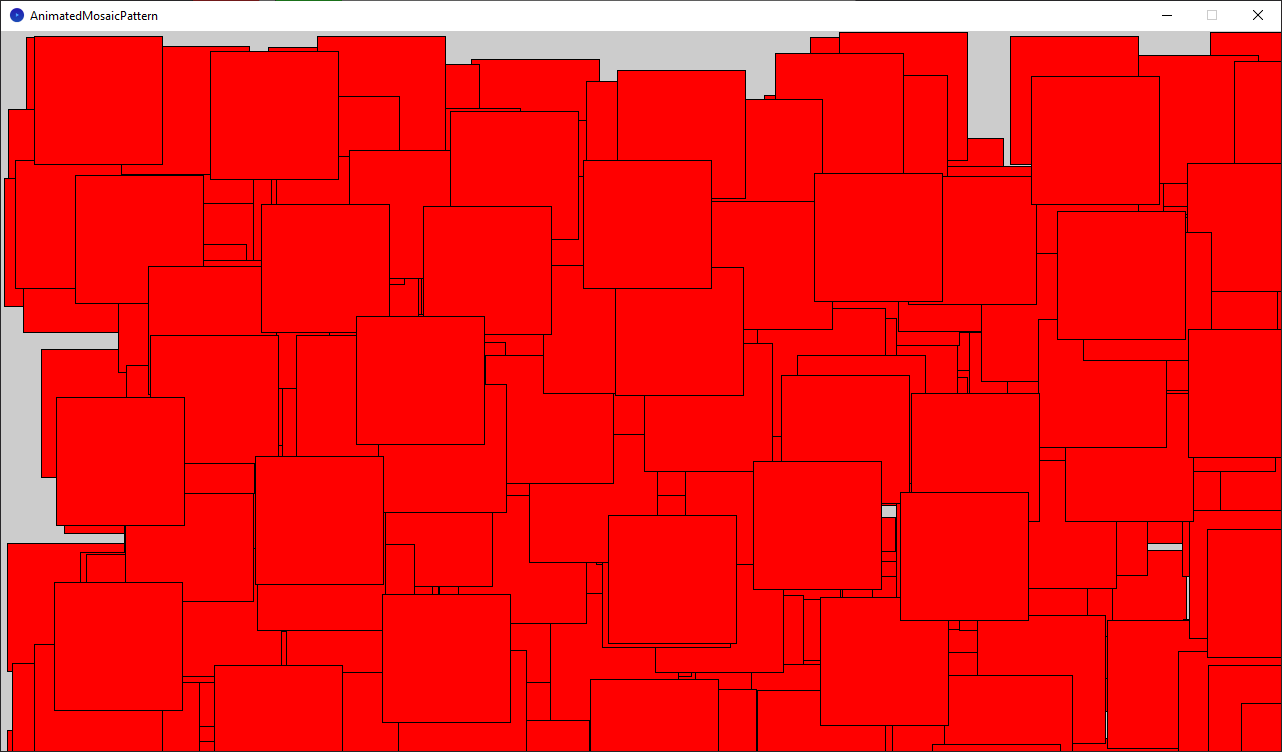
Step 5: Mosaic
Now lets create that mosaic pattern I promised you, using the random function.
We will edit the draw function again.
void draw()
{
  stroke(0);
  fill(255, 0, 0);
  float x = random(0, width);
  float y = random(0, height);
  rect(x, y, 128, 128);
}
The stroke and fill remain the same for the 1st rectangle. But there is now only one rectangle, since I deleted the other one.
Lets go through the new stuff. We are now using our first variables and a new function called random.
The random function returns a value between a lower and upper value. So in our case, we are returning a value between 0 and the width of the window.
We save this value into a variable called x. The x variable is of type float, meaning it stores decimal numbers, like 0.0, 0.7, 1.5, etc.
float x = random(0, width);
float y = random(0, height);
We changed the rect function to use our two new variables, x and y.
rect(x, y, 128, 128);
The result is pretty cool, but we can make it better in the next step!
Step 6: Improved mosaic
Lets disable the stroke, since I think it would look better without the black border around the rectangles.
We will replace this:
stroke(0);
With this:
noStroke();
Now the stroke has been turned off.
Next lets randomise each rectangles colour, since it is a bit boring if they are all red. For this we will use three more variables, representing red, green and blue.
float r = random(0, 255);
float g = random(0, 255);
float b = random(0, 255);
fill(r, g, b);
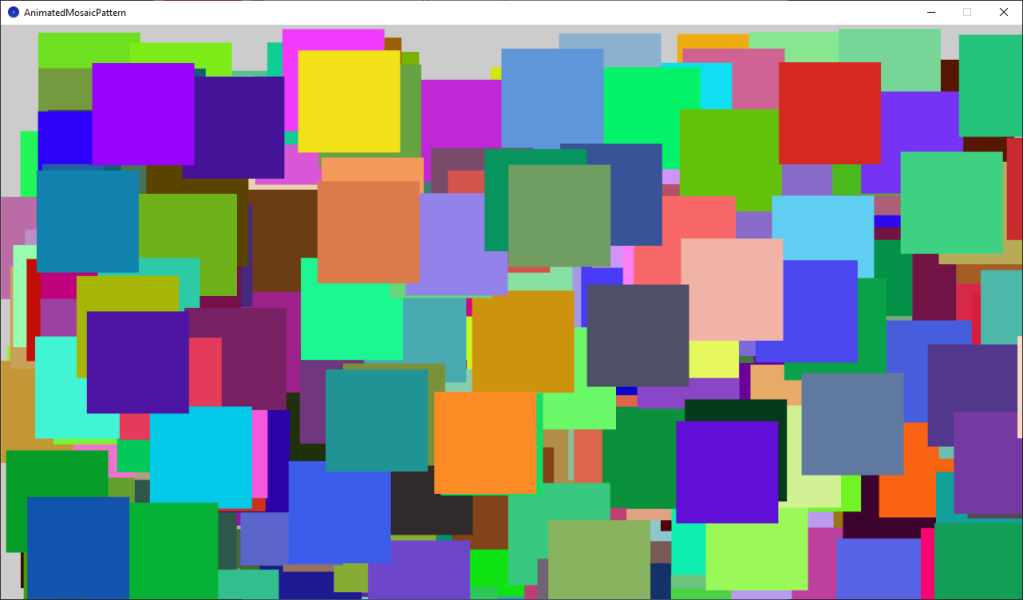
We get a random value in the 0 to 255 range for each RGB value. We then set the fill based on these variables.
Here is the final result!
Full code
void setup()
{
  size(1280, 720);
}

void draw()
{
  noStroke();

  float r = random(0, 255);
  float g = random(0, 255);
  float b = random(0, 255);
  fill(r, g, b);

  float x = random(0, width);
  float y = random(0, height);
  rect(x, y, 128, 128);
}
Conclusion
This tutorial has shown you how to download and setup Processing. We then learned how to set the window size using the code editor and the Java programming language. Next we learned about the draw function and how to draw a rectangle. We finished off by creating a mosaic pattern out of many rectangles. We used randomised positions and colours to create a beautiful effect.
With your new found coding knowledge feel free to experiment and have some fun. There are plenty of smaller changes you could make to change how the mosaic effect looks. Here are some suggestions:
- Change the size of the rectangles. Try make the rectangles tall or wide?
- Play with the random functions. Maybe you want brighter or darker colours?
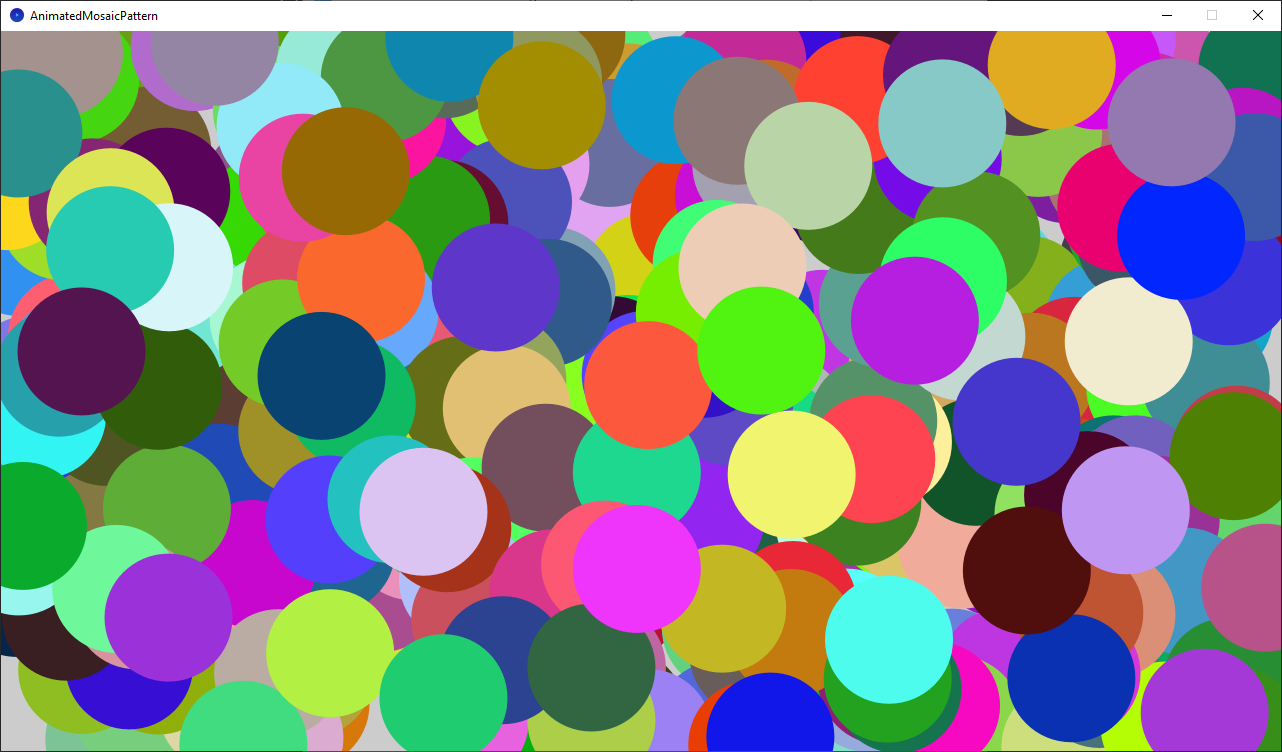
- Replace the rectangles with another shape, like a circle. Check out the shape section of the Processing reference page.
Processing also has a great range of tutorials and examples you might like to check out.
Thank you for reading this tutorial. Let me know in the comments section if you enjoyed it, or have any questions!

5 responses to “Creating a animated mosaic pattern in Processing”
Informative and very nice
Thank you, glad you enjoyed it!
Enjoyed gallons
Thanks 😊
Thank you for your visit Anita!