

This tutorial will show you how to create a sepia vignette effect in the GIMP image editor. The process should be similar for other image editors like Adobe Photoshop. You will adjust the contrast, convert to greyscale, colorize, and use an ellipse with gaussian blur to create a vignette. Finally you will use the multiply blend mode, and adjust the layer opacity for the finishing touches.
Step 1: Open GIMP
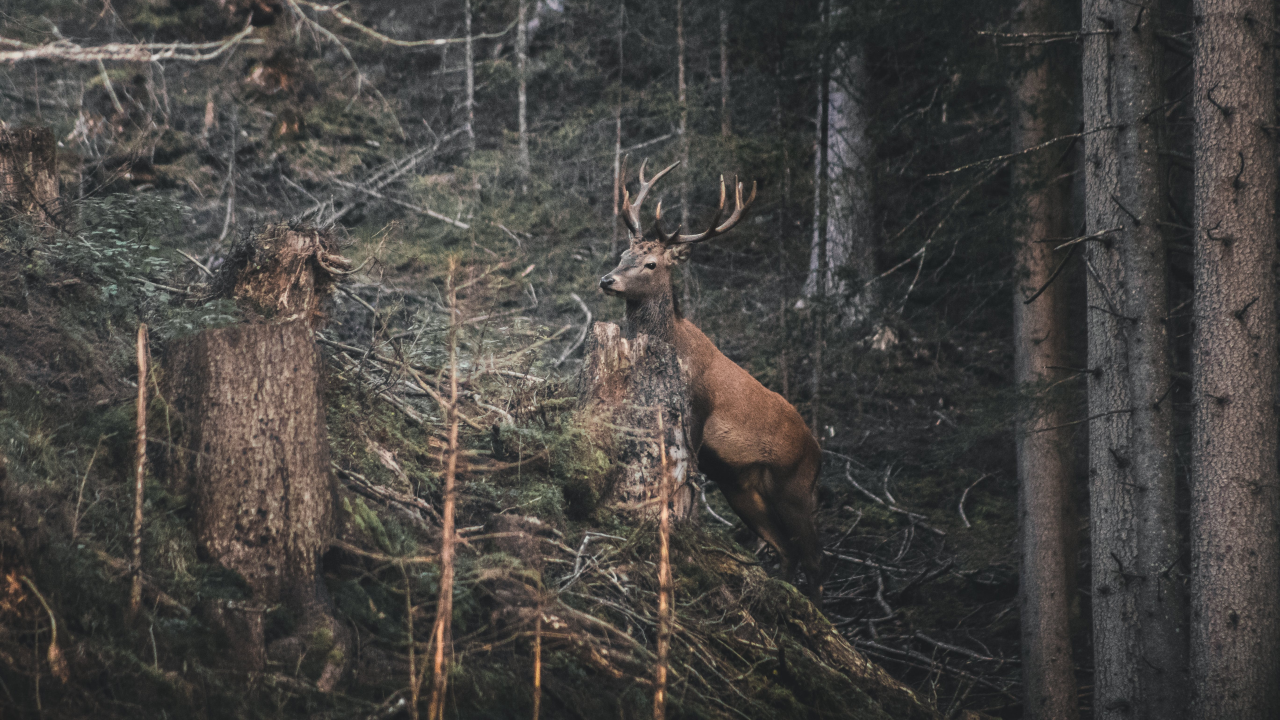
Open GIMP and drag in a new image.
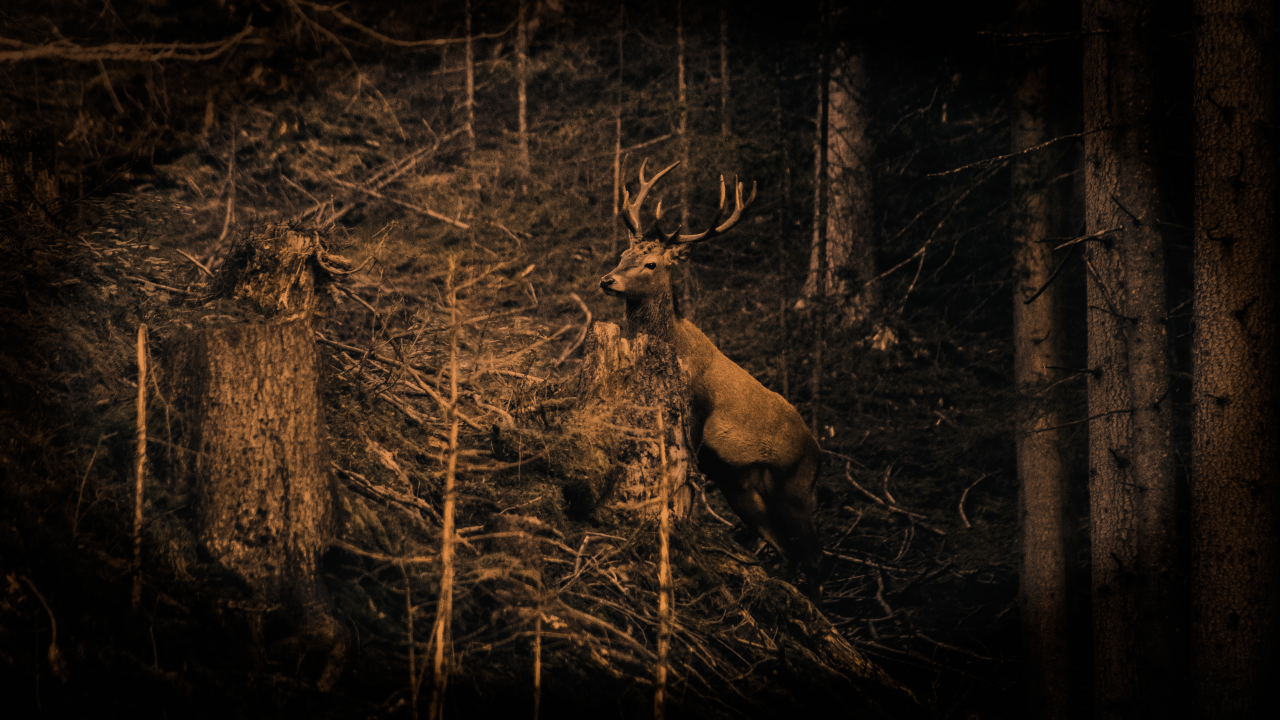
I will use this fantastic reindeer photo for the tutorial.
Step 2: Adjust contrast
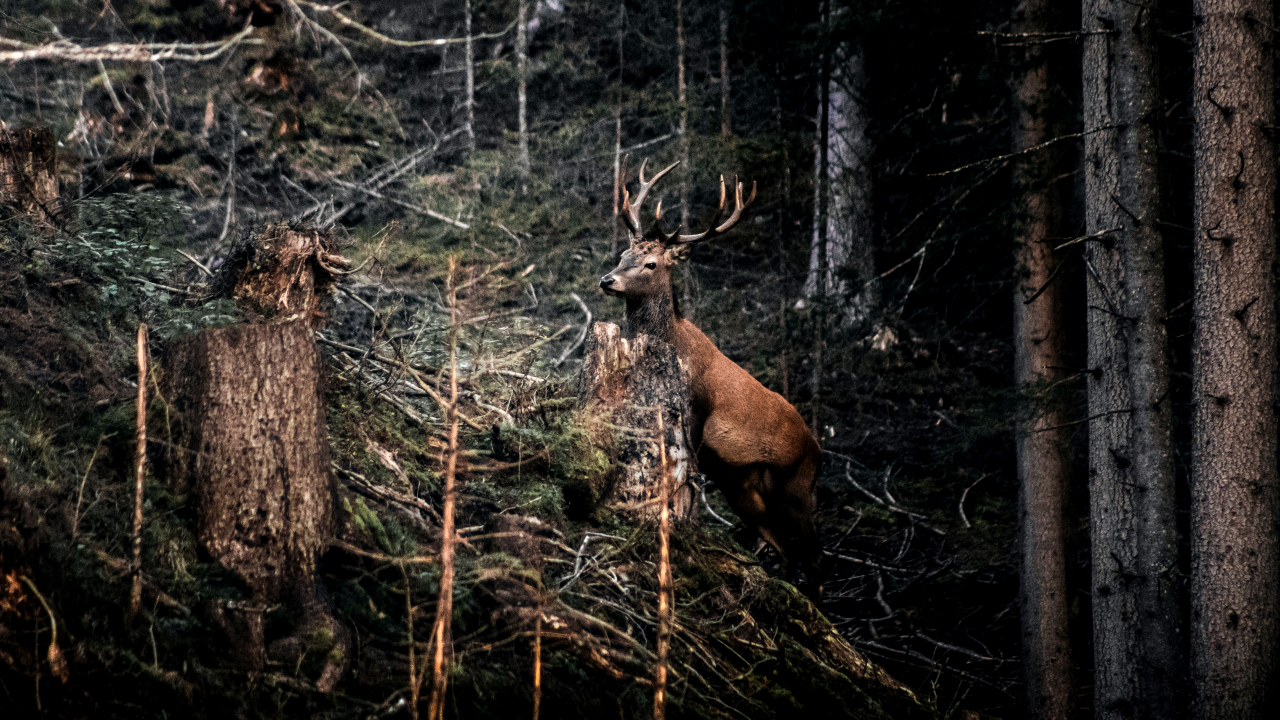
Duplicate the current image layer and adjust the contrast of the duplicate.
Go to: Colors –> Brightness-Contrast –> Contrast
You will need to adjust the contrast until the highlights and shadows are more pronounced.
Step 3: Greyscale
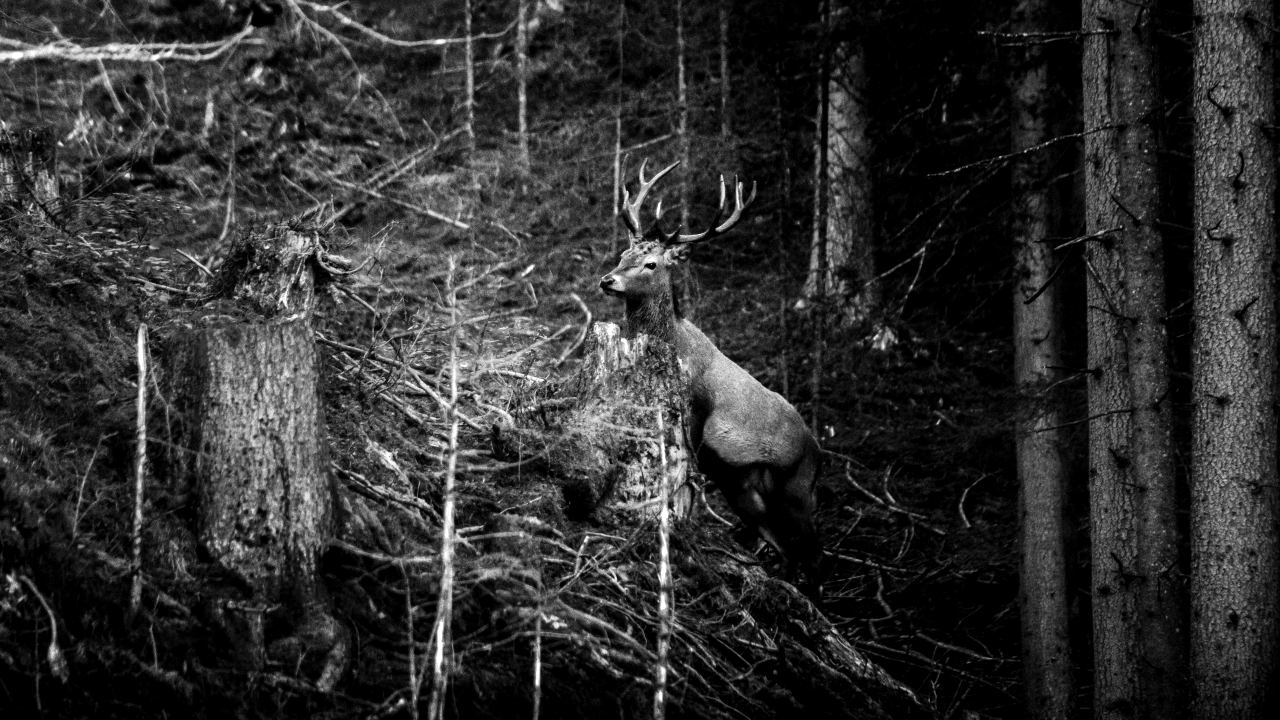
Go to: Colors –> Desaturate –> Desaturate
Pick a mode you like, and press ok.
Step 4 Colorize
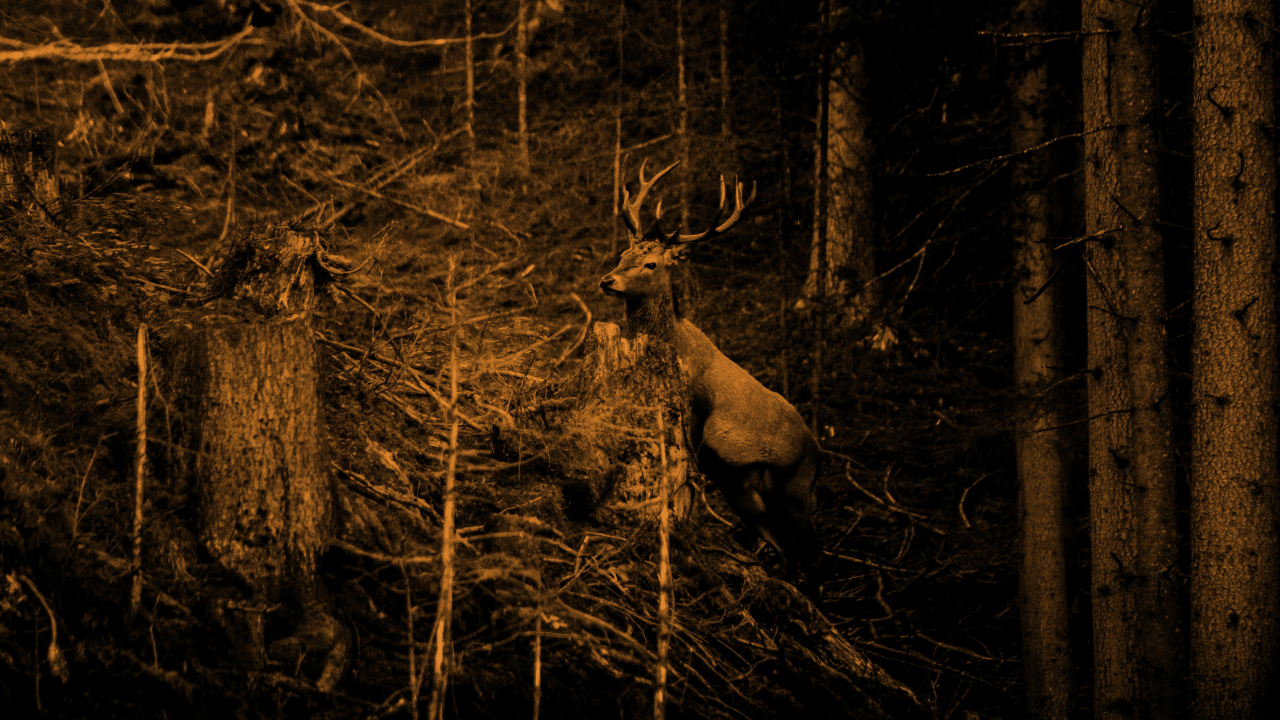
Go to: Colors –> Colorize
And pick a color you like. I used this sepia tone color.
Step 5: Ellipse
Create a new transparent layer, then select the ellipse tool. Select the new transparent layer. Create an ellipse by dragging, but don’t make it fill the whole canvas. Leave 5% to 10% of empty space on the border of the canvas. Fill the inside of the ellipse with white, then fill the outside of the ellipse with black.

Step 6: Gaussian blur
Make sure the ellipse layer is selected.
Then go to: Filters –> Blur –> Gaussian blur
Play with the size until you are happy. Mine looks like this:

Step 7: Multiply
Select the ellipse layer. Then select the multiply blend mode.

Step 8: Opacity
To create a more subtle vignette and sepia tone, you can adjust the opacity of the ellipse layer and the sepia layer. Around 80% to 90% is probably good.
Conclusion
This tutorial has shown you how to create a sepia vignette in the GIMP image editor. You have learned how to adjust contrast, convert to greyscale, colorize an image with sepia tones, and use an ellipse with gaussian blur to create a vignette effect. You finished the process off by using the multiply blend mode and by adjusting layer opacity.
To experiment further, you could:
- Adjust the size and shape of the ellipse, or use a different shape entirely.
- Colorize the image with another color.
- Adjust different image settings.
- Apply noise.
- Use different blend modes.
Thank you for reading this tutorial, I hope you found it useful!
Learn how to create this effect mathematically in a shader here.
