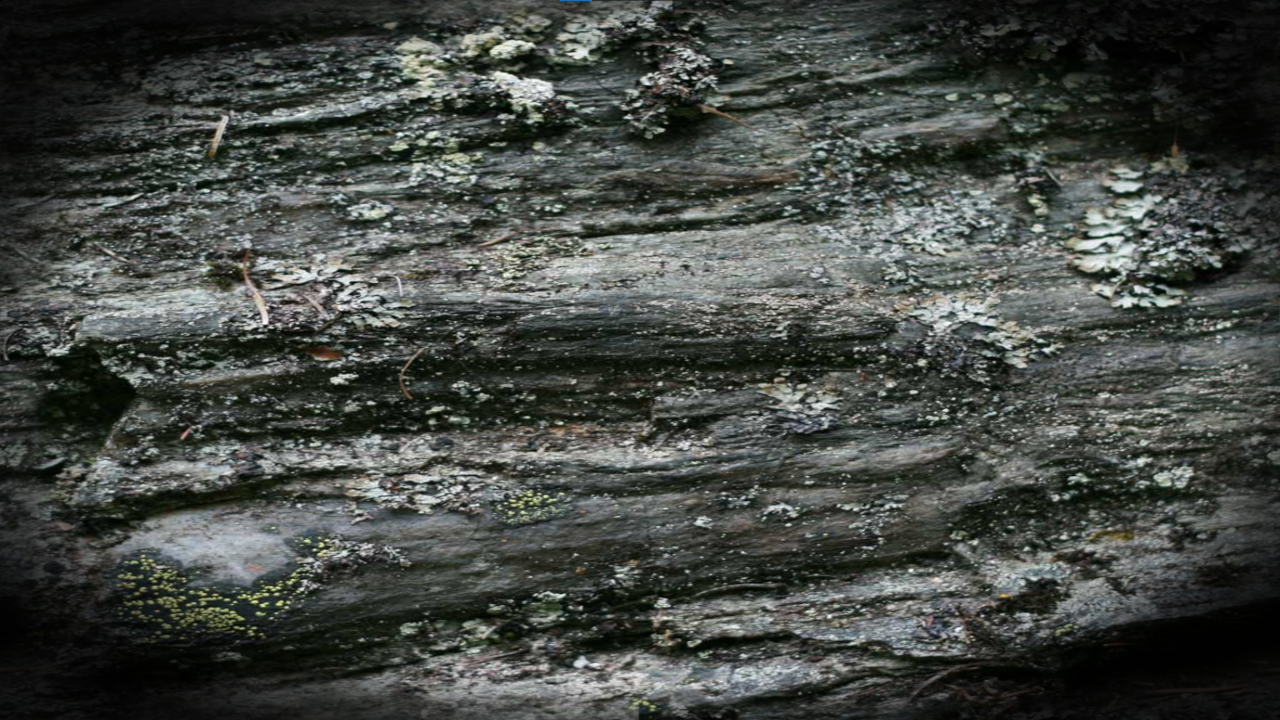
Creating a vignette shader effect in Shadertoy is easy and fun. You can learn to manipulate UV coordinates, create a circle function, and add ambient light to enhance the effect. Experiment with ambient light, circle position, radius, and smoothness to perfect your vignette. Start creating on Shadertoy and unleash your creativity!
For beginners, check out this gentle introduction to Shadertoy.
Step 1: UV coordinates
Define the UV coordinates. The UV coordinates are in the 0 to 1 range. They start at the bottom left corner and end at the top right corner. We use them to determine which pixel we are currently at.
vec2 uv = fragCoord / iResolution.xy;
Step 2: Position
We create a new position variable and set it to the value of the UV coordinates. We then offset it by 0.5, to move to the center of the screen. We are effectively changing the 0 to 1 range, to the -0.5 to 0.5 range.
vec2 pos = uv;
pos -= 0.5;
Step 3: Circle function
Define a circle function, which gets us the distance to the center of a circle based on the position and radius.
float circle(vec2 pos, float radius)
{
    return length(pos) - radius;
}
Step 4: Create circle
Create a circle using the position we defined earlier and by using a radius of 0.4. We then apply smoothstep to the circle distance, which smooths the edges of the circle. We then invert the result of the smoothstep, so the center of the circle becomes white. This makes the outside of the circle black.
float c = circle(pos, 0.4);
c = 1.0 - smoothstep(0.0, 0.2f, c);
The circle we create is actually an ellipse. This is because the viewport is a wide rectangle in Shadertoy. The UV coordinates are in the 0 to 1 range, regardless of the width and height of the viewport. The ellipse is larger on the x axis, since the width is larger than the height.
This is what the ellipse looks like, if we output it to the screen.
fragColor = vec4(vec3(c), 1.0);

Step 5: Texture color
First select a texture by clicking on ‘iChannel0’ at the bottom of the screen. The code below gets the texture color, and save it’s value into the output fragment color.
fragColor = texture(iChannel0, uv);
Step 6: Multiply
We will multiply the fragment color by the distance to define were the vignette appears. Since the circle distance is a greyscale value.
fragColor.rgb *= c;

Step 7: Ambient light
Define the value of ambient light. This will brighten up the dark parts of the ellipse. Which is useful if we don’t want the vignette to be completely black.
float ambient = 0.14;
Step 8: Result
We will change the code from the multiply step, to use the ambient light. We will multiply the fragment color by the circle distance and the ambient value added together. We use the min (minimum) function to make sure the color does not go over 1. This will stop it from getting too bright.
fragColor.rgb *= min(c + ambient, 1.0);

Full Code
float circle(vec2 pos, float radius)
{
    return length(pos) - radius;
}

void mainImage(out vec4 fragColor, in vec2 fragCoord)
{
    // Normalized pixel coordinates (from 0 to 1)
    vec2 uv = fragCoord / iResolution.xy;

    // Calculate position
    vec2 pos = uv;
    pos -= 0.5;

    // Create circle
    float c = circle(pos, 0.4);
    c = 1.0 - smoothstep(0.0, 0.2f, c);

    // Get pixel color
    fragColor = texture(iChannel0, uv);

    // Ambient light
    float ambient = 0.14;

    // Multiply
    fragColor.rgb *= min(c + ambient, 1.0);
}
Conclusion
This tutorial has shown you how easy it is to create a vignette effect using Shadertoy. We have learned how to create a circle from the center of the screen, apply ambient light and multiply to create a vignette effect.
Here are some things you can experiment with:
- The ambient light value.
- The circle position and radius.
- The smoothness of the circle.
You can also see and play with the effect values on Shadertoy here.
Thank you for reading this tutorial, I hope you found it useful!
Learn how to create this effect in a image editor here.

