
This tutorial will show you how to create a sharpen shader using a kernel. The code is written in the GLSL shading language.
I strongly recommend you read the previous tutorial on creating a simple gaussian blur shader, before you start this one. Since we will only be covering the new code required for sharpening an image.
Simple gaussian blur shader using a kernel – Agate DRAGON
Step 1: Duplicate
Duplicate your gaussian blur shader, and call it sharpen or whatever you want.
Step 2: Kernel
We will be replacing this part of the code, with the sharpen kernel from Wikipedia.

// Create kernel
float kernel[9];

// Top row
kernel[0] = 1f;
kernel[1] = 2f;
kernel[2] = 1f;

// Middle row
kernel[3] = 2f;
kernel[4] = 4f;
kernel[5] = 2f;

// Bottom row
kernel[6] = 1f;
kernel[7] = 2f;
kernel[8] = 1f;

for(int i=0; i<9; ++i)
{
	kernel[i] /= 16f;
}
Change the kernel values and remove the for loop. When you are done, your code should look like this:
// Create kernel
float kernel[9];

// Top row
kernel[0] = 0f;
kernel[1] = -1f;
kernel[2] = 0f;

// Middle row
kernel[3] = -1f;
kernel[4] = 5f;
kernel[5] = -1f;

// Bottom row
kernel[6] = 0f;
kernel[7] = -1f;
kernel[8] = 0f;
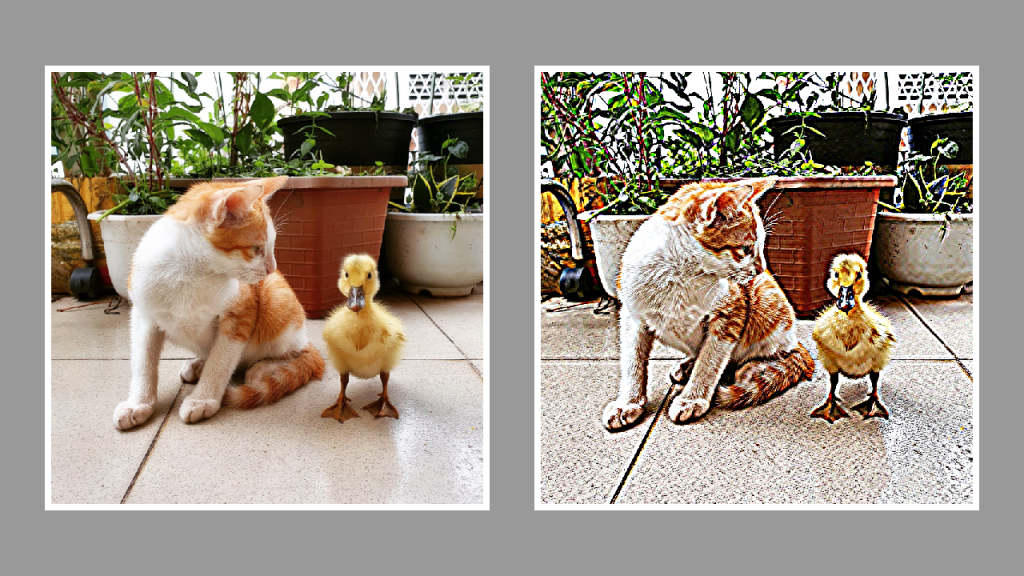
Final result
Congratulations you have now created a sharpen shader!
Here are some images using different sample distances.
100

200
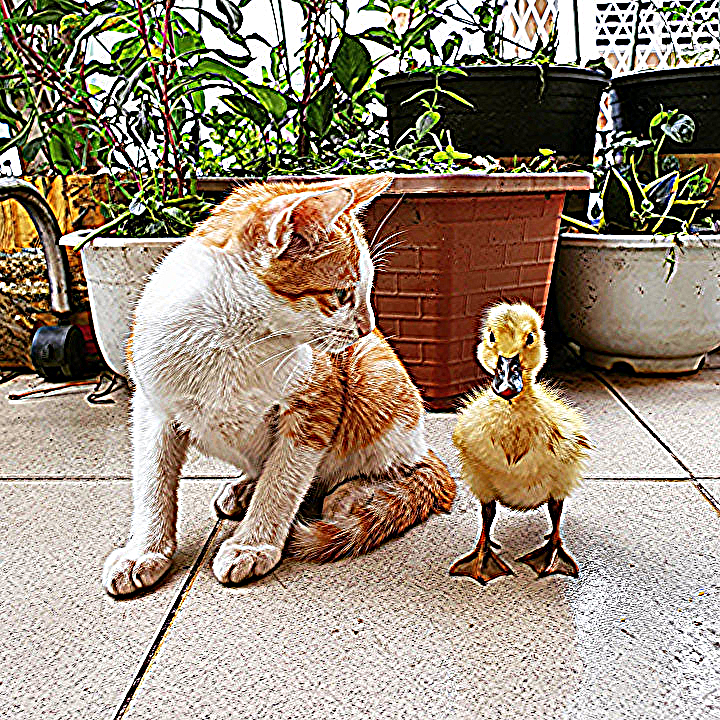
300

Thank you for reading this tutorial, I hope you found it useful!
Check out the next tutorial to learn how to apply an edge detection kernel.
