
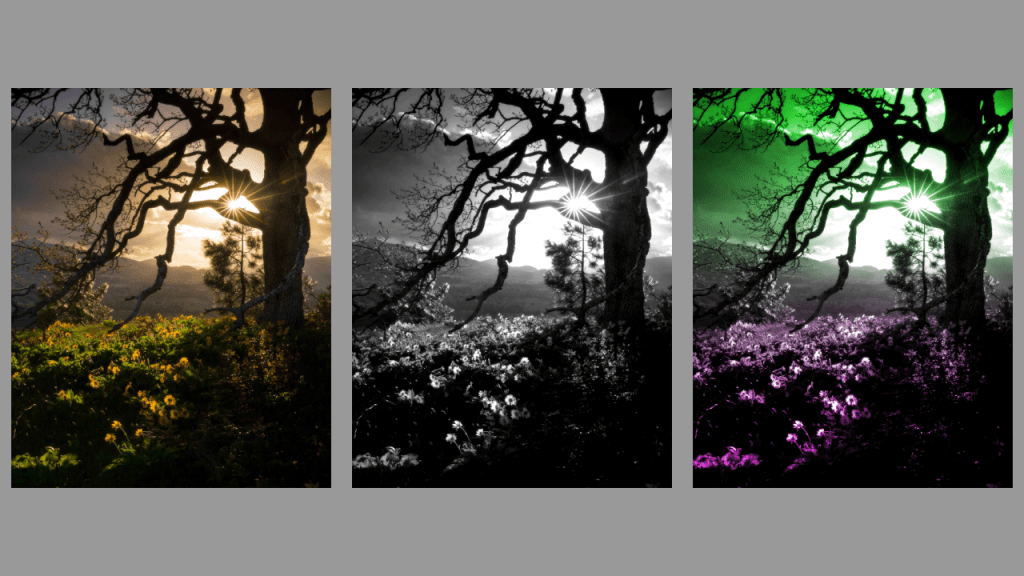
This tutorial will show you how to create a duotone gradient in the GIMP image editor. These instructions should work for other image editors like Adobe Photoshop.
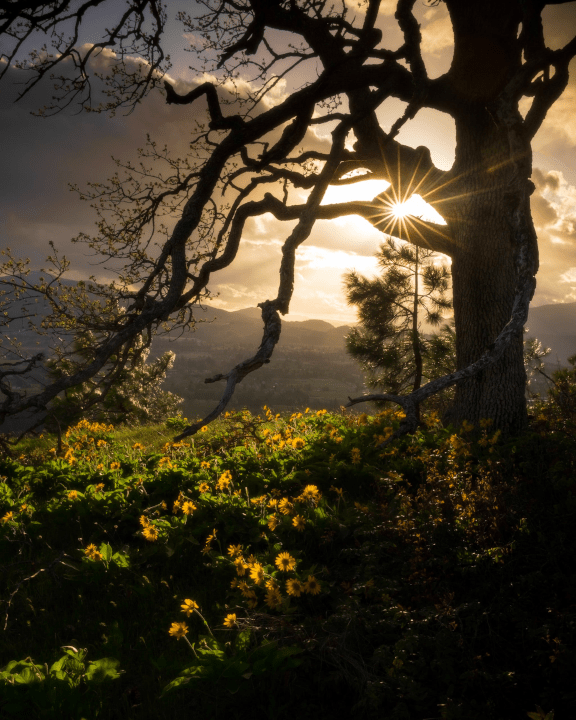
Step 1: Find an image
I used this beautifully atmospheric picture of a tree near sunflowers.
Step 2: Convert to greyscale
There are many ways to convert an image to greyscale in image editors. I went to: Colors –> Desaturate –> Desaturate, and picked the mode I liked best, and pressed ok.
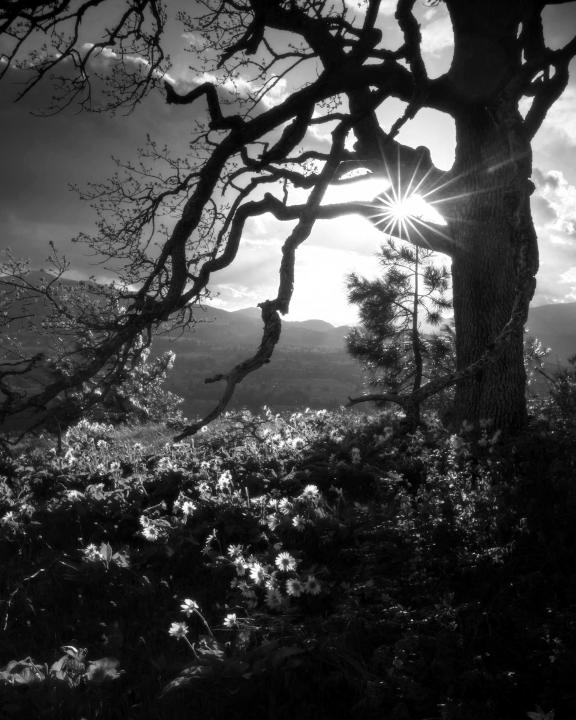
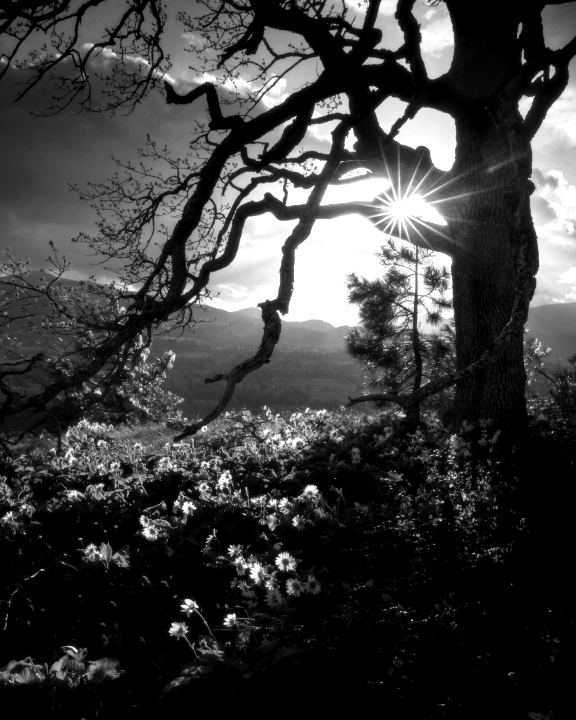
Step 3: Adjust contrast
This effect works best on images with shadows and highlights. Boosting the contrast can improve the look of the image. There are many ways to boost contrast. The simplest way is to go to Colors, then Brightness-Contrast. Play with the contrast until you are happy.
Step 4: Create a gradient
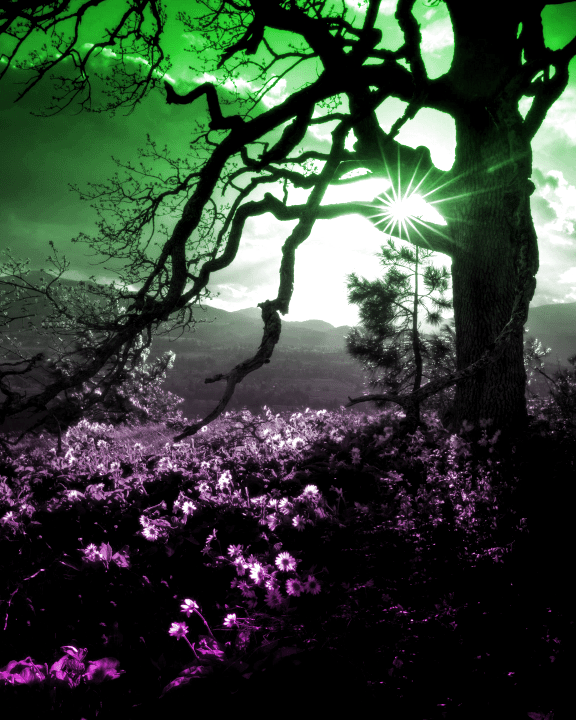
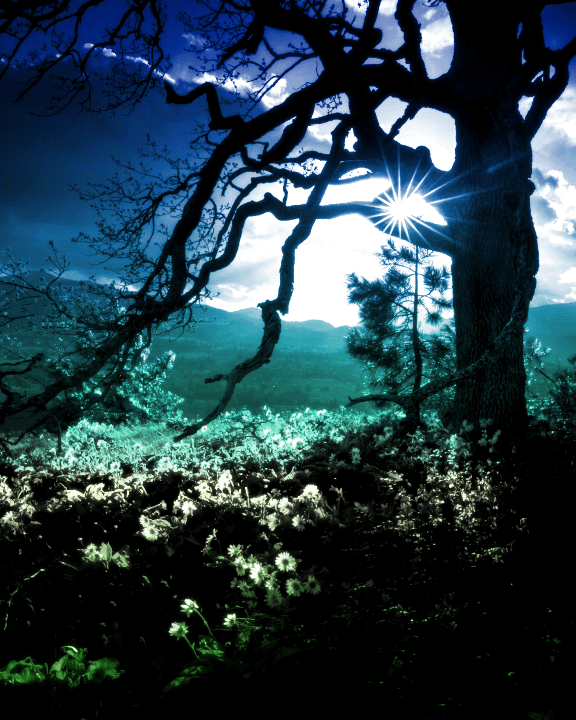
Create a new layer. Pick two colours. Then find the gradient tool. Select the gradient called: FG to BG (RGB). Create a gradient by dragging your mouse across the screen, and press enter when you are happy.
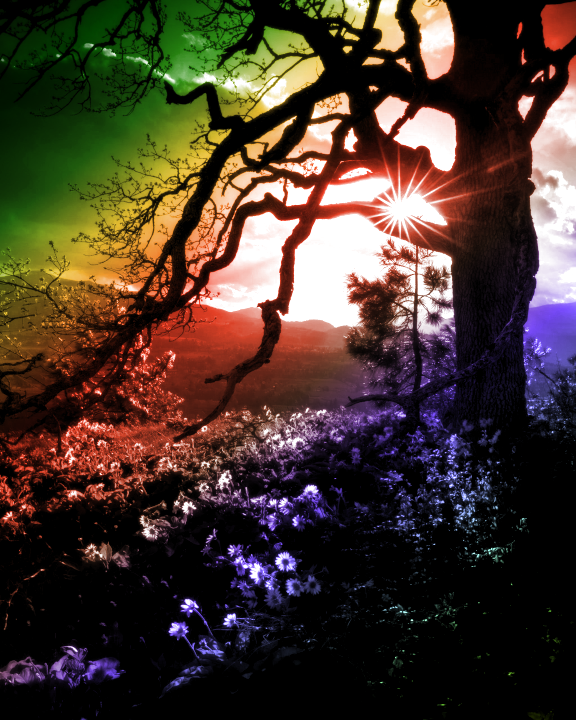
Note this effect should work with any gradient, so feel free to experiment!

Step 5: Overlay
Apply the overlay blend mode to your new layer, and you are done!
Thank you for reading this tutorial, I hope you found it useful!
See this tutorial for how to create a duotone gradient in a shader.
