

This tutorial combines together the previous glitch and RGB split shaders.
Here is how the original astronaut sprite looks.

And with the RGB split applied.
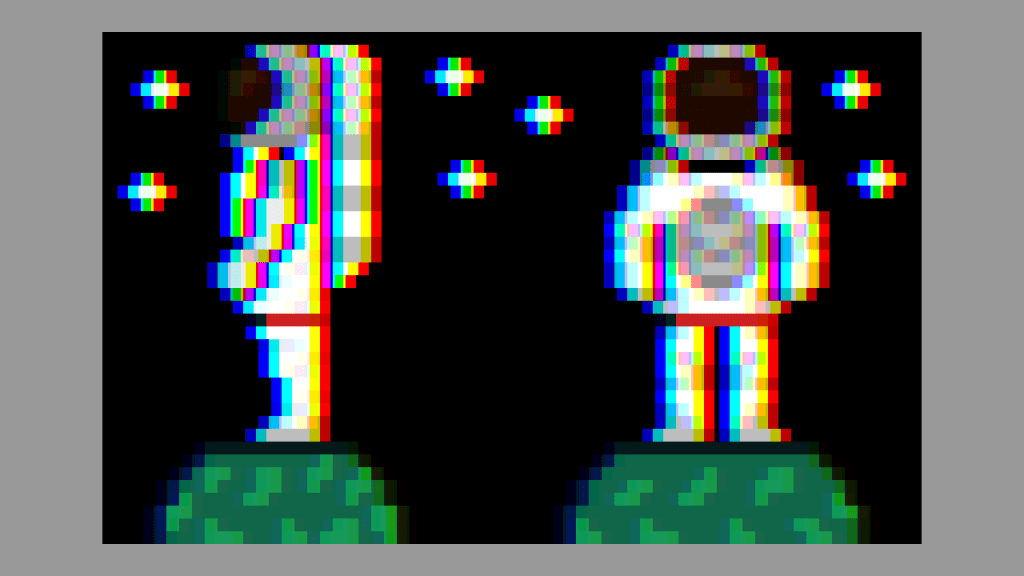
GIF of the glitch and RGB split being applied to the astronaut image.
GLSL shader code
I won’t post the whole shader code this time, since the majority of the code is in the other blog posts.
Glitch shader effect using blocks (Part 2) – Agate DRAGON
Simple RGB Split Shader – Agate DRAGON
I renamed the RGB split offset uniform to rgbOffset since there are now two types of offset. One for the glitch effect, and one for the RGB split.
uniform float rgbOffset = 0.01f;I created two functions inside the shader and call them inside the main function.
void main()
{
	fragColour = texture(textureUnit, texCoord);
	RGBSplit();
	GlitchEffect();
}
The RGBSplit() function gets called first, and as you can guess it applies the RGB split.
void RGBSplit()
{
	vec2 redCoord = texCoord;
	redCoord.x -= rgbOffset;
	float red = texture(textureUnit, redCoord).r;

	vec2 blueCoord = texCoord;
	blueCoord.x += rgbOffset;
	float blue = texture(textureUnit, blueCoord).b;

	fragColour.r = red;
	fragColour.b = blue;
}
The GlitchEffect() gets called second, and applies the glitch blocks and displacement lines.
void GlitchEffect()
{
	// Create a looping value between 0 and 1,
	// using the fractional part of the time in seconds
	float t = fract(timeSeconds);

	vec2 uv = texCoord;

	// Position from the centre
	vec2 centre = uv - 0.5f;

	// Create red blocks
	float redBlocks = 0.0f;
	redBlocks += Block(centre, MEDIUM_BLOCK, t, 0.1f, 0.2f);
	redBlocks += Block(centre + vec2(-0.28f, -0.34f), LARGE_BLOCK, t, 0.3f, 0.4f);
	redBlocks += Block(centre + vec2(0.2f, 0.35f), SMALL_BLOCK, t, 0.5f, 0.6f);
	redBlocks += Block(centre + vec2(-0.12f, -0.25f), MEDIUM_BLOCK, t, 0.7f, 0.8f);
	redBlocks += Block(centre + vec2(0.0f, 0.32f), LARGE_BLOCK, t, 0.85f, 0.95f);
	if(redBlocks > 0.0f)
	{
		fragColour.rgb = mix(fragColour.rgb, RED * redBlocks, MIX_STRENGTH);
	}

	// Create green blocks
	float greenBlocks = 0.0f;
	greenBlocks += Block(centre + vec2(0.1f, 0.2f), SMALL_BLOCK, t, 0.1f, 0.2f);
	greenBlocks += Block(centre + vec2(-0.18f, -0.44f), MEDIUM_BLOCK, t, 0.3f, 0.4f);
	greenBlocks += Block(centre + vec2(0.3f, 0.15f), LARGE_BLOCK, t, 0.5f, 0.6f);
	greenBlocks += Block(centre + vec2(-0.22f, -0.35f), LARGE_BLOCK, t, 0.7f, 0.8f);
	greenBlocks += Block(centre + vec2(0.1f, 0.22f), MEDIUM_BLOCK, t, 0.85f, 0.95f);
	if(greenBlocks > 0.0f)
	{
		fragColour.rgb = mix(fragColour.rgb, GREEN * greenBlocks, MIX_STRENGTH);
	}

	// Create blue blocks
	float blueBlocks = 0.0f;
	blueBlocks += Block(centre + vec2(0.05f, -0.1f), LARGE_BLOCK, t, 0.1f, 0.2f);
	blueBlocks += Block(centre + vec2(-0.08f, 0.64f), MEDIUM_BLOCK, t, 0.3f, 0.4f);
	blueBlocks += Block(centre + vec2(-0.4f, 0.25f), MEDIUM_BLOCK, t, 0.5f, 0.6f);
	blueBlocks += Block(centre + vec2(-0.08f, 0.4f), LARGE_BLOCK, t, 0.7f, 0.8f);
	blueBlocks += Block(centre + vec2(-0.2f, -0.32f), SMALL_BLOCK, t, 0.85f, 0.95f);
	if(blueBlocks > 0.0f)
	{
		fragColour.rgb = mix(fragColour.rgb, BLUE * blueBlocks, MIX_STRENGTH);
	}

	// Create displacement lines
	// Top
	DisplacementLine(uv, LEFT, t, 0.7f, 0.8f, 0.05f, 0.1f, vec3(1.0f, 0.24f, 0.44f));

	DisplacementLine(uv, LEFT, t, 0.25f, 0.35f, 0.2f, 0.25f, vec3(0.24f, 0.32f, 1.0f));
	DisplacementLine(uv, RIGHT, t, 0.65f, 0.75f, 0.3f, 0.35f, vec3(0.34f, 1.0f, 0.12f));

	// Middle
	DisplacementLine(uv, LEFT, t, 0.4f, 0.5f, 0.45f, 0.5f, vec3(0.24f, 0.12f, 1.0f));

	DisplacementLine(uv, RIGHT, t, 0.1f, 0.2f, 0.6f, 0.65f, vec3(0.14f, 1.0f, 0.42f));
	DisplacementLine(uv, LEFT,  t, 0.8f, 0.9f, 0.7f, 0.75f, vec3(1.0f, 0.32f, 0.32f));

	// Bottom
	DisplacementLine(uv, RIGHT, t, 0.25f, 0.35f, 0.9f, 0.95f, vec3(0.14f, 0.42f, 1.0f));
}
And that’s all there is to it! Just remember to set the uniforms.
shader->Uniform1f("timeSeconds", timeSeconds);
shader->Uniform1f("horizontalOffset", 0.16f);
shader->Uniform1f("rgbOffset", 0.0125f);
Thank you for reading this tutorial, I hope you found it useful!
